How to Draw a Crown
Calling all young princes and princesses! I’m here to take you on a regal drawing journey where you’ll learn how to draw a crown with not one, but three artistic techniques. These steps are kid-friendly, super enjoyable, and perfect for creating a royal masterpiece.
We’ll explore shapes, lines, and decorations that come together to create a piece of royal elegance, perfect for kids who love to draw and dream big. So, let’s pick up our pencils and transform them into scepters as we draw a crown that could adorn the heads of the noblest rulers!
How to Draw a Crown: Basic Information
Greetings, little monarchs of the art realm! Are you ready to learn how to draw a crown fit for a king or queen? This lesson will guide you through a series of simple steps, turning basic lines into a regal masterpiece. I’ve designed this so that anyone can follow along, and by the end, you’ll have a crown that sparkles with your own touch.
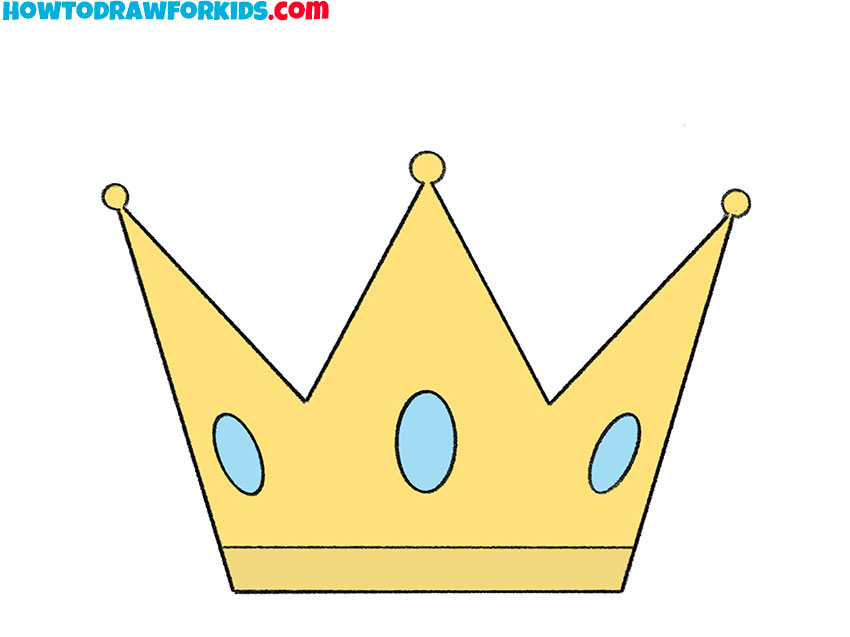
In this tutorial, we’ll focus on creating a crown with peaks that reach high, just like the ones you see in fairy tales. The drawing features rounded jewels and a band across the bottom, giving it a classic and majestic look. My technique makes it easy for you to add as many gems and decorations as you like.
So grab your pencils, and let’s embark on a creative quest. By the end, you’ll know how to draw a crown that could top the heads of the noblest characters in your drawings. Remember, every great artist starts with a simple line, and every king or queen needs a crown—let’s make yours shine!
Crown Drawing Tutorial
Materials
- Pencil
- Paper
- Eraser
- Coloring supplies
Time needed: 20 minutes
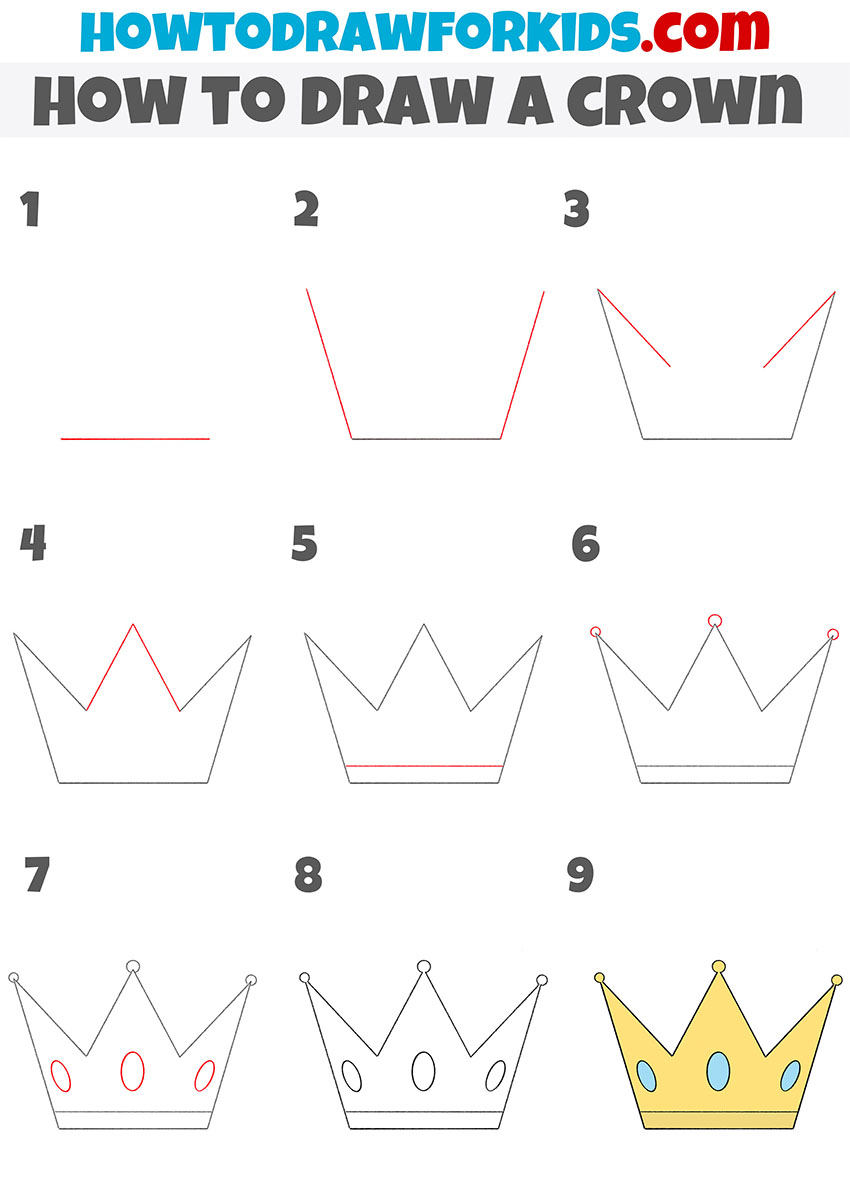
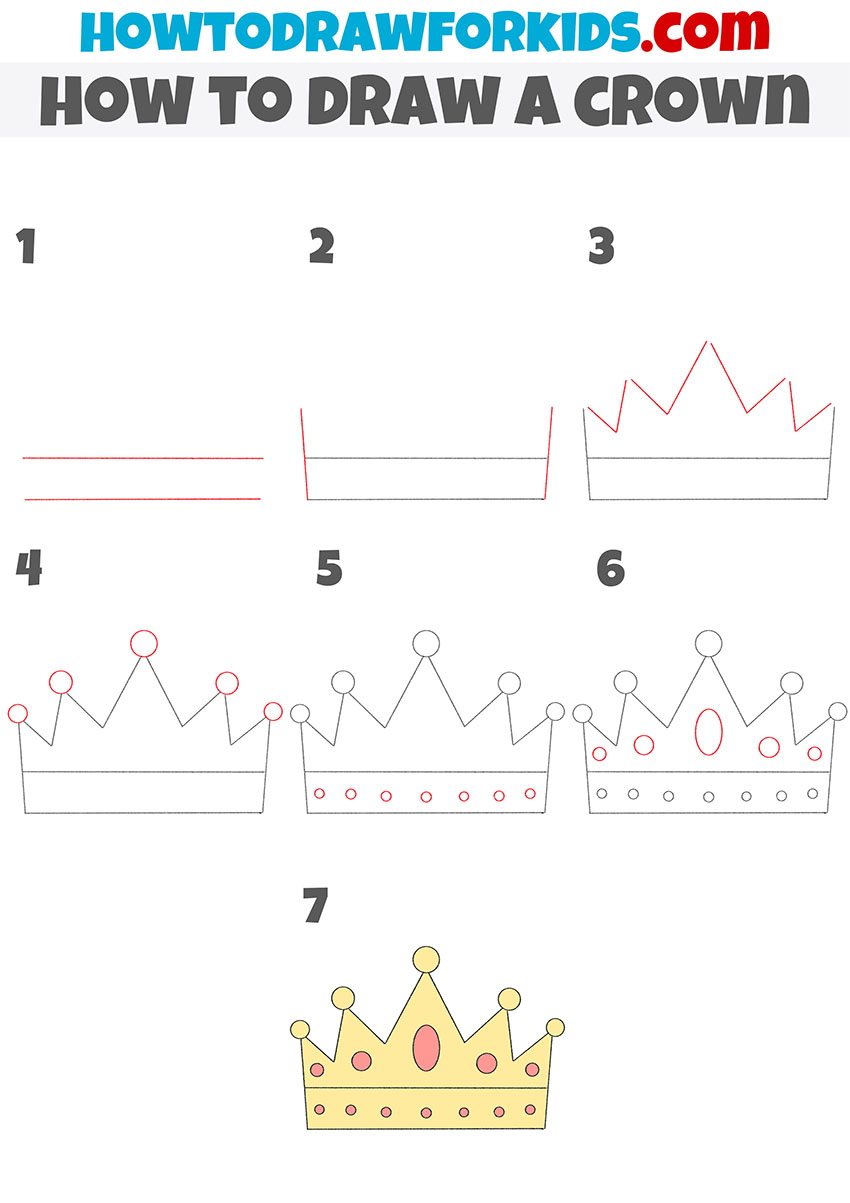
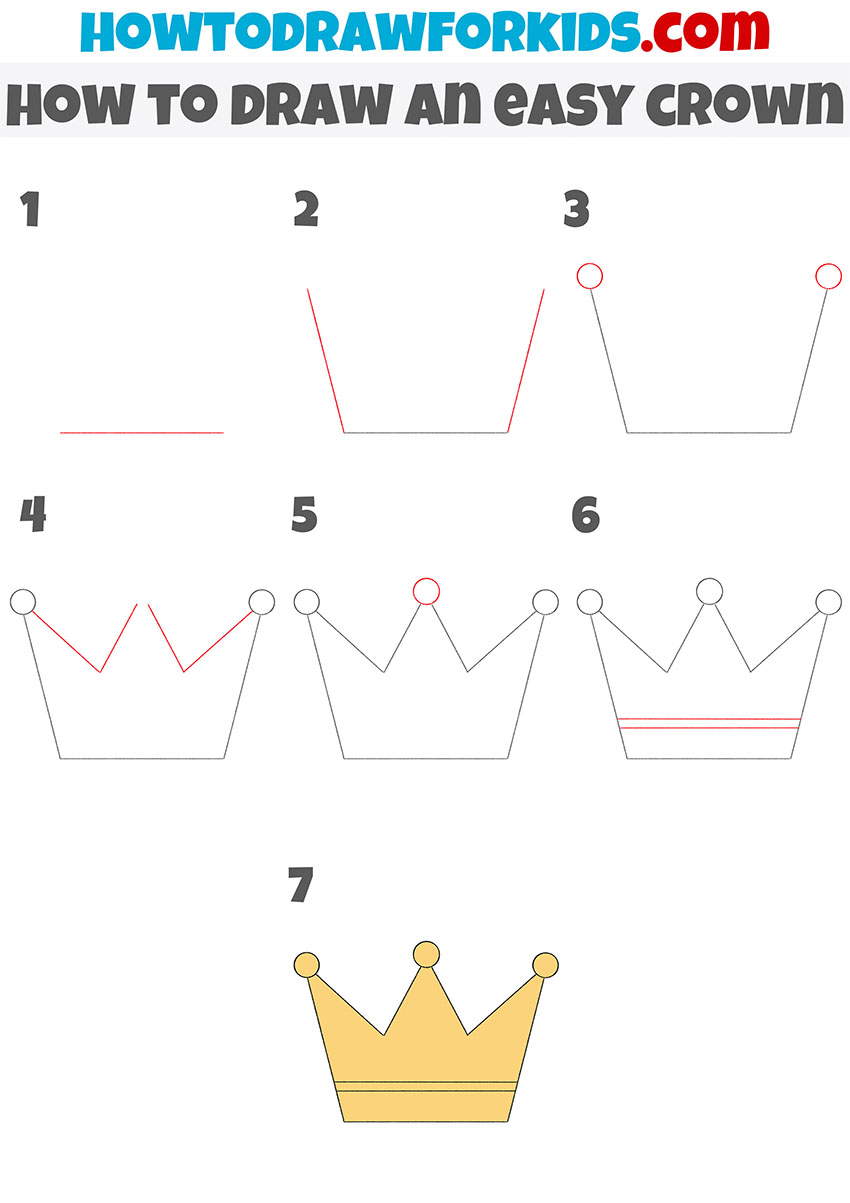
How to Draw a Crown
- Draw the bottom outline of the crown.
This step will be very simple for you, as you only need to draw one straight horizontal line.

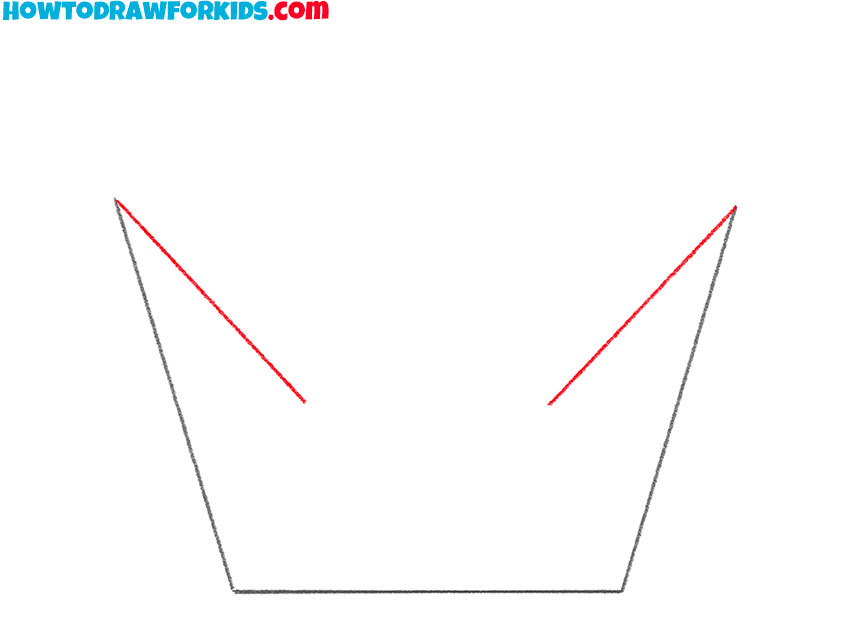
- Depict the sides of the crown.
From the two ends of the previously drawn line, draw two same straight diagonally oblique lines.

- Start drawing the top of the crown.
Outline two more straight lines from the ends of the previously drawn lines.
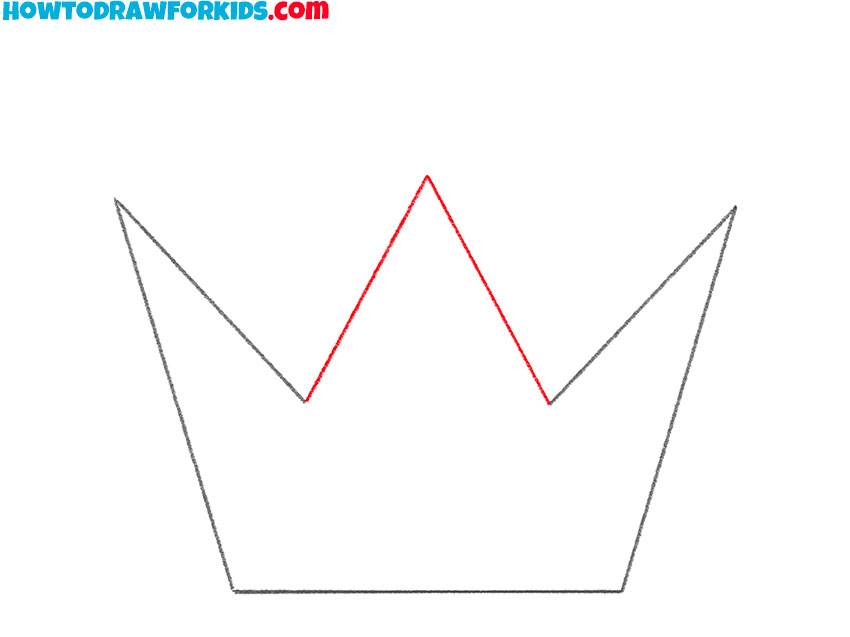
- Complete the drawing of the top of the crown.
To complete this step, you should draw a figure that looks like a triangle without a lower base.
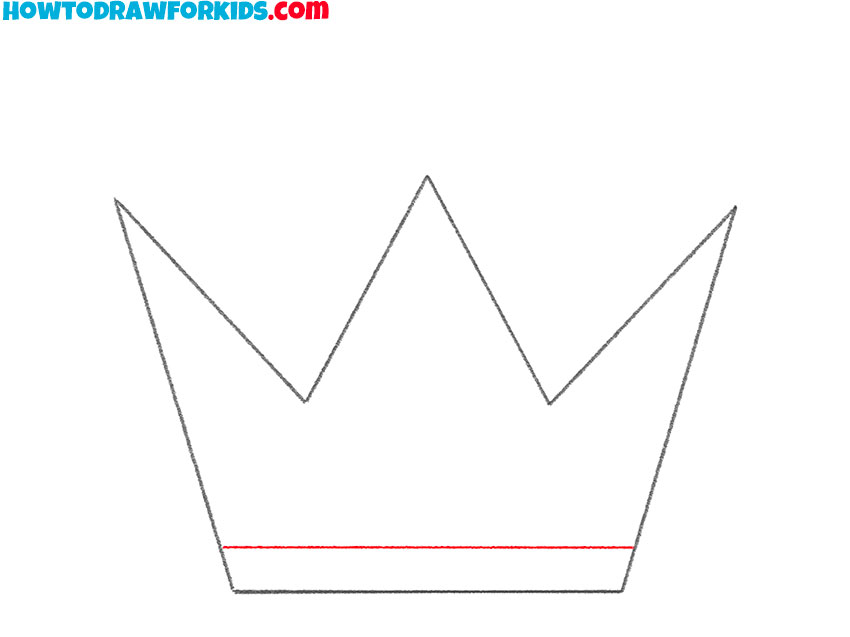
- Add the decorative element.
At the bottom of the crown, draw a horizontal line parallel to the bottom base of the crown.
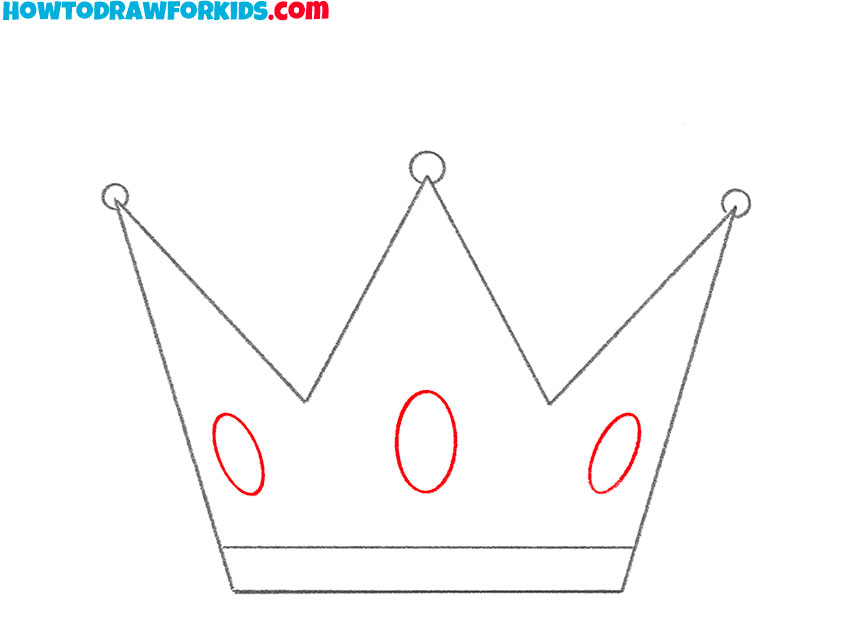
- Add the elements at the top of the crown.
To do this step, draw incomplete circles on each of the pointed crown tips.

- Draw the rest of the decorative elements.
To depict the jewels on the crown, you need to draw three ovals on it.
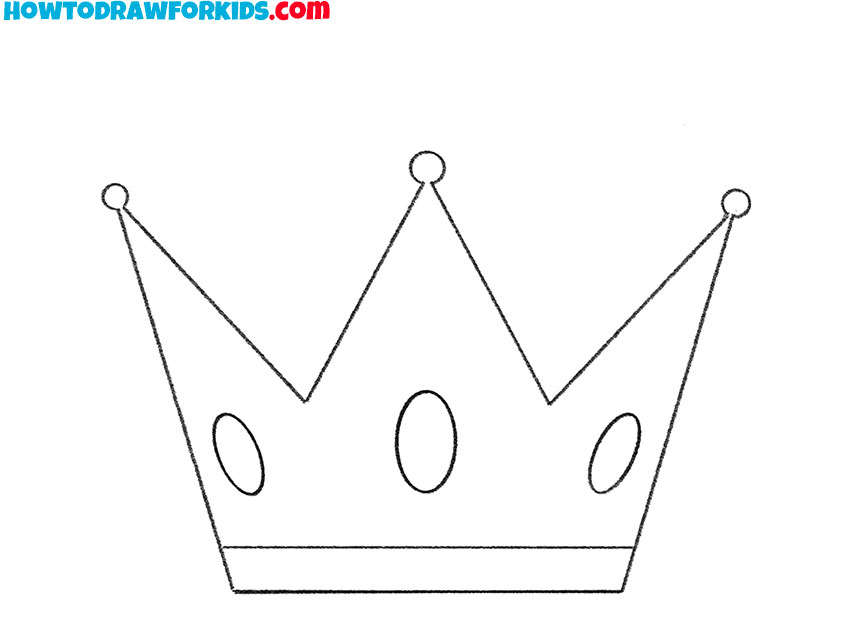
- Erase unnecessary lines.
Use an eraser to remove auxiliary lines that appeared during the drawing process.
- Color the drawing.
To color the crown you drew, use light yellow and light blue.

Additional Content
My dear budding monarchs of creativity, I’m thrilled to present to you a royal scroll in the form of a free PDF file—your very own mini-version of our crown drawing lesson. This downloadable guide is your ticket to creating regal masterpieces no matter where you are, with no need for internet access.
Alternative Drawing Methods
For those of you eager to expand your royal treasury of skills, I’ve created several alternative crown drawing techniques. These new methods will provide you with additional artistic challenges, perfect for honing your skills and adding variety to your noble collection of drawings.
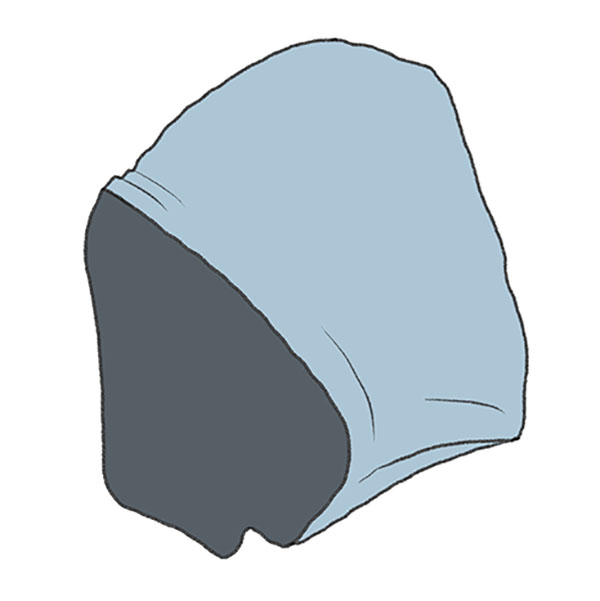
How to Draw a Crown of a Different Shape
Here is a method for drawing a crown that, while having a different shape compared to the first, maintains simplicity in its execution. This crown has a more ornate and traditional silhouette with rounded peaks and a bejeweled appearance.
Despite the intricate look, the process is streamlined into seven straightforward steps. The method begins with a simple base line and progresses by adding each peak and jewel one by one, ensuring clarity and ease for young artists.
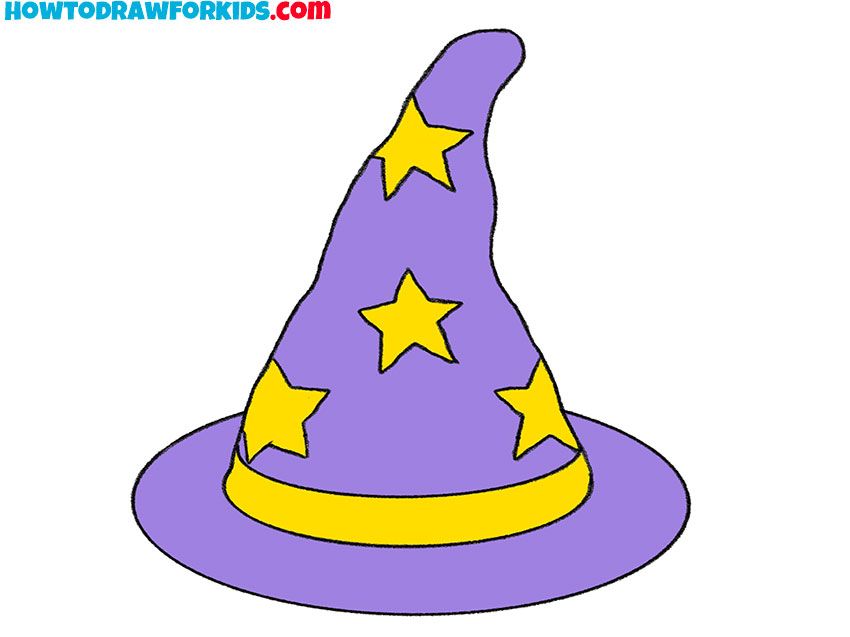
Crown Drawing for Kindergarten
This last alternative method for drawing a crown simplifies the process by removing the gem details, making it perfectly suited for a kindergarten audience. The crown shape is reminiscent of the first method, but with fewer steps—only seven in total.
This technique starts with a basic horizontal line for stability, then adds simple upward peaks to shape the crown. Each subsequent step involves adding another easy element, such as the orbs on the tips and the band across the bottom, which ensures that the drawing remains straightforward and achievable for young children.
Conclusion
Amazing effort, young royals! Your artistic skills are truly shining through with the crowns you’ve drawn today. But the art doesn’t end with crowns; there’s a whole world to explore on my website. Learn to draw everything from the soft fur of a rabbit to the intricate features of a human face.
And for all the latest news and creative drawing sessions, follow me on social media. Together, we’ll keep our pencils moving and our imaginations soaring.


You are really good
Well done