How to Draw a Rhinoceros
Are you ready to depict one of the most impressive animals of the savanna? If so, let’s get started with this lesson on how to draw a rhinoceros.

How to Draw a Rhinoceros: Introduction
The rhinoceros is one of the most powerful animals you can see in the jungle or savanna. This animal has a very distinctive appearance, with a strong body, sturdy legs, and characteristic horns on its nose, which is actually where its name comes from.
In this lesson, I’ll show you how to draw a rhinoceros in a super simplified way, as is traditional for my website, while still maintaining the recognizability and authenticity of the creature.
Beyond the unique drawing style, my website typically supplements many drawing lessons with additional instructions and tutorials to reinforce the knowledge gained.
This drawing lesson will be no exception, as at the end of the tutorial, I’ll demonstrate how to draw a baby rhinoceros, making it even cuter and simpler.
Rhinoceros Drawing Tutorial
Materials
- Pencil
- Paper
- Eraser
- Coloring supplies
Time needed: 30 minutes
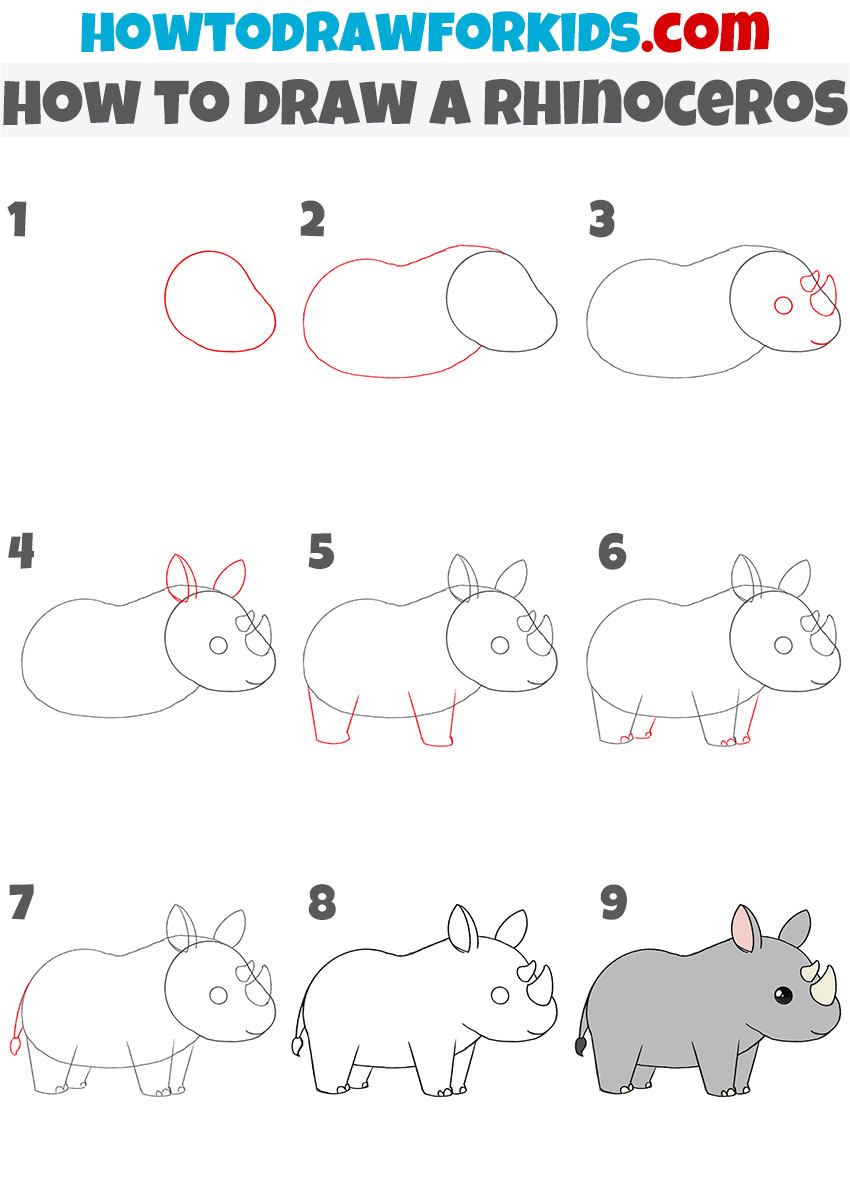
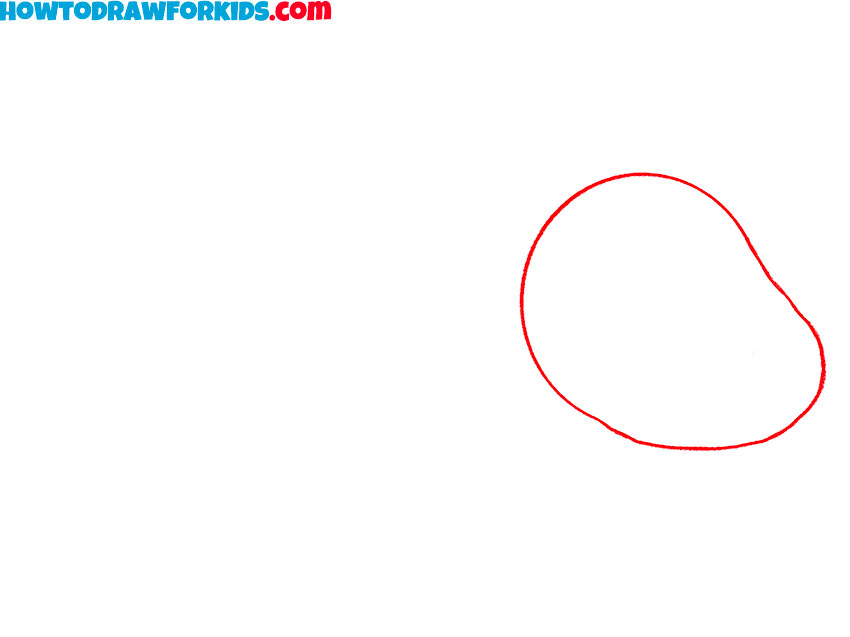
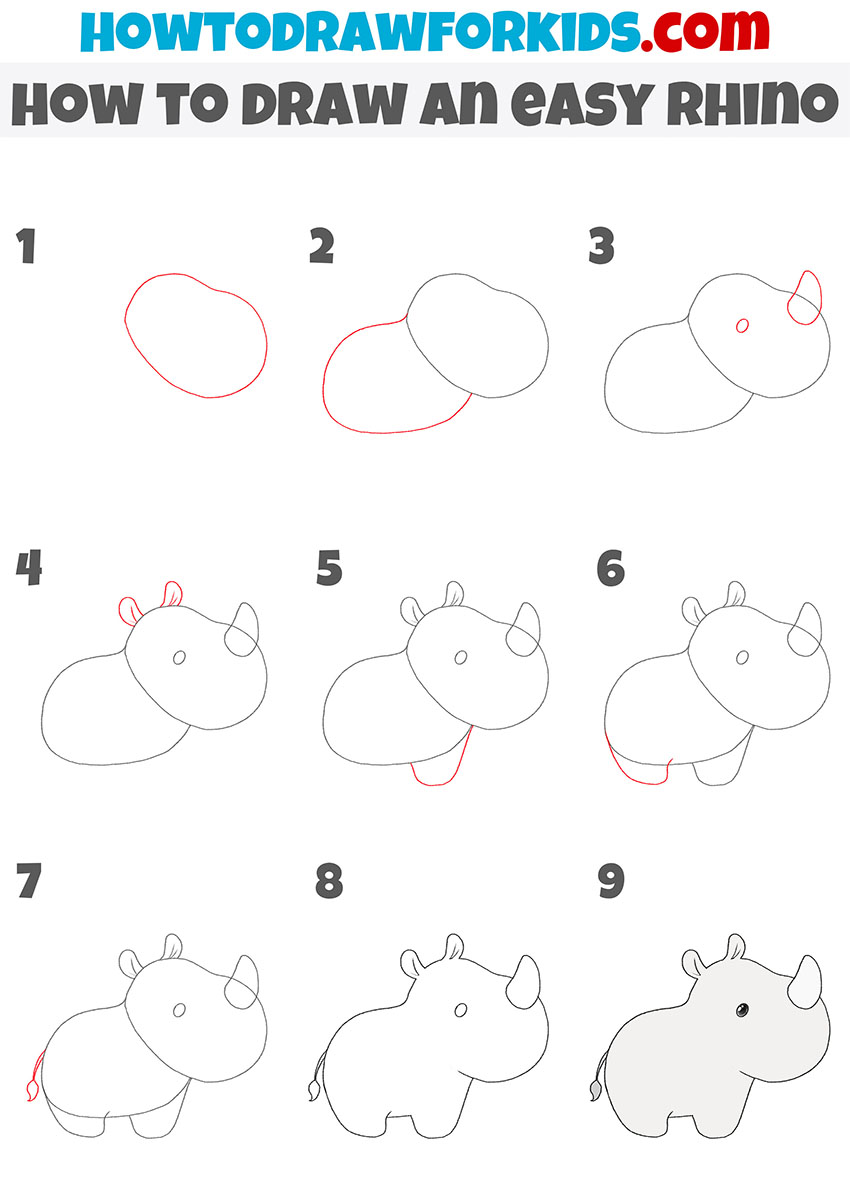
How to Draw a Rhinoceros
- Draw the rhino’s head shape.
Start by drawing the basic shape of the rhinoceros’s head. To do this, sketch a rounded shape with a slight curve on one side. This shape should resemble a slightly tilted oval with a more defined bump on the right side where the rhino’s snout will be. Draw the rhino’s head using light liens.
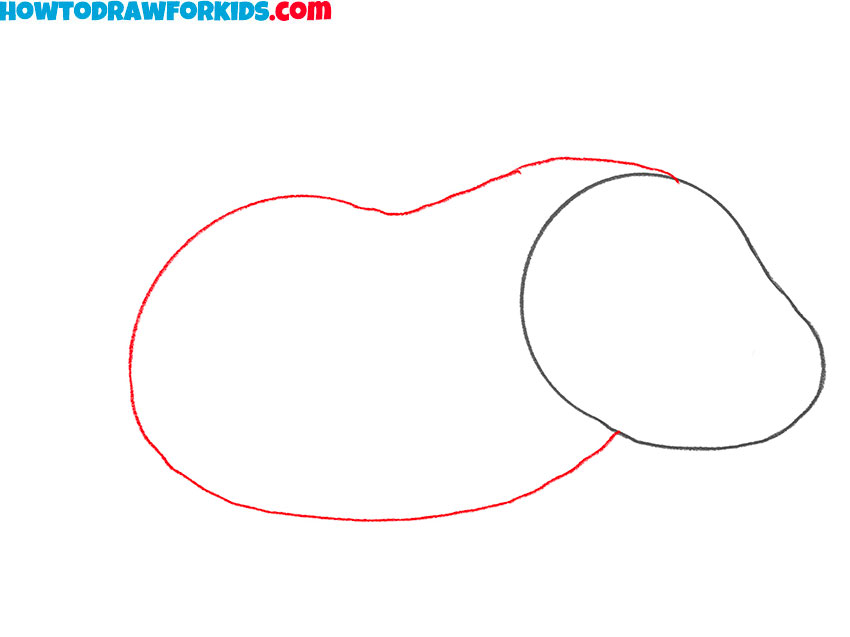
- Outline the body of the rhino.
Next, draw the body of the rhinoceros by adding a large, rounded shape behind the head. This should be an elongated oval that connects smoothly with the head shape. Keep your lines simple and light, as you will refine the shape later when adding legs, facial features, and other details.
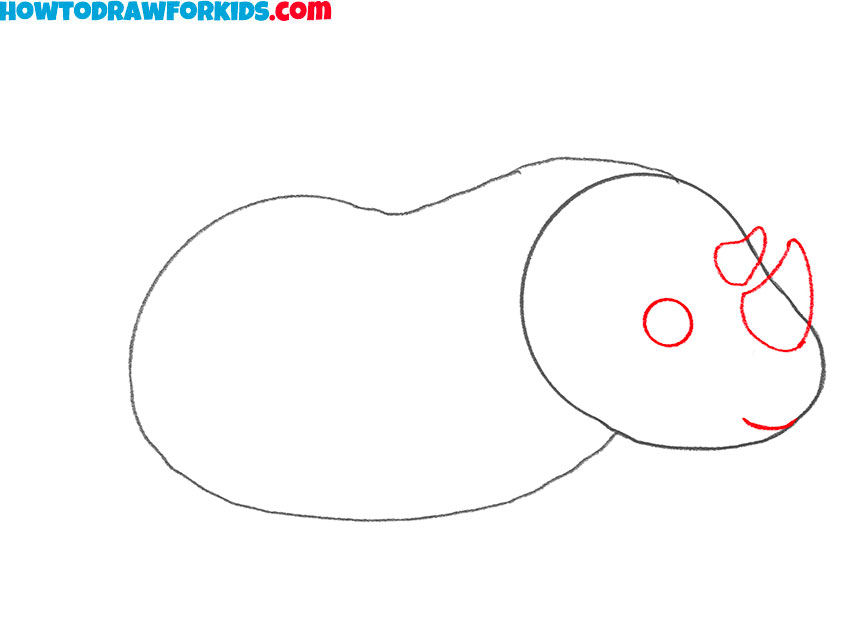
- Add the facial features and horns.
Start by drawing a small circle for the eye slightly above the center of the head shape. Then, sketch a short, curved line for the mouth near the lower part of the snout. Next, add the two iconic horns on the rhino’s nose. The front horn should be larger, while the second horn, positioned slightly behind it, should be smaller.
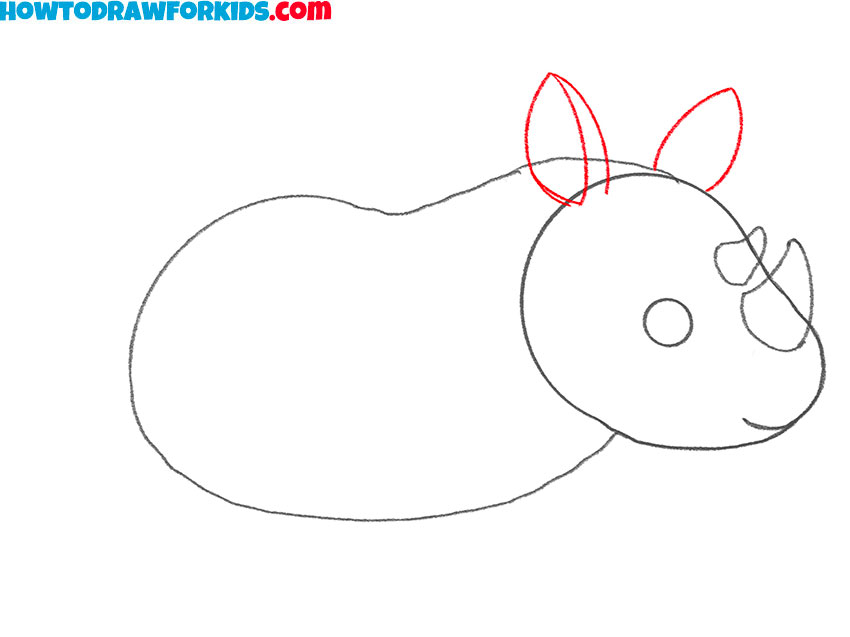
- Draw the ears of the rhinoceros.
With the head structure complete, it’s time to add the ears. Draw two pointed, slightly curved ears on top of the head. The ears should resemble rounded triangles with a slight curve at the tips. Keep in mind, that rhinoceroses have relatively small ears compared to their large heads.
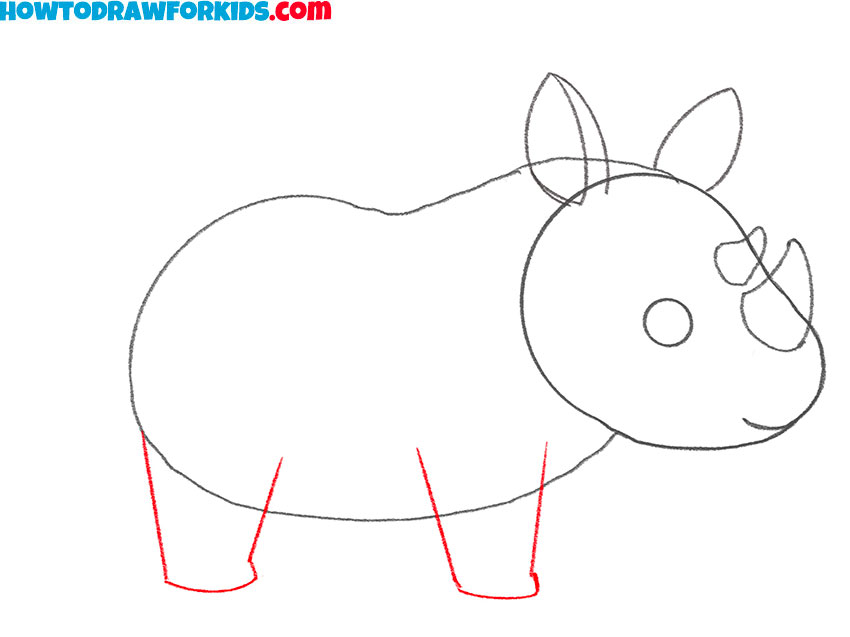
- Start sketching the legs.
Draw two thick, slightly curved legs extending downward from the body. Each leg should be relatively short and wide, highlighting the rhino’s stocky build. The legs should taper slightly towards the bottom, ending with small, rounded feet.
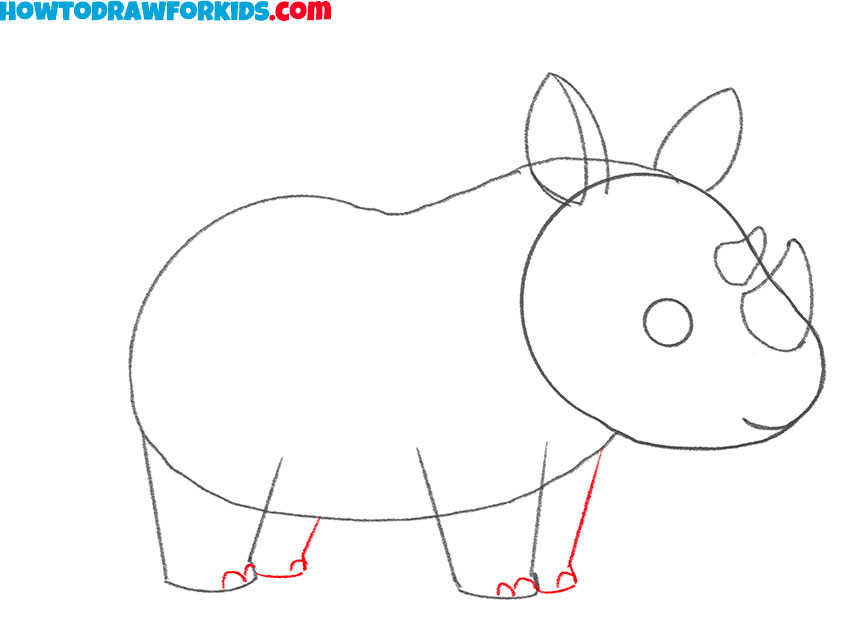
- Add the remaining legs.
With the first pair of legs in place, add the remaining legs using a similar approach. These legs should be positioned slightly behind the front legs, creating dimension in the drawing. After that, draw the nails, sketching small curved lines at the bottom of the legs.
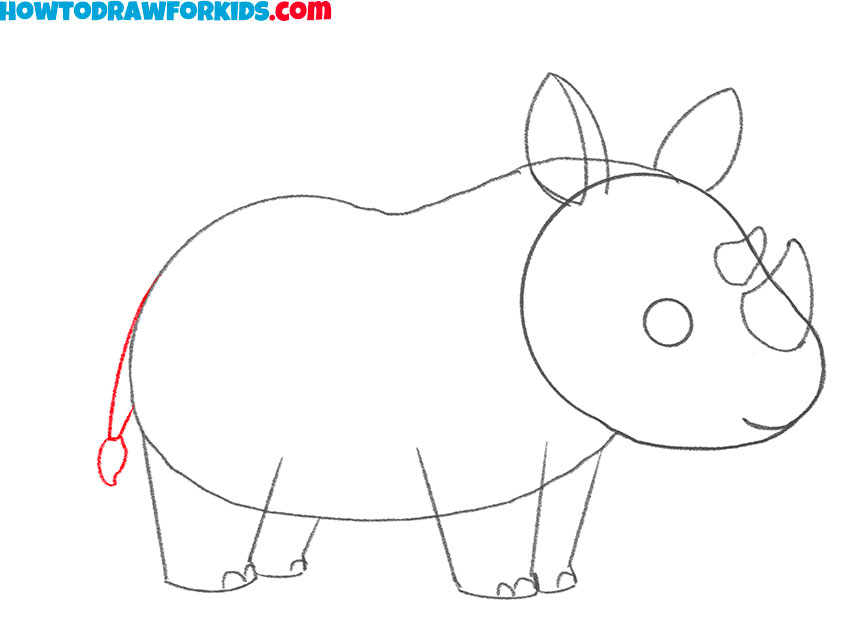
- Illustrate the tail.
The tail of the rhino should be short and slightly curved, extending from the rear of the body with a small, rounded tip at the end. Keep in mind, that rhinoceroses have relatively thin tails compared to their large bodies. Keep the lines smooth and simple, following the cartoon-like style of the drawing.
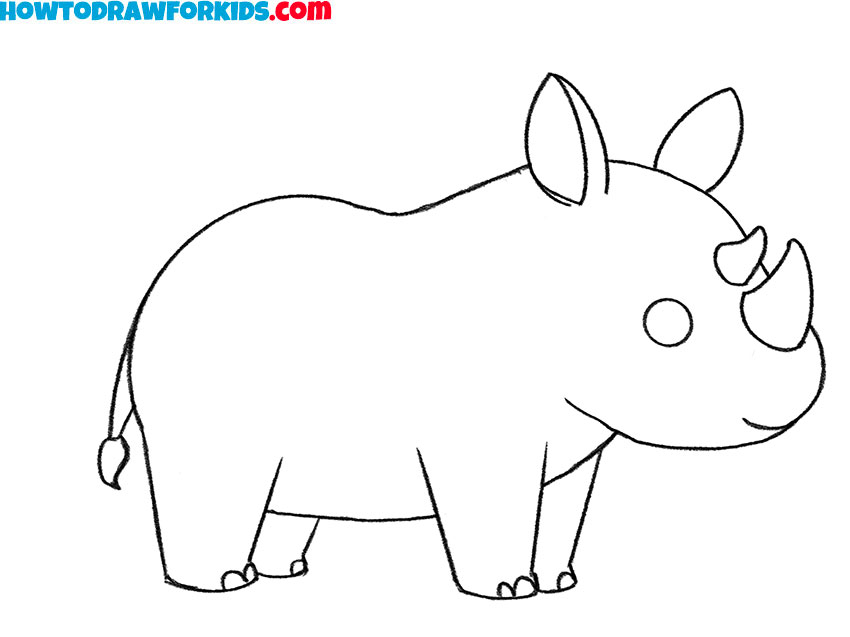
- Finalize the basic sketch.
Now that all the main features are in place, go over the entire rhino drawing, refining the lines and erasing any unnecessary guidelines. You can slightly adjust any areas that look uneven or incorrect. This step is important for giving the rhinoceros drawing a clean, finished appearance before moving on to coloring.
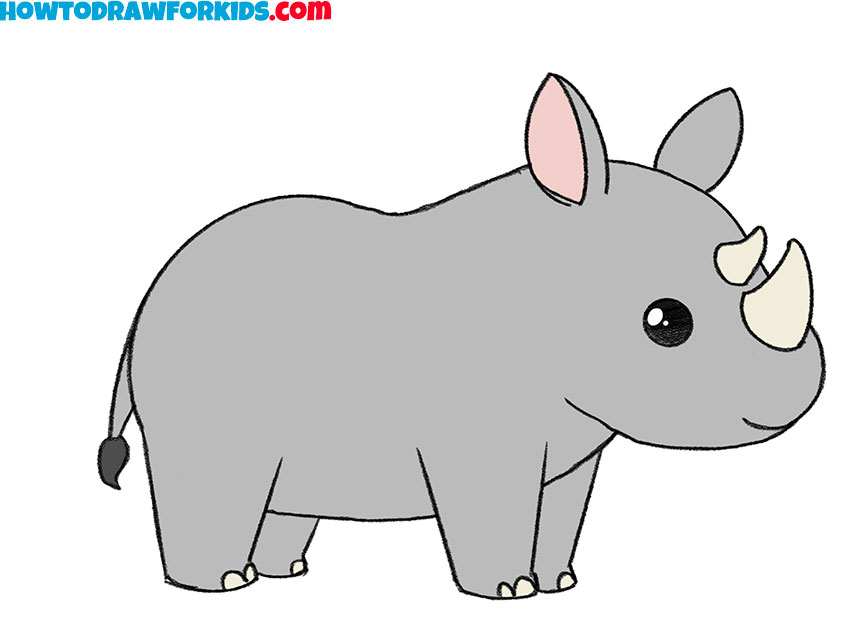
- Color the rhinoceros.
Typically, rhinoceroses have grayish-brown skin, so use a shade of gray to fill in the body. You can make the horns a slightly lighter shade of gray or beige to differentiate them from the rest of the body. Color the inner parts of the ears a soft pink. Color the eye black with a small highlight inside for a realistic look.
Additional Content
Alongside our interactive drawing lesson, I’ve created a free, downloadable PDF that neatly compiles the essential steps for drawing a rhinoceros. This brief version is ideal for quick access and is designed to be user-friendly for children, allowing them to practice drawing without needing a constant internet connection.
You can take this PDF with you on car rides, to the park, or simply use it at home. It serves as a convenient offline tool to help young artists develop their skills and enjoy the drawing process wherever they are.
How to Draw a Baby Rhinoceros
With the basic rhinoceroses drawing tutorial is complete, let’s try to draw a baby rhino step by step. This method simplifies the process even further, using rounder, softer shapes and fewer details to make it easier for beginners. The most noticeable differences between this and the first drawing tutorial are the more compact body proportions, the larger head in relation to the body, and the simplified legs.
Start by drawing the head as a rounded shape with slight bumps to suggest facial structure. Add a larger oval behind it to outline the body. Draw a small horn on the front of the head and place a dot for the eye. Attach two small rounded ears on top of the head. Add a simple front leg by extending a curved line from the bottom of the body.
Draw the second front leg slightly behind the first, keeping the shapes rounded and minimal. Complete the body by sketching two short, wide back legs. Attach a small curved tail with a rounded tip at the rear of the body. Finalize the outline by reviewing the proportions. Color the rhino in a light gray tone, keeping the eye black and adding subtle shading if desired.
To make your artwork more interesting, you can draw a tree for the background. Below the legs of the rhino, you can draw grass or ground. Also, you can draw the sun to create an interesting landscape behind the rhino.
Conclusion
How much time did it take you to learn how to draw a rhinoceros using my lesson? Which of the two rhinoceros drawing tutorials did you like the most? Did you draw the adult rhinoceros from the first lesson or the baby rhinoceros from the second, or did you draw both? Share your thoughts in the comments on this article and let me know what animal drawing guides you would like to see in the future on my website.
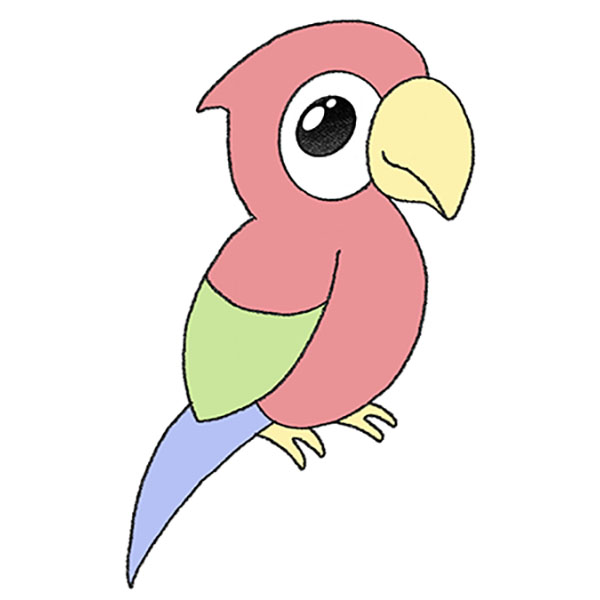
I’d also like to remind you that my website already features a wide variety of drawing tutorials on many different animals. Using these simple instructions, you can learn to draw a bird. Or you might prefer to draw a rat, another highly recognizable animal, but with a completely different physics.


Your pictures are very nice 👌 👍 😍 👏
I love them 💗 💓 ♥️ 💕 💛 💖 💗
Thank you. Really nice to see you like the tutorials.