How to Draw Falling Leaves
In this tutorial, you will learn how to draw falling leaves. I am sure you will enjoy this step-by-step guide and have a good time.
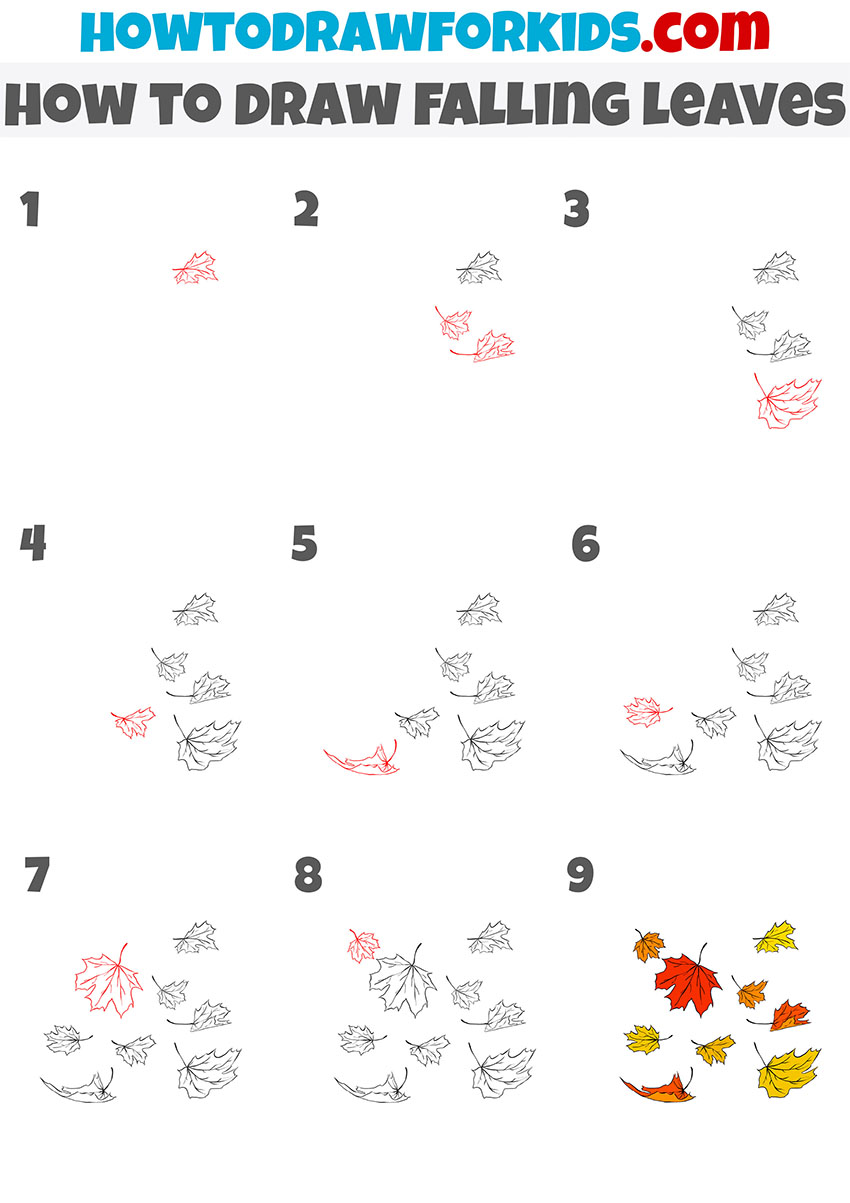
Now I will show you how to draw falling leaves. Undoubtedly, this lesson will be very useful for you and you can use the acquired skills in the future.
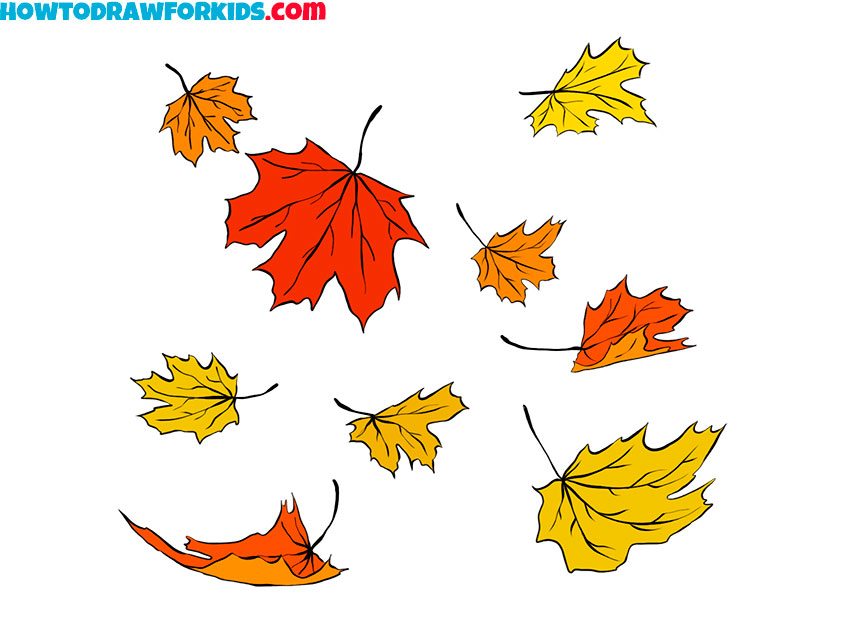
For example, you can draw the same leaves when you want to draw an autumn landscape. The picture shows realistic maple leaves that are in motion and one after another fall to the ground.
The leaves are depicted in different positions, and you have a great opportunity to practice drawing leaves from different angles. For coloring, use several shades of yellow, orange, and red. Use the brightest shades to get a rich, beautiful drawing.
Materials
- Pencil
- Paper
- Eraser
- Coloring supplies
Time needed: 30 minutes
How to Draw Falling Leaves
- Draw the first leaf.
Determine the approximate location of the leaves and start drawing the first leaf.

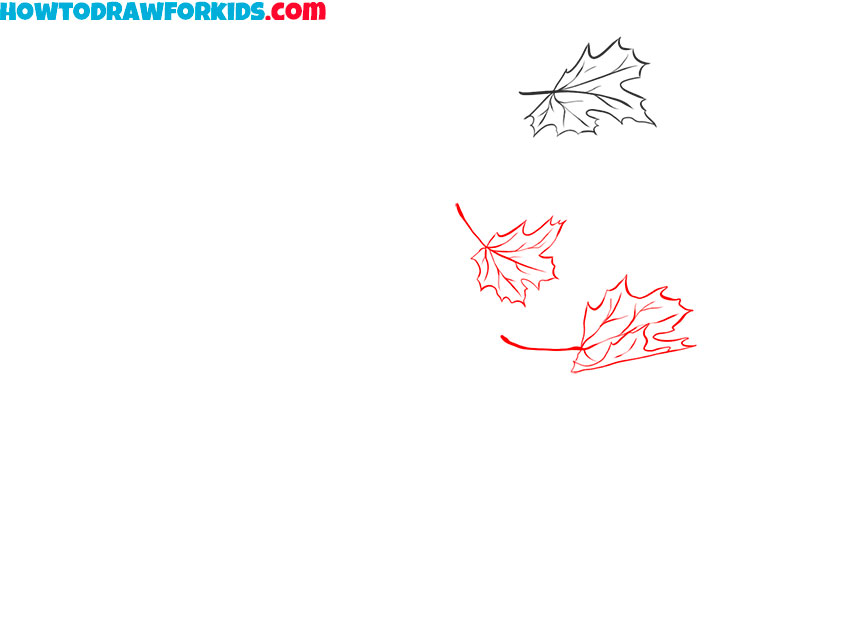
- Add the next two leaves.
Just below, add two more leaves in the same position as in the example.
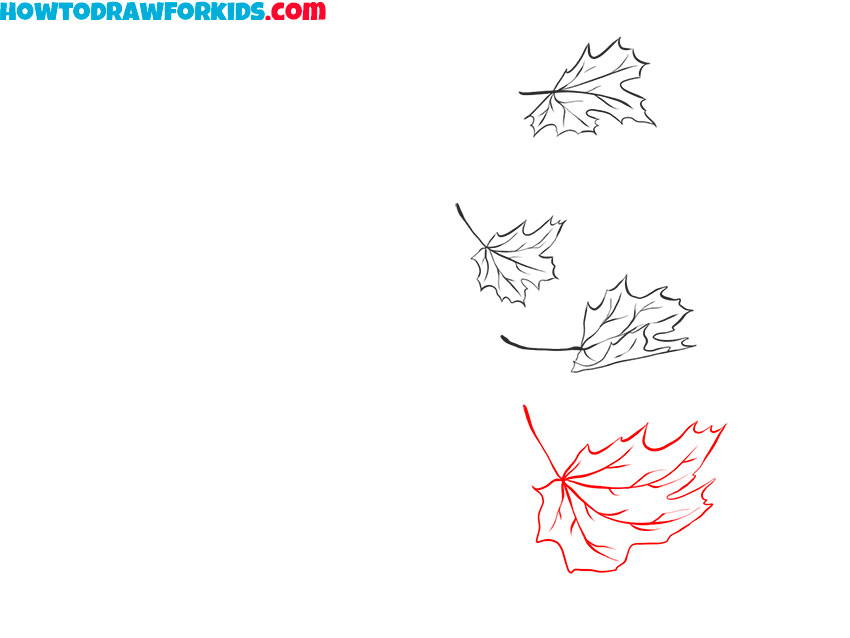
- Depict the next leaf.
Add the large leaf that has a curved shape.
- Sketch out the small leaf.
Add the small leaf to the side.
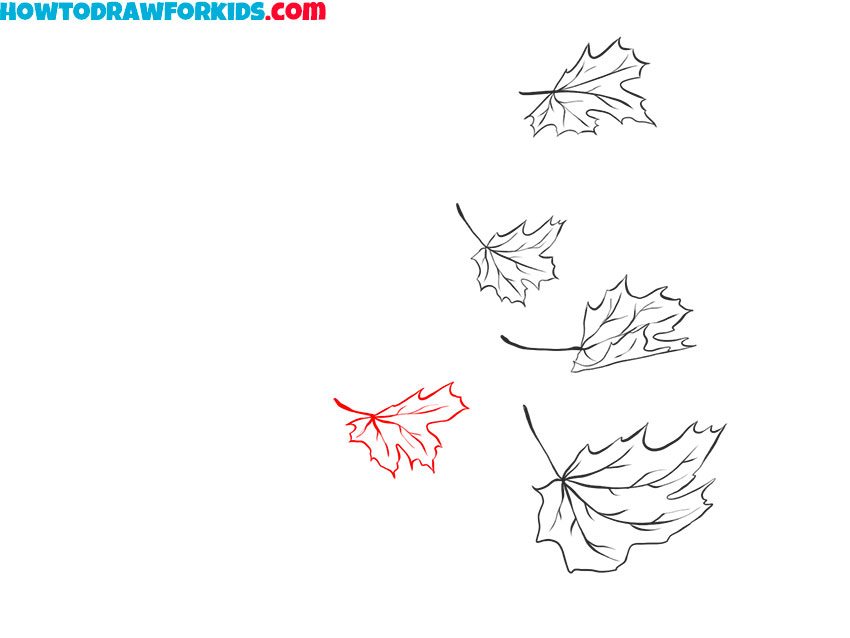
- Draw one leaf at the bottom.
At the bottom of the drawing, add the leaf, which is shown on the side.
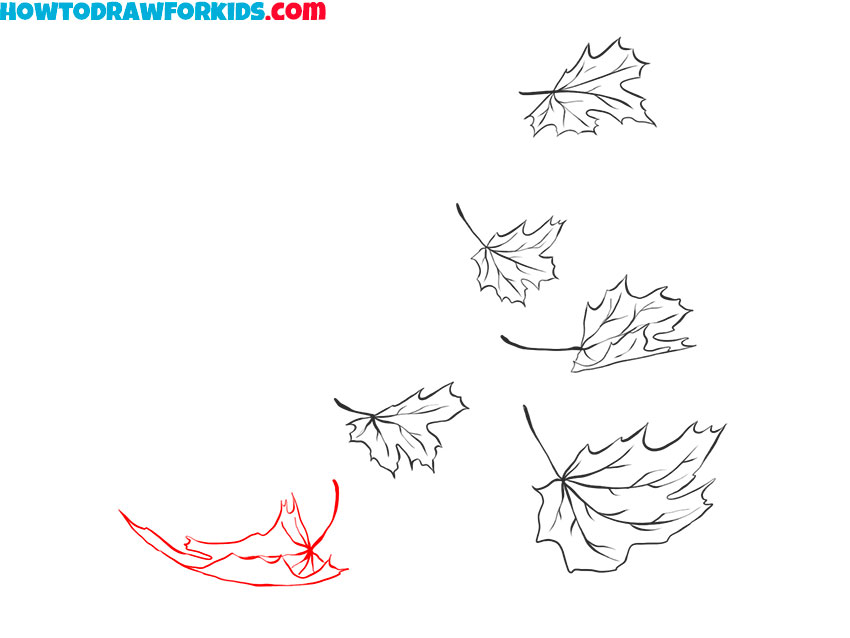
- Depict the next leaf.
Sketch out another small leaf.
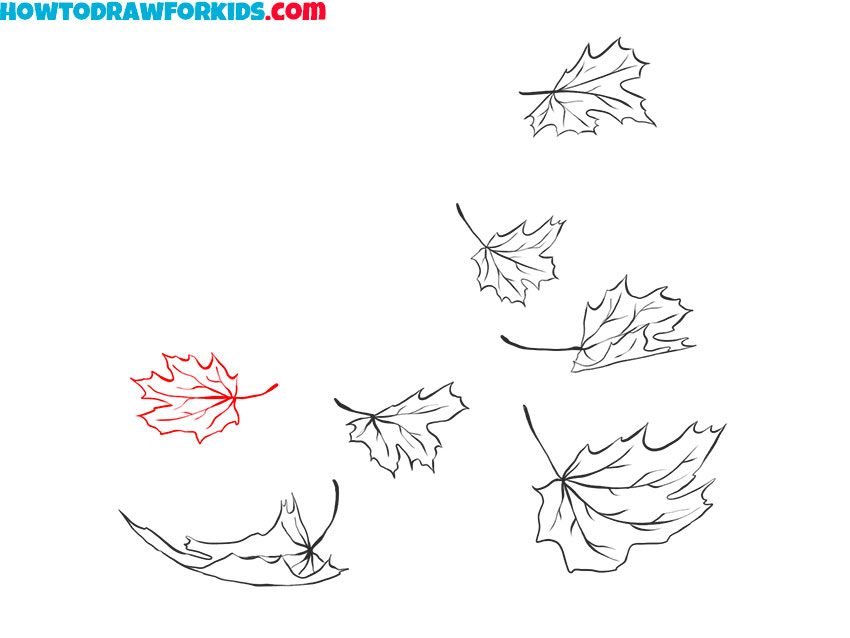
- Add the largest leaf.
Draw another maple leaf, which is larger than all the other leaves.
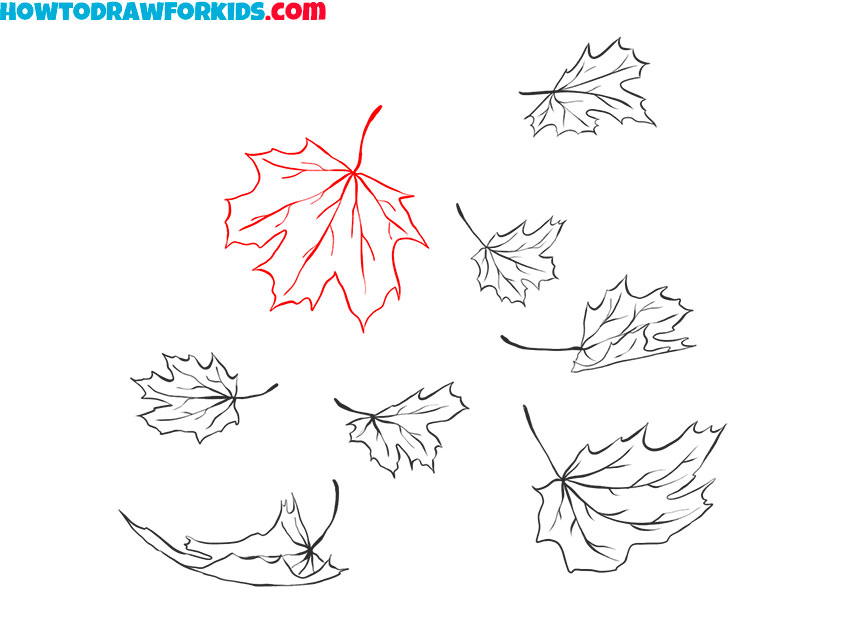
- Draw the last leaf.
It remains only to draw the last small leaf.
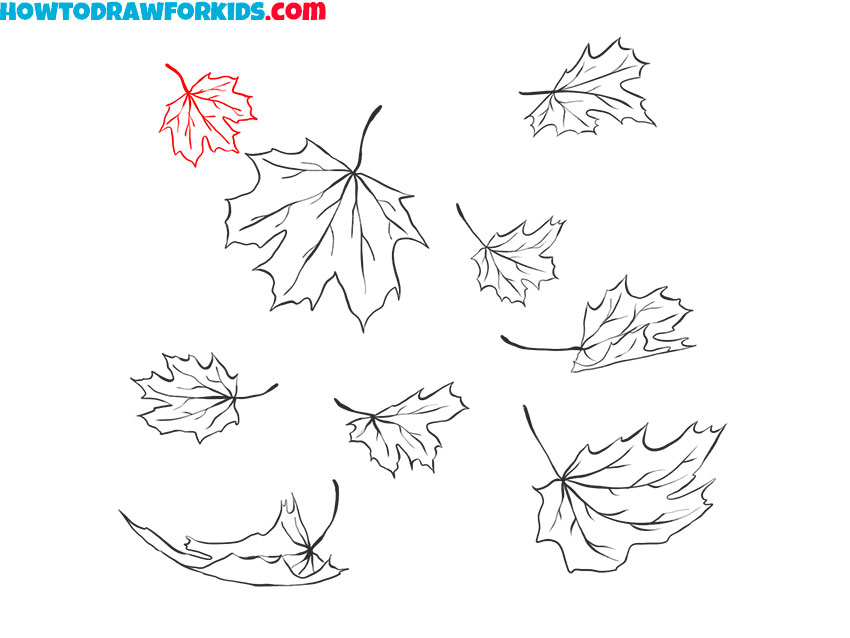
- Color the falling leaves.
You will need yellow, orange, and red.

Finally, I suggest you download a short version of the lesson in PDF format for free. If you save this file, you can return to this lesson at any time.


