How to Draw a Leaf
In this simple drawing tutorial, you will learn how to draw a leaf step by step. This lesson will be very easy.

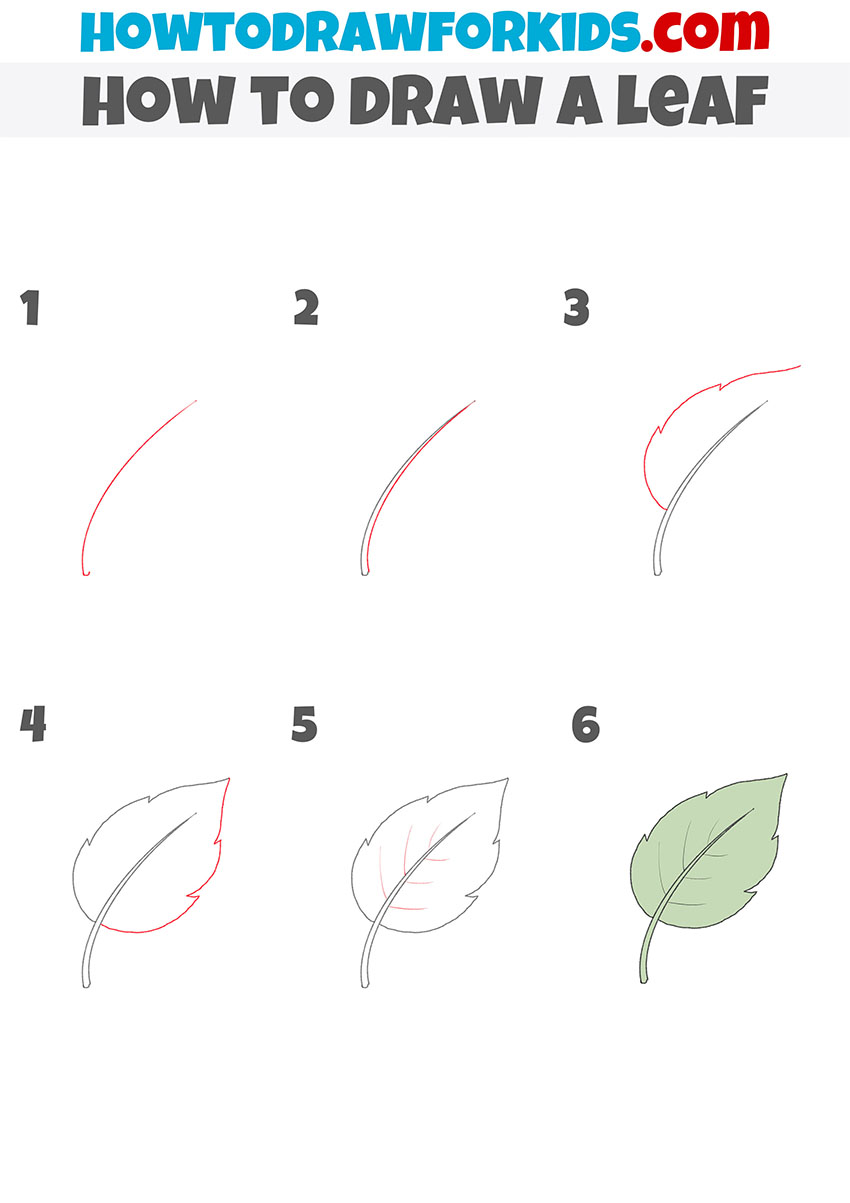
I have prepared for you this useful drawing lesson, in which I will tell and show you how to draw a leaf step by step. This lesson consists of only six steps, each of which is supplemented by detailed instructions.
This lesson will be very helpful for you, as you will be able to apply the skills learned in this lesson to many of your future paintings. For example, you can depict a tree, bush or flower, and you can also use the image of a leaf if you want to depict a natural landscape or flowers in a vase.
The leaves of plants are very important organs, since they provide air nutrition and gas exchange for plants. Usually, the leaves of plants are colored green.
Also on the leaves you can always see the veins that provide nutrition to the plant with useful substances and liquid coming from the root of the plants.
I suggest you prepare your art supplies and start this lesson right now. I hope that you will do great work with this task, and I wish you good luck with this drawing!
Leaf Drawing Tutorial
Materials
- Pencil
- Paper
- Eraser
- Coloring supplies
Time needed: 20 minutes
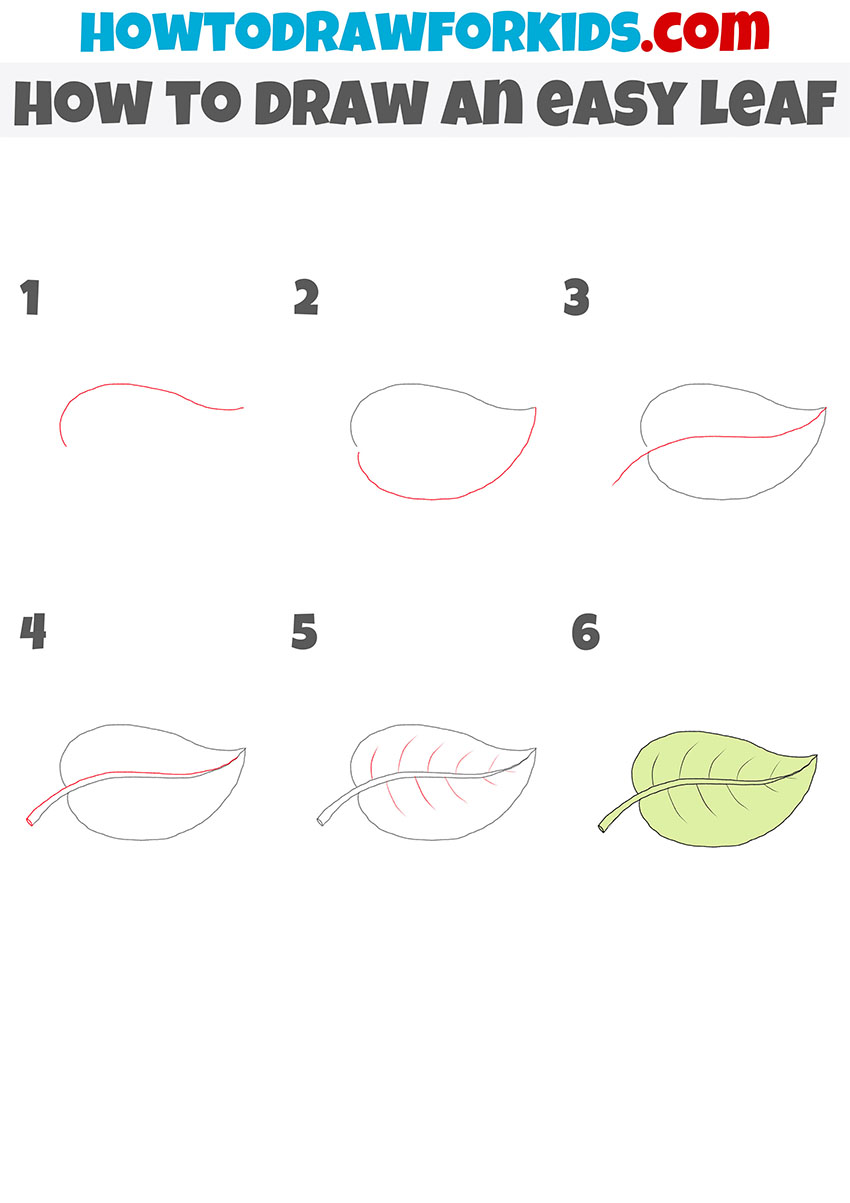
How to Draw a Leaf
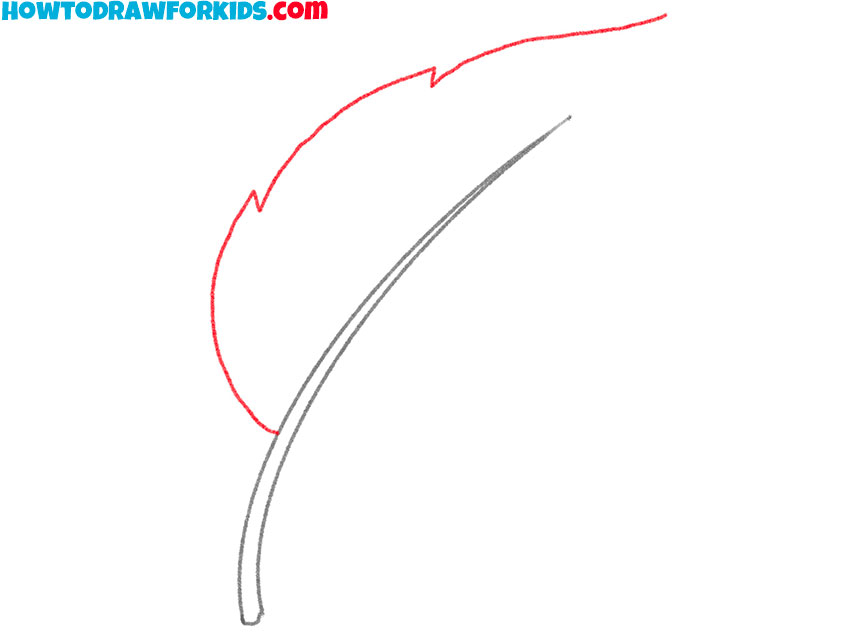
- Start drawing the stem of the leaf.
This step is going to be very simple, all you need to do is draw one curved line.

- Finish drawing the leaf stem.
Depict a curved line similar to the one previously drawn to connect its ends.

- Add the left side of the leaf.
Draw a few curved lines to depict the pointed tips of the leaf.
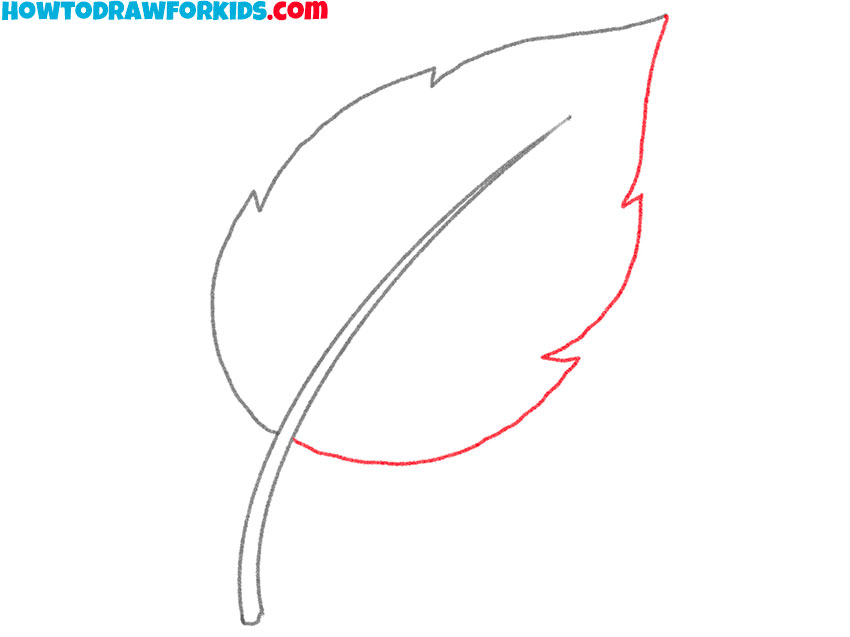
- Add the right side of the leaf.
Draw some lines to add a part of the leaf.
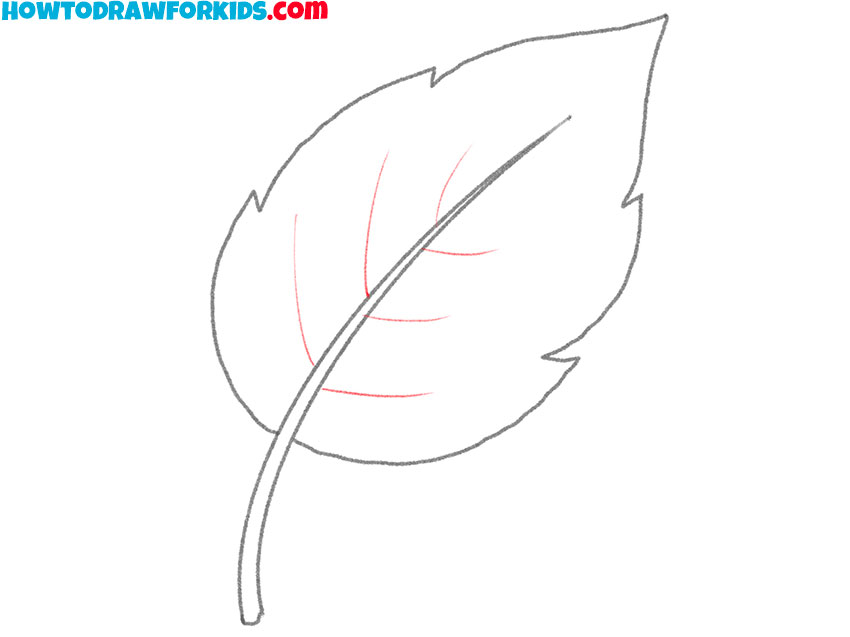
- Sketch out the veins.
Inside the leaf, draw several thin, curved lines of varying lengths.
- Color the drawing.
To color this leaf, use green.
As usual, I have prepared a PDF file for you, in which you can see a short version of this tutorial and useful materials that will help you complete it. Download this file right now in order not to lose this lesson and return to it at any convenient time.
How to Draw a Leaf: Alternative Method
Leaves are very different, and so are the methods of drawing. To master drawing even such simple things, I advise you to try a variety of ways. Let’s look at another one.
The figure shows a leaf of a standard form. This leaf shape is the most common. The leaf is divided into two parts and has a short stem. First you have to draw the outer contour, then you need to add small elements in the form of veins of various shapes.
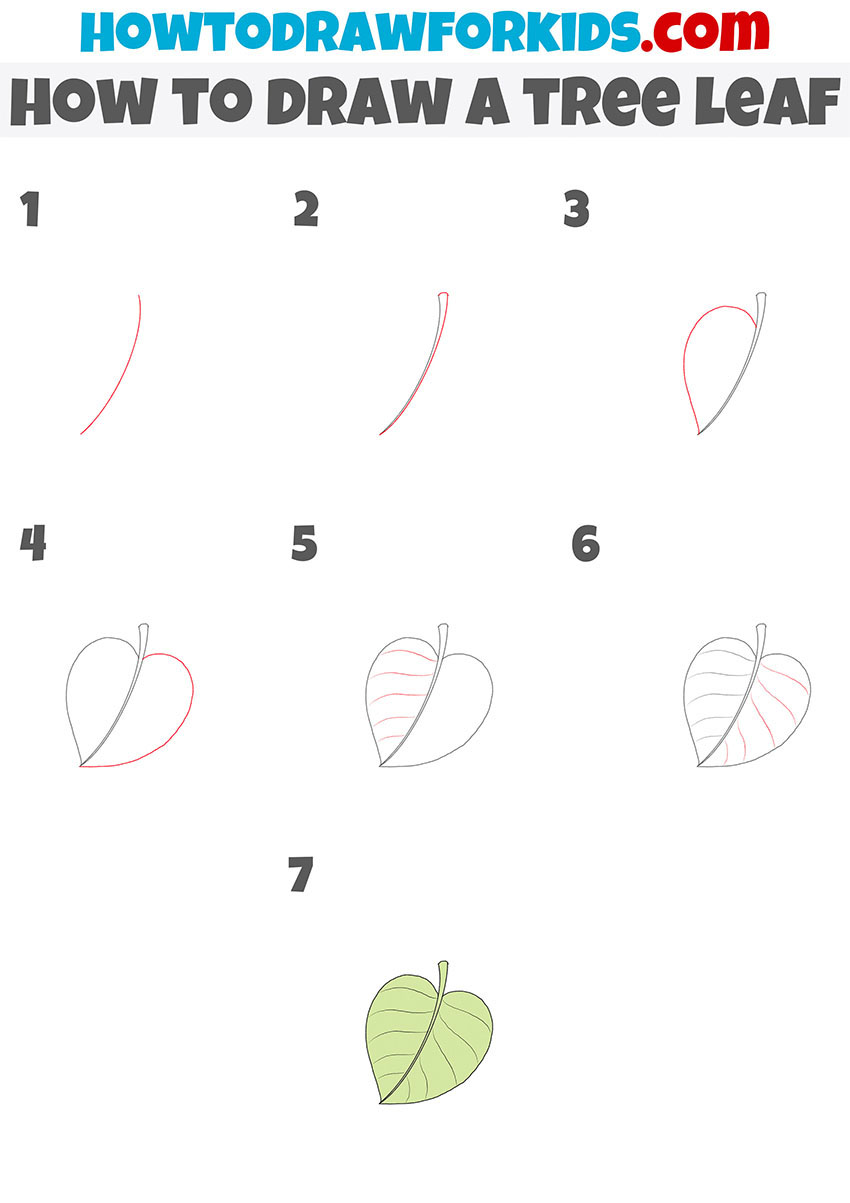
How to Draw a Leaf: Alternative Method 2
To draw a tree leaf with this lesson, you need to be able to draw smooth, curved lines. Surely, you have noticed that a feature of the leaves of trees is the presence of many veins on their surface.
The veins on the leaves are needed so that the leaf evenly receives the nutrients that come into it from the root of the plant. Thus, the veins on the leaves are the frame of the leaves and help them to be more dense, as well as evenly supply them with moisture and useful substances.
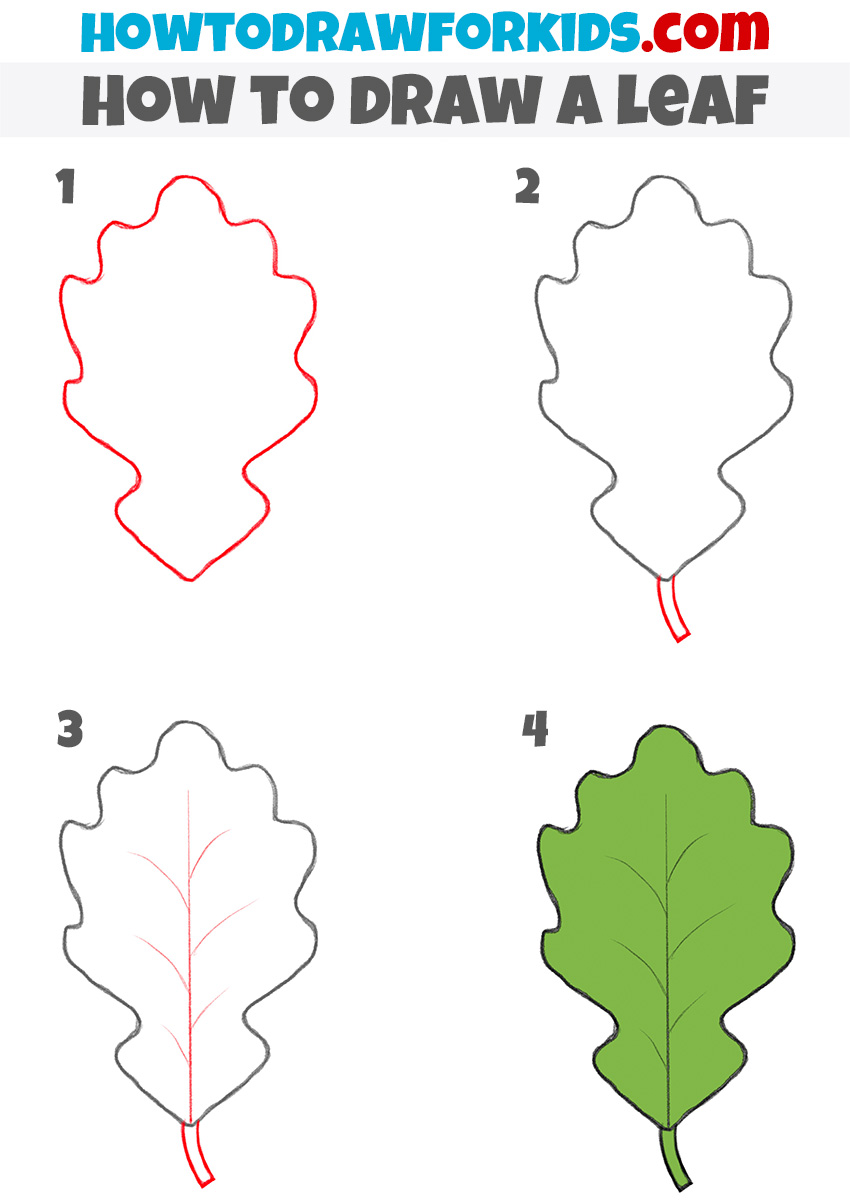
The Simplest Way to Draw a Leaf
This picture shows a leaf from an oak tree. As you can see, this mighty tree has a beautiful leaf shape. Oak leaves are oblong, along the edges they have wavy outlines, thin veins protrude on them in the middle.
Start drawing from the center vein of the leaf, alternately adding a wavy outline on both sides. Do not forget to draw a small tail with which the leaf is attached to the branch. To paint an oak leaf, you only need green.