How to Draw Snow
I bring to your attention a fascinating drawing lesson, in which I will tell you how to draw snow. This drawing lesson will be very simple.
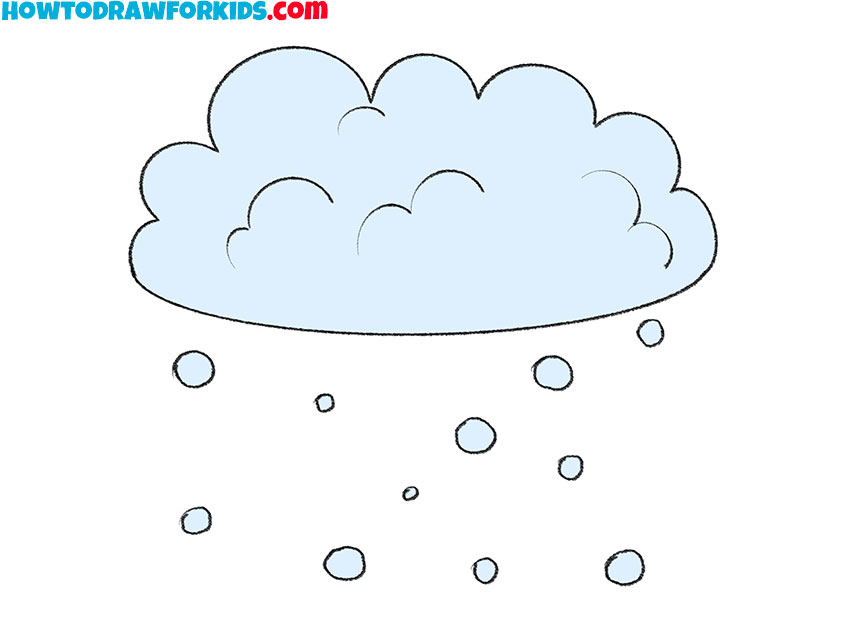
I have prepared for you a great drawing lesson that you will definitely enjoy, and in it, you will learn how to draw snow step by step.
I developed this step-by-step guide specifically for beginner artists and children, so in this tutorial you will not encounter elements that are too difficult to complete. This is another useful lesson on depicting natural phenomena.
When you learn how to draw snow with this easy tutorial, it will help you use those skills to draw many of your other pictures. You will become a more experienced artist and will be able to complement the natural landscape, forest, mountains, city landscape or any other picture you have drawn with the image of snow.
Materials
- Pencil
- Paper
- Eraser
- Coloring supplies
Time needed: 20 minutes
How to Draw Snow
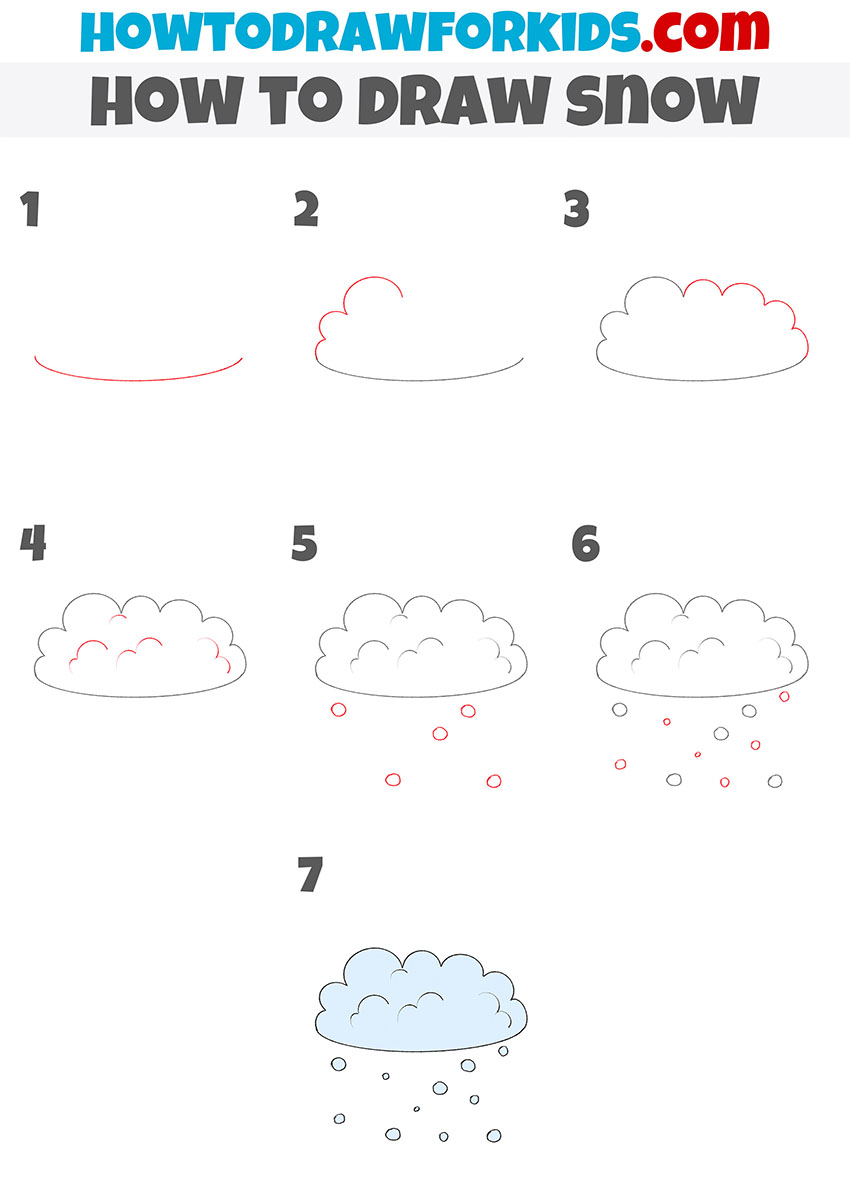
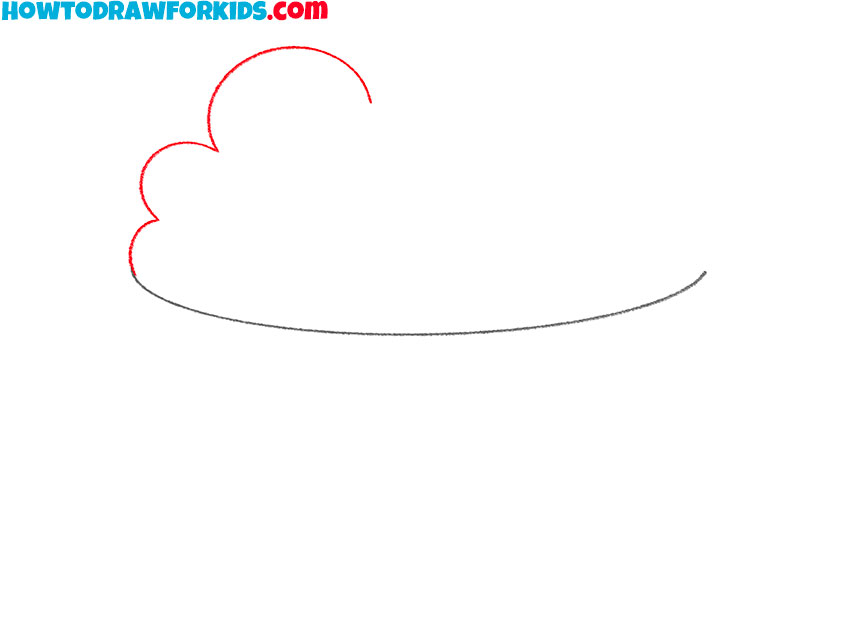
- Start drawing the snow cloud.
To depict the bottom of the cloud, draw one arc, as shown in the figure.

- Continue drawing the cloud.
From the left end of the previously drawn line, draw a few more arcs of different sizes.
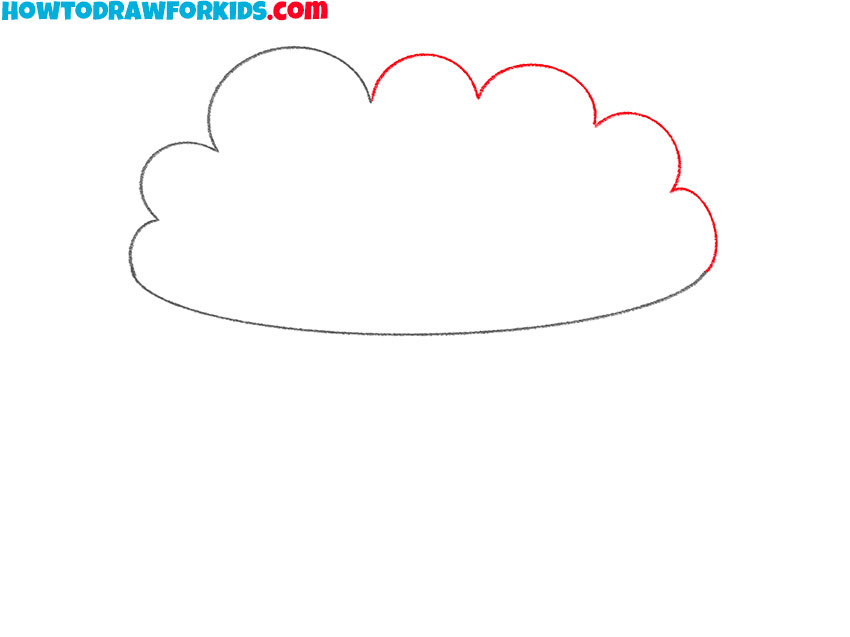
- Finish drawing the outline of the cloud.
Connect the previously drawn arc to the bottom of the cloud using several arcs.
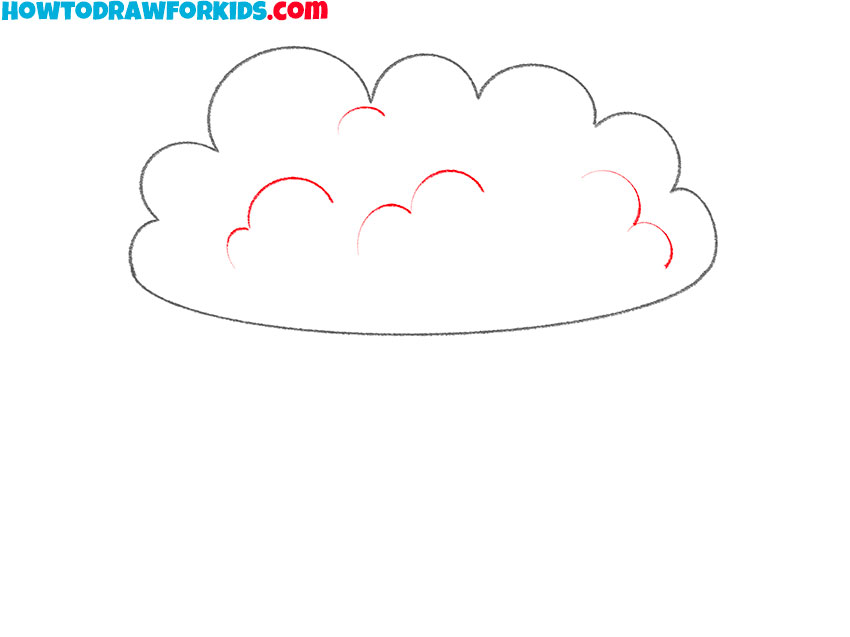
- Make the snow cloud look voluminous and realistic.
To complete this step, you need to draw several arcs of different sizes on the surface of the cloud.
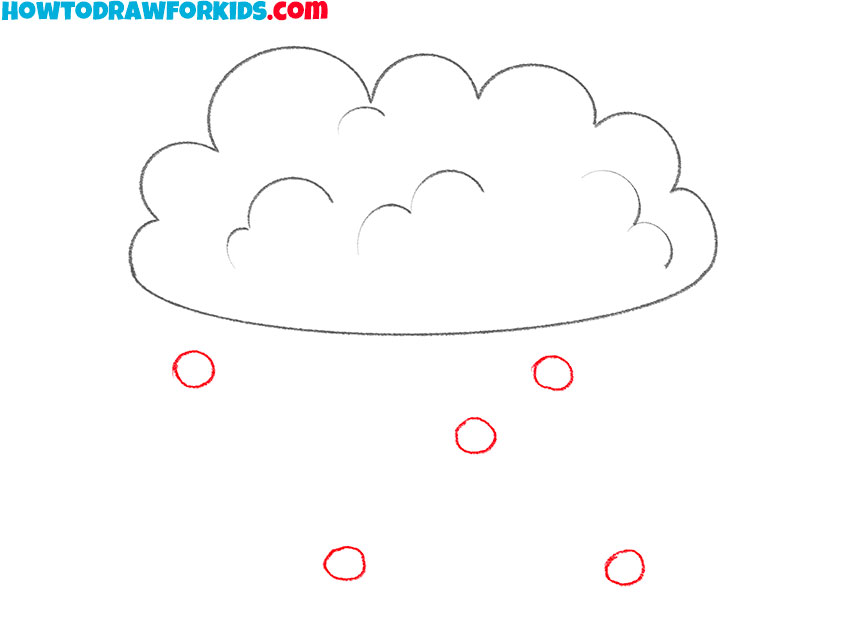
- Sketch out some snowflakes.
Below the previously drawn snow cloud, depict a few circles, as shown in the figure.
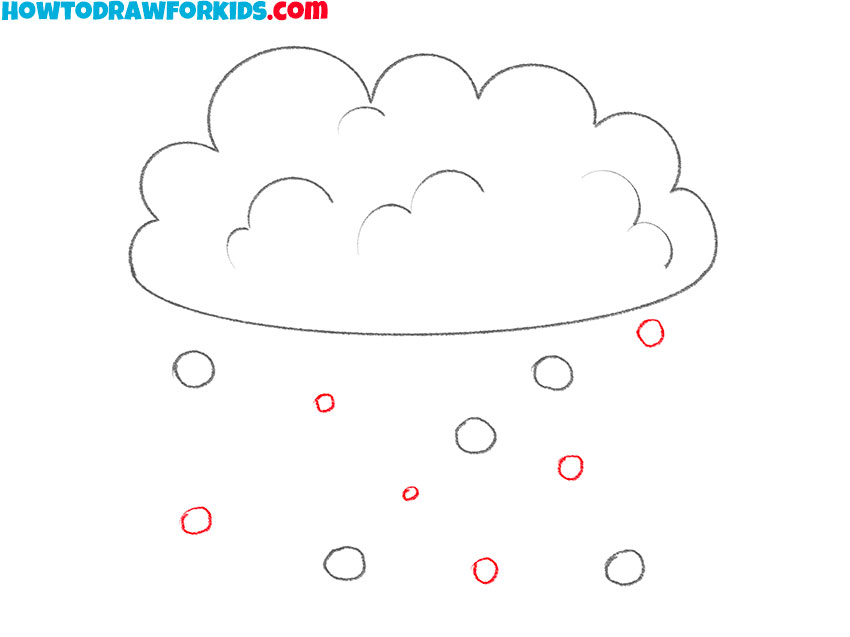
- Add some more snowflakes.
Next to the previously drawn circles, draw a few more circles of different sizes.
- Color the drawing.
Usually we see white snow, but to depict this in the picture, use blue.

You can offer your ideas for future drawing lessons. Download the PDF file, which contains a short version of this lesson, as well as additional useful materials for you.

