How to Draw a Snowman
Let’s learn how to draw a snowman in my three easy ways! I’ll guide you through each step, making it simple for kids to craft their frosty friend. Whether it’s your first time drawing or you’re a seasoned little artist, these techniques are perfect for all skill levels. Let’s make winter art fun!
How to Draw a Snowman: Basic Information
Welcome, young artists, to a frosty session of creativity where we will learn how to draw a snowman. We start with simple circles to build the snowman’s body, ensuring each step is clear and doable. By the end, you’ll have a cheerful snowman, complete with a hat and a smile.
Then, I’ll guide you through adding details like the snowman’s coal eyes and carrot nose. It’s all about having fun while learning the contours and shapes that make up our frosty friend. Keep your eraser handy and your imagination ready as we explore the art of snowman-making together.
As we prepare to draw a snowman, remember that each line brings us closer to our chilly, cheerful friend. With our imaginations ready and pencils in hand, we’re about to embark on a frosty artistic journey that will warm your hearts with joy and creativity. Get ready to transform simple shapes into a snowman with personality and charm!
Snowman Drawing Tutorial
Materials
- Pencil
- Paper
- Eraser
- Coloring supplies
Time needed: 30 minutes
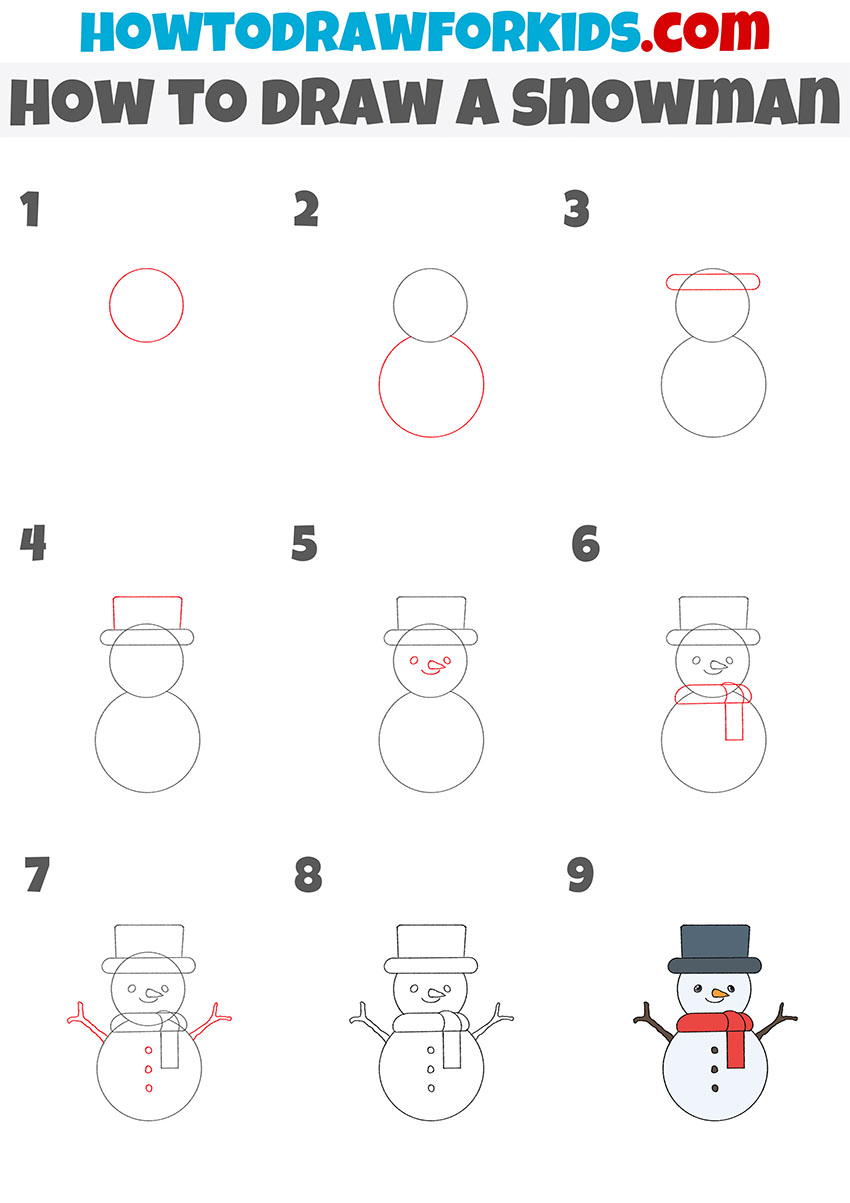
How to Draw a Snowman
- Draw the head.
Start by drawing a perfect circle at the top of your page to form the snowman’s head. Use a steady hand and try to make the circle as smooth as possible without any sharp edges.

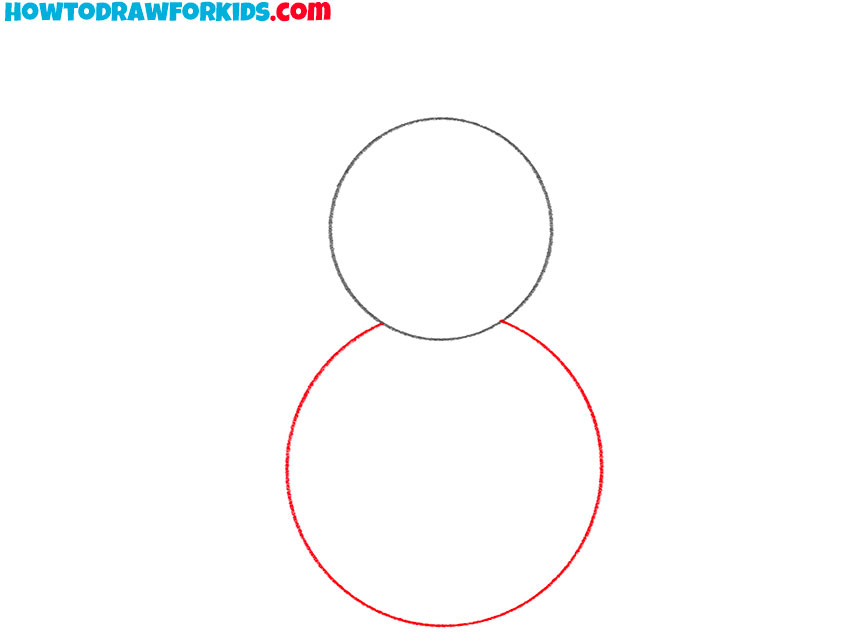
- Add the torso.
Directly below the first circle, draw a larger circle for the snowman’s midsection. Ensure it’s slightly overlapping the bottom of the head to give a sense of depth and connection between the snowman’s body parts.
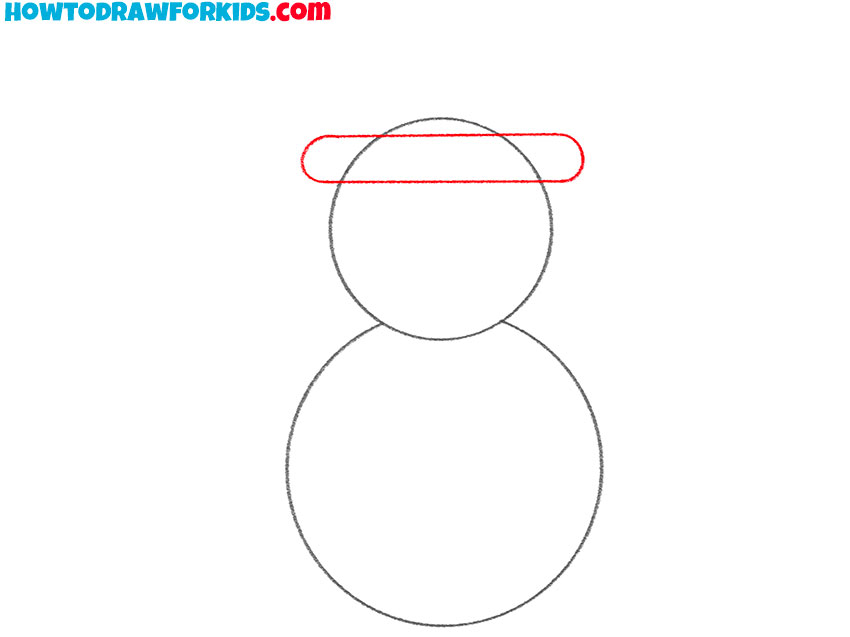
- Depict the brim of the hat.
Add a smaller horizontal oval on top of the head to outline the snowman’s hat. The oval should be centered and just slightly wider than the head to create a balanced look.
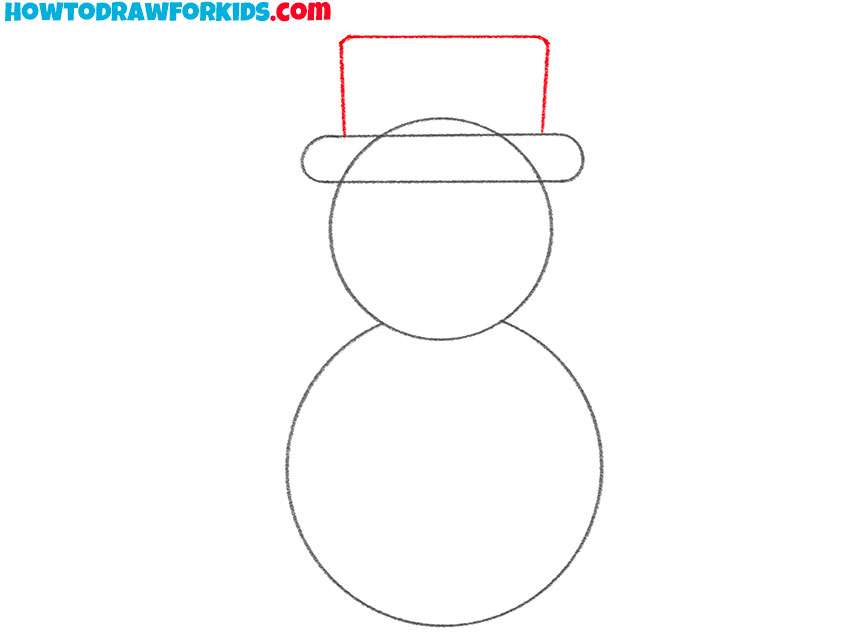
- Add the rest of the hat.
Draw a rectangular shape above the horizontal oval to complete the top of the hat. It should have soft edges and be proportionate to the oval below it, resembling a classic top hat.
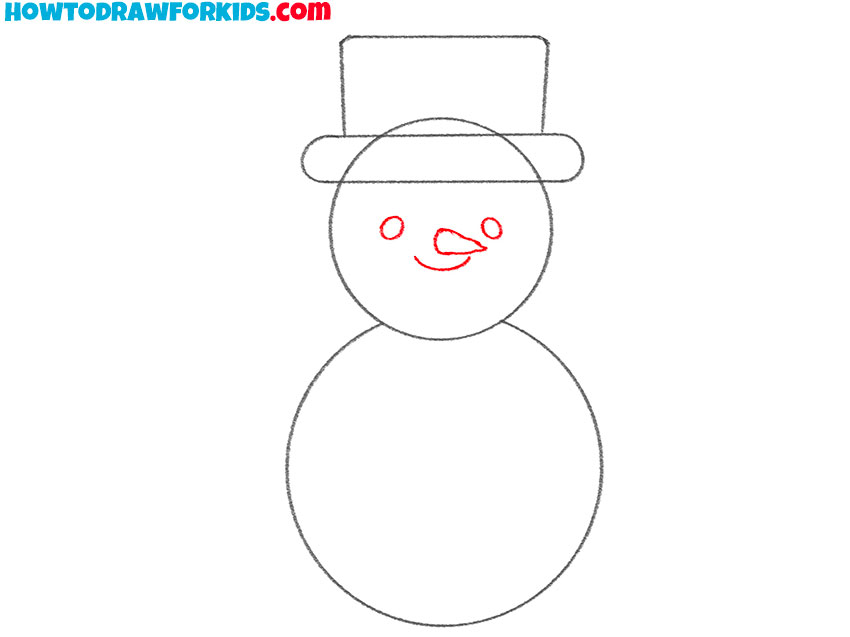
- Draw elements of the face.
Sketch two dots for the eyes, a curved line for the mouth, and a small carrot-shaped triangle for the nose to bring the snowman’s face to life. These facial features should be simple yet expressive.
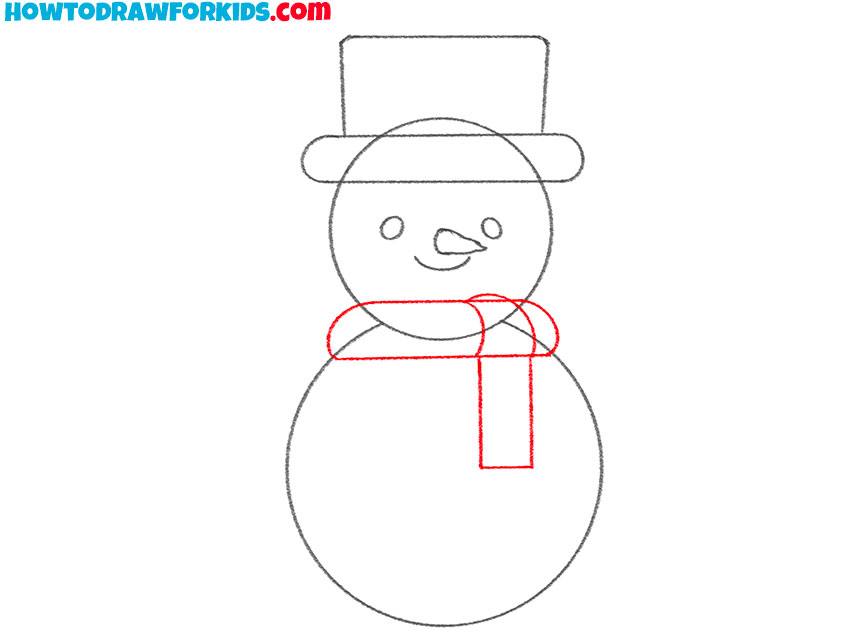
- Depict the scarf.
Outline a scarf around the snowman’s neck by drawing two rectangles—one under the head and the other hanging down the front. The lines should be slightly curved to suggest the fabric’s folds.
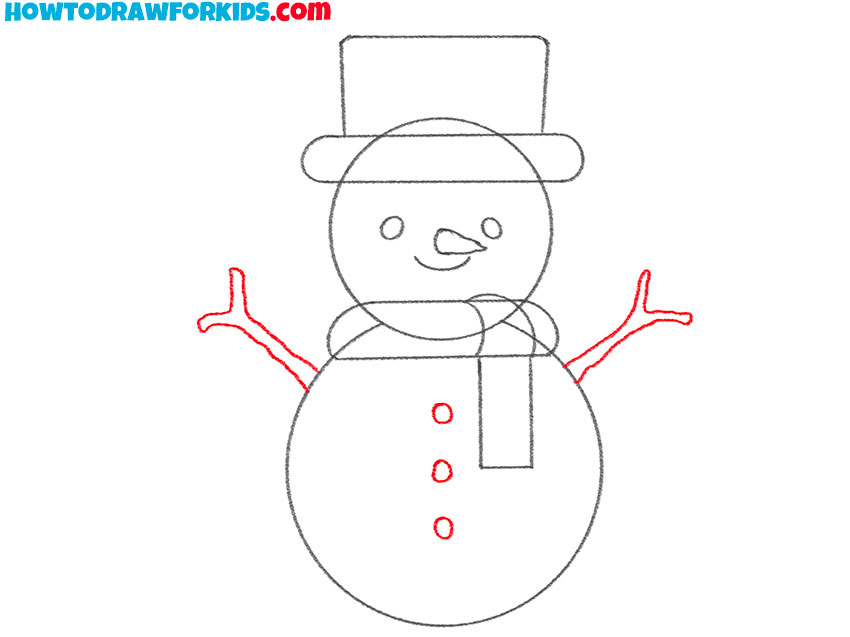
- Add the arms and buttons for the torso.
For the arms, extend two branches from the sides of the midsection. Use jagged lines to represent wooden twigs, adding a natural and whimsical touch to the snowman’s appearance.
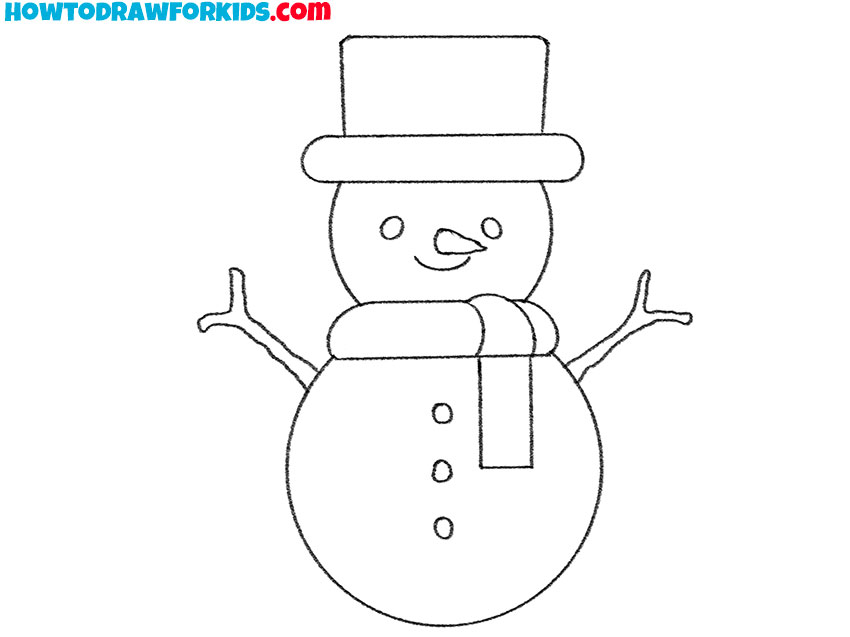
- Correct inaccuracies.
Look at your snowman, evaluate the proportions of the head and body, as well as the correct placement of details, such as the hat, carrots or branches. Proceed to the next step if everything is ok.
- Color the snowman.
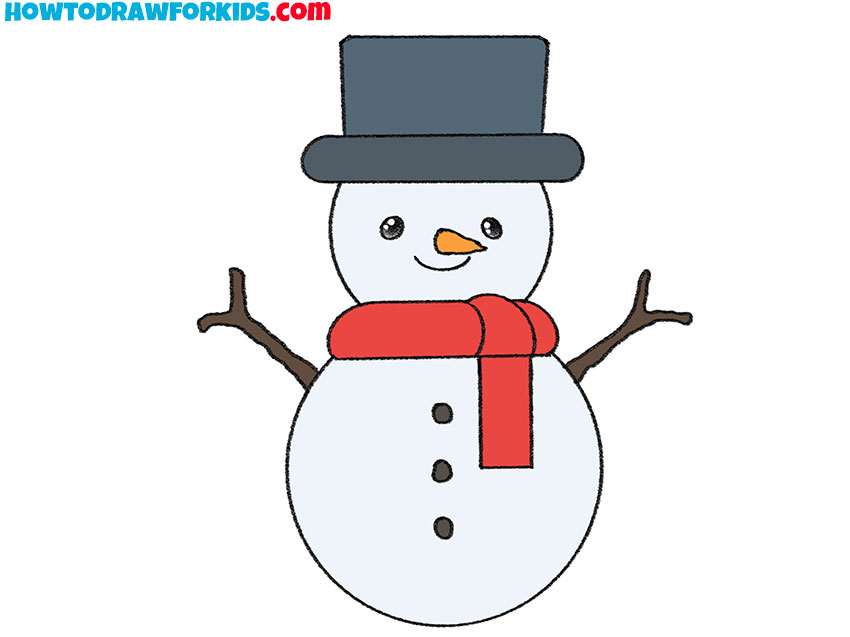
Finalize your snowman by coloring it. Use shades of orange for the nose, black for the hat, eyes, and buttons, and red for the scarf. Add a touch of light blue shading on the body to suggest the snow’s reflective quality.
Additional Content
Exciting news for all my budding artists out there! Alongside our interactive lesson, I’ve crafted a free PDF file, a condensed version of our snowman drawing tutorial. This handy guide is downloadable, so you can enjoy learning anytime, anywhere—even without an internet connection.
It’s filled with illustrations and tips, ensuring that your creative journey doesn’t hit any icy patches. So, whether you’re at home, on a trip, or just enjoying the great outdoors, your artistic adventure is just a click away.
Alternative Drawing Techniques
For those of you who have already mastered our basic lesson, I have something extra special! I’ve developed several alternative drawing techniques that will push your artistic boundaries and refine your skills. So, get ready to practice, improve, and most importantly, have loads of fun with your snowy creations!
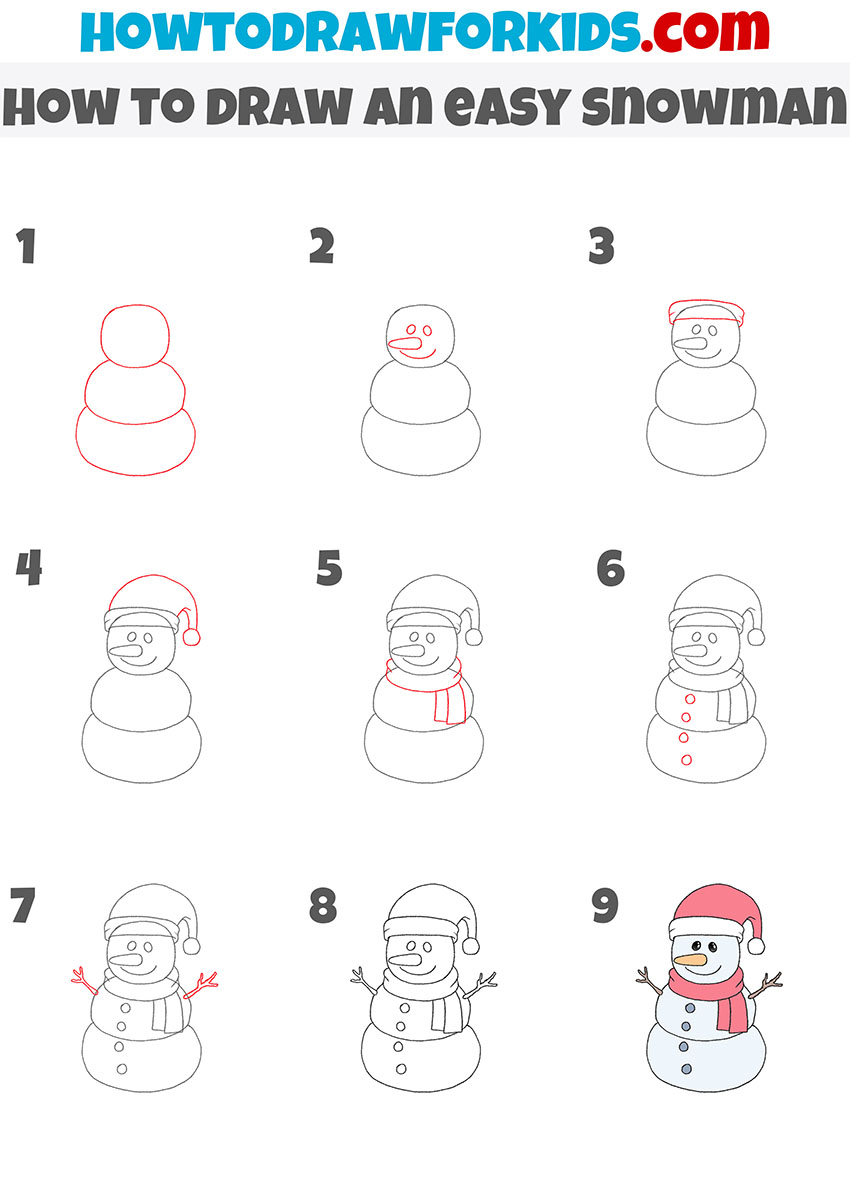
Drawing a Snowman with a Santa Hat
In this drawing method, you’ll learn how to create a cheery snowman adorned with Santa’s hat, adding a festive touch to your winter scenes. It’s a fun and straightforward approach, where you’ll start with basic shapes to form the body and then add elements like the jolly hat and a warm scarf.
The final touches will bring your snowman to life, ready to spread holiday cheer. This method is perfect for those who love the spirit of the season and enjoy adding character to their drawings.
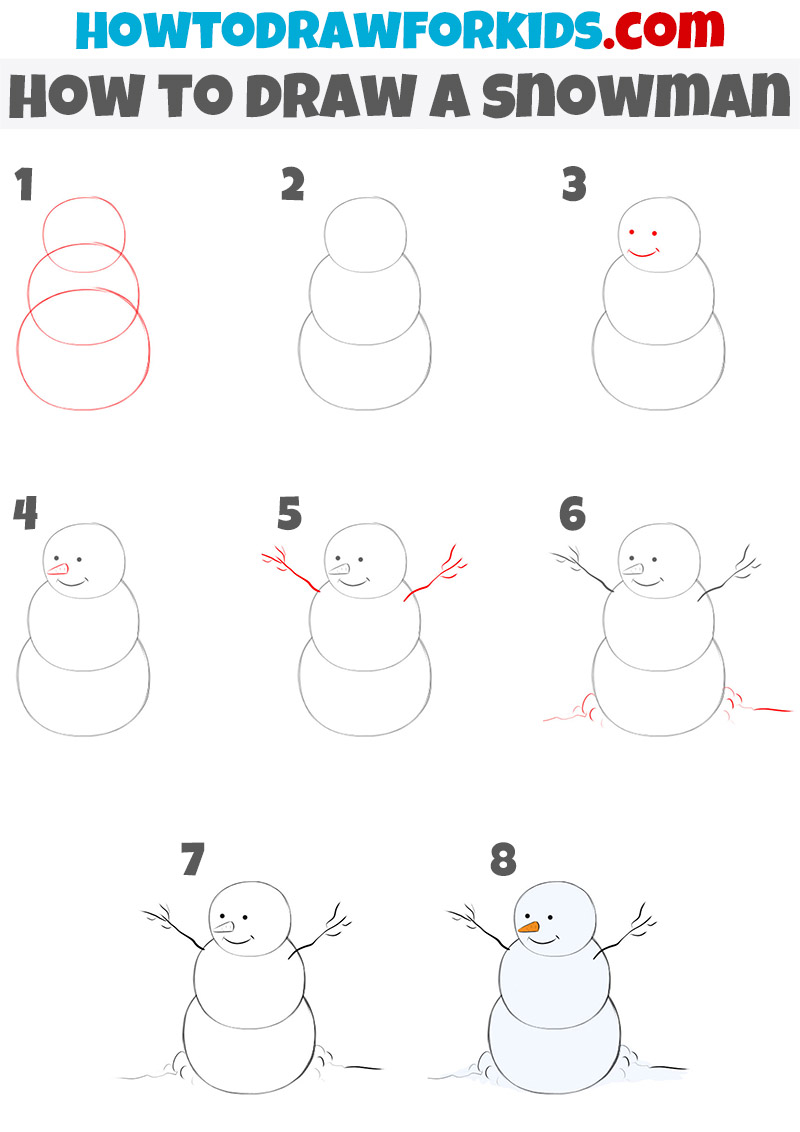
How to Draw a Realistic Snowman
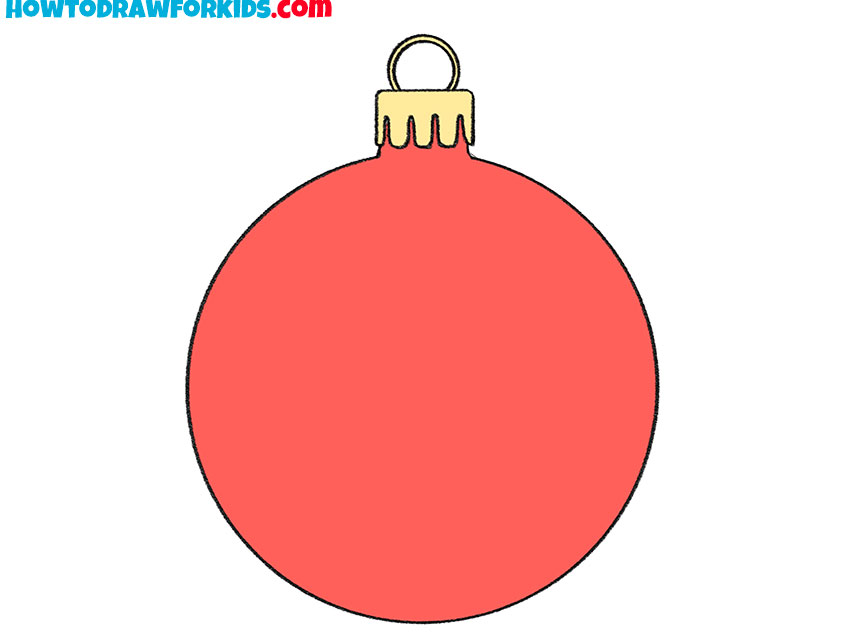
So, this technique of drawing presents an exceptionally simple yet charmingly realistic snowman. The design utilizes dots to represent the eyes, a carrot for the nose, and sticks for the arms, emulating the traditional snowman that many might build on a snowy day.
Despite the simplicity, the illustration captures the essence of a snowman with minimal details, making it not only accessible for artists of all ages, but also remarkably authentic in its appearance. It’s an excellent technique for teaching the basics of form and proportion while keeping the process fun and manageable.
Conclusion
Creating a snowman is just the beginning of an exciting drawing journey! On my website, you’ll find plenty more lessons – how about learning to draw the perfect cube or a delicious cake next?
Join my social media to stay updated with new lessons and handy tips. Drawing nurtures the imagination, and I’m here to make the process as enjoyable and enriching as possible. Let’s keep the creativity flowing – grab your pencils, and I’ll see you at the next lesson!