How to Draw a Spaceship
Today’s lesson lifts off into the space of science fiction as I teach you how to draw a spaceship with easy-to-follow steps. Aspiring astronauts and artists alike will find joy in sketching this symbol of human ingenuity.
How to Draw a Spaceship: Introduction
Have you ever gazed up at the night sky and marveled at the mysteries of space? I’m here to guide you through the steps on how to draw a spaceship, so you can bring a piece of the cosmos to your sketches. In this lesson, I’ll show a simple methodology that I’ve created, allowing my readers to illustrate this vehicle.
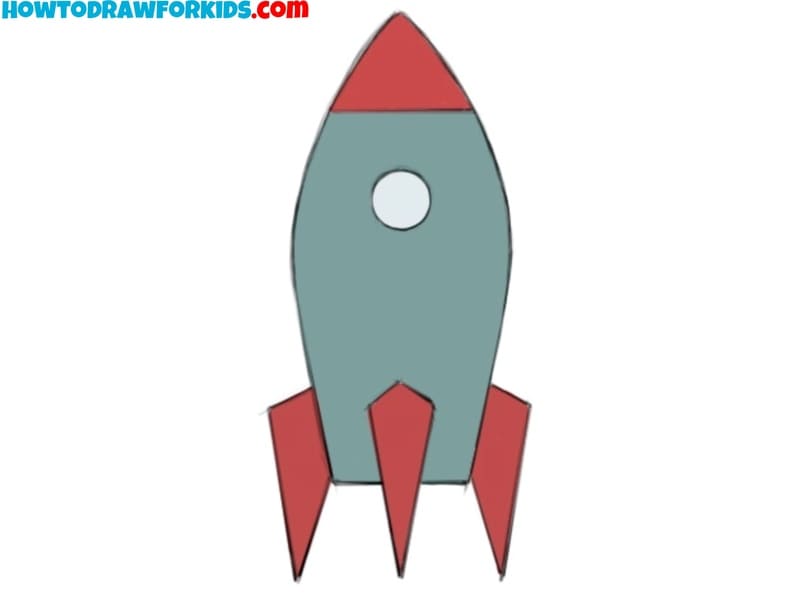
As we sketch the spaceship step by step, I’ll share the nuances of its design – the tapered hull, the sharp fins, and the circular viewport are more than mere features. Observe how each line contributes to the aerodynamic form, crucial for its imaginary voyages through the cosmos.
So, take your pencils, paper, eraser and other drawing supplies, sit comfortably and start drawing a spaceship with me.
Spaceship Drawing Tutorial
Materials
- Pencil
- Paper
- Eraser
- Coloring supplies
Time needed: 40 minutes
How to Draw a Spaceship
- Draw the main body.
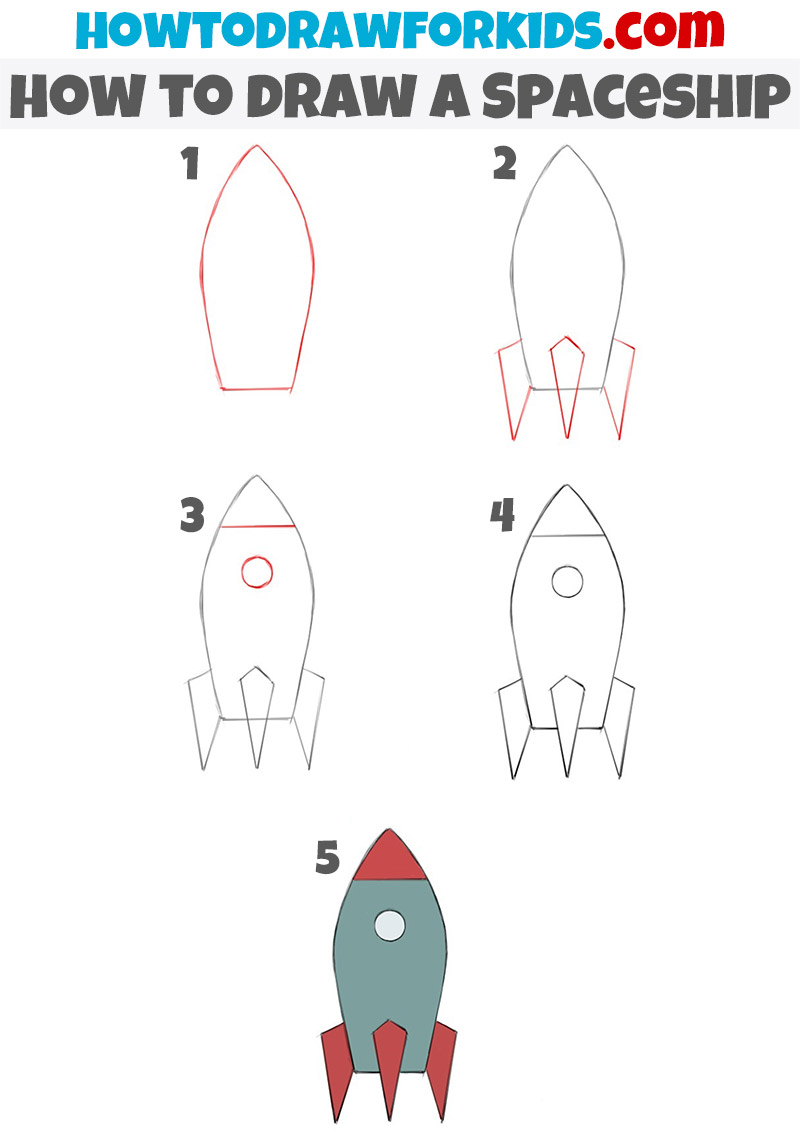
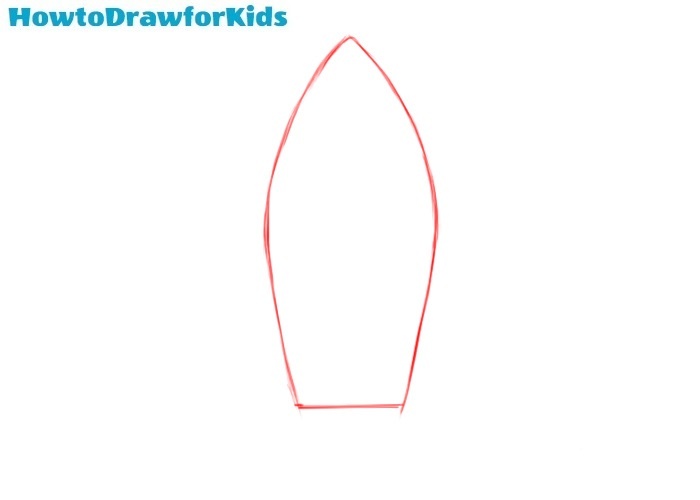
This shape resembles a broad-based triangle with smooth, curved sides that taper towards the top, ending in a rounded point. The base is flat, completing the foundational silhouette. This body provides the main structure of the spaceship and sets the stage for adding more details.
- Add the wings.
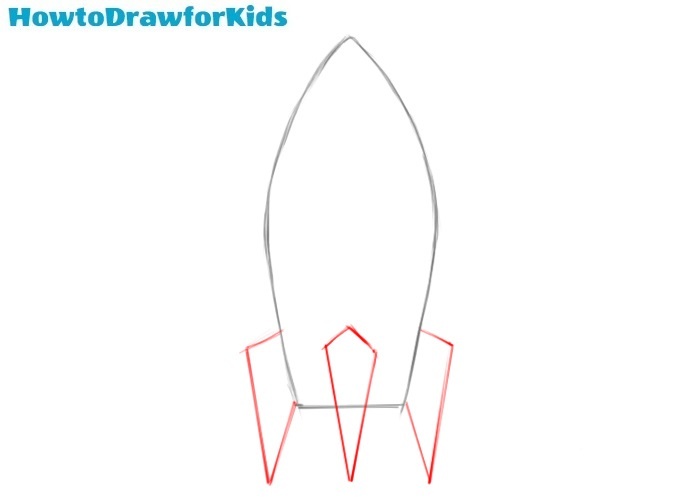
Next, sketch two diagonal lines extending outward from the base of the spaceship, one on each side, creating the wings. Be precise in the angles and placement, ensuring symmetry between the left and right sides of the spacecraft.
- Draw the window.
Position the window centrally on the main body, approximately two-thirds up from the base. This window adds a bit of realism to the design, allowing viewers to imagine the spaceship’s interior and its occupants. The circular shape contrasts nicely with the angular features.
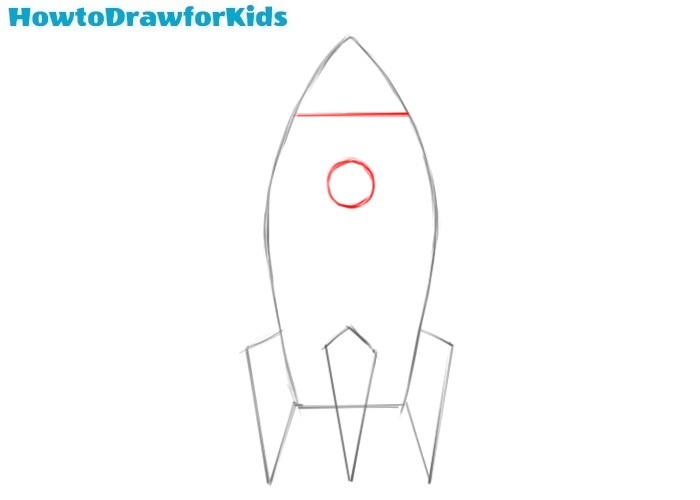
- Refine the design of the vehicle.
Ensure all previous outlines are smooth and well-defined, Improving the spaceship’s aerodynamic profile. This step unifies all elements, giving the spaceship drawing a finished, polished look. With these refinements completed, the design is ready for coloring and final touches.
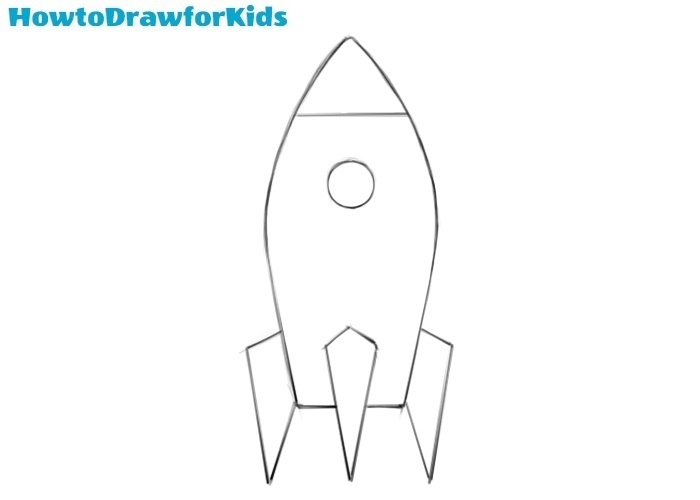
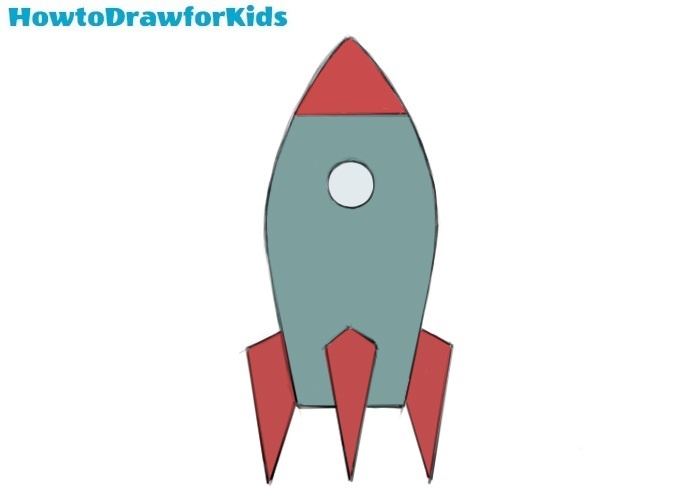
- Add colors to the spaceship.
Begin by filling the nose cone, wings, and wings with a vibrant red, contrasting nicely against the spaceship’s gray-blue main body. This color scheme adds visual interest and highlights the key components. Then, color window light blue or leave it white.
Additional Content
In addition to the detailed online tutorial, I’ve prepared a free PDF file to aid in your spaceship drawing practice. This compact version of the lesson offers a quick reference to the two distinct drawing methods I’ve introduced.
It’s perfect for offline use, enabling continuous practice whether you’re curled up at home or out seeking inspiration under the open sky. The PDF serves as a portable guide, ensuring that the art of drawing a spaceship is always within reach, allowing you to refine your craft with or without digital connectivity.
How to Draw a Flying Spaceship
In an effort to provide a comprehensive learning experience, I have put together another super simple alternative technique for drawing spaceships. This approach is designed to be as simple as possible, allowing even the most novice artists to master the basics with ease.
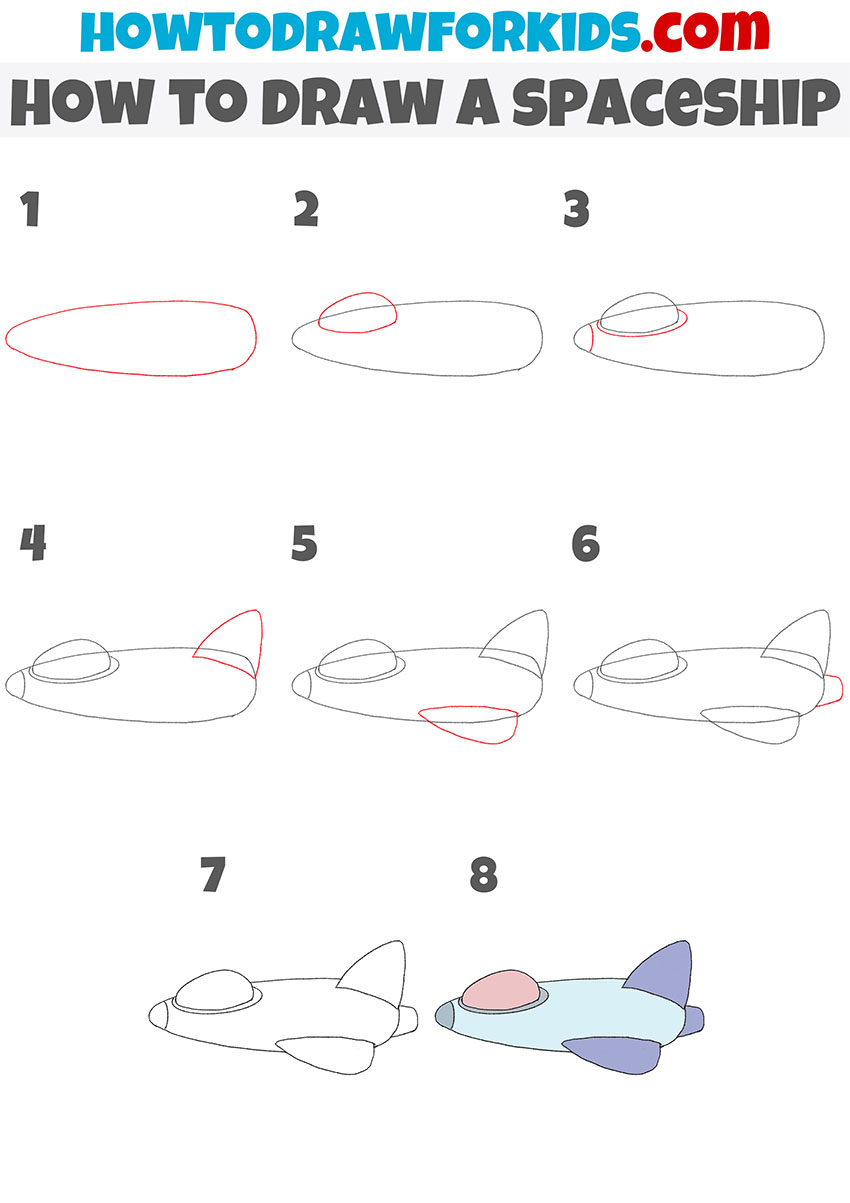
This super easy drawing method for beginners and kindergarten students to draw a spaceship. Starting with a basic elongated oval for the body, the method progressively adds elements in each step: the cockpit, lower body contours, and then the tail and wing features.
By the final step, the spaceship is completed with a touch of color, making it both accessible and fun for young learners to create their own space-bound illustrations. Each step adds just one or two elements, ensuring that the process is not overwhelming and is easy to follow.
Designing the Universe Around Your Spaceship
As you could see, it is really easy to draw a spaceship. But let’s add some complexity. In this section i will show you what environments can be added to your sketch, and how to do this.
- Orbiting a Planet: Sketch a large, textured planet or moon beneath your spaceship, showing it in orbit. This adds a sense of place to your sketch.
- Soaring Through Asteroid Fields: Create a dynamic scene with rocks and debris around the spaceship, suggesting a navigation through treacherous asteroid fields.
- Glimmering Starfield: A simple yet effective environment is a starry sky. Dot the background with various-sized stars and perhaps a swirl of a distant galaxy to imply deep space scene.
- Warp Speed Effect: For a sense of motion, draw lines and stars stretched out to the sides of the spaceship, as if it’s zooming through space at incredible speeds.
How to Draw a Spaceship: Conclusion
We’ve successfully drawn our spaceship and it’s ready to explore the stars! But don’t forget, that there’s a whole universe of drawing lessons out there on my website. Whether you want to illustrate the beauty of Earth or sketch a nocturnal owl, you’ll find a lesson that will be interesting for you.
Make sure to follow me on social media to stay updated with all my new drawing tutorials. And hey, your thoughts mean a lot to me – leave a comment with what you’d like to draw next. Your wish just might be the next lesson, helping all of us to create more really cool drawings together!


it is so awsome for 13 years old to do art