How to Draw an Alligator
In this guide, I’ll show you how to draw an alligator using two simple methods designed for kids and beginners. We’ll start with an easy step-by-step drawing and then look at another version that uses a slightly different approach.
Prepare to Draw an Alligator
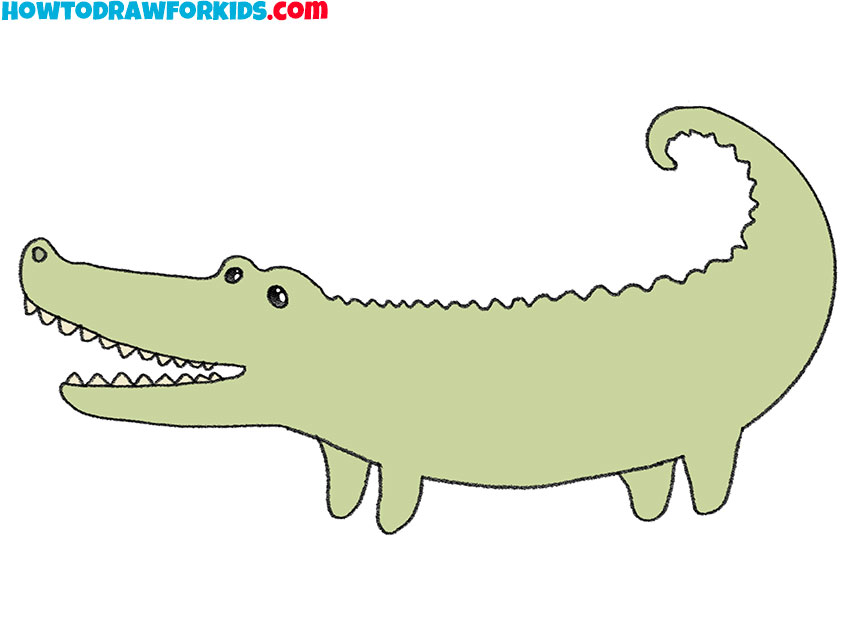
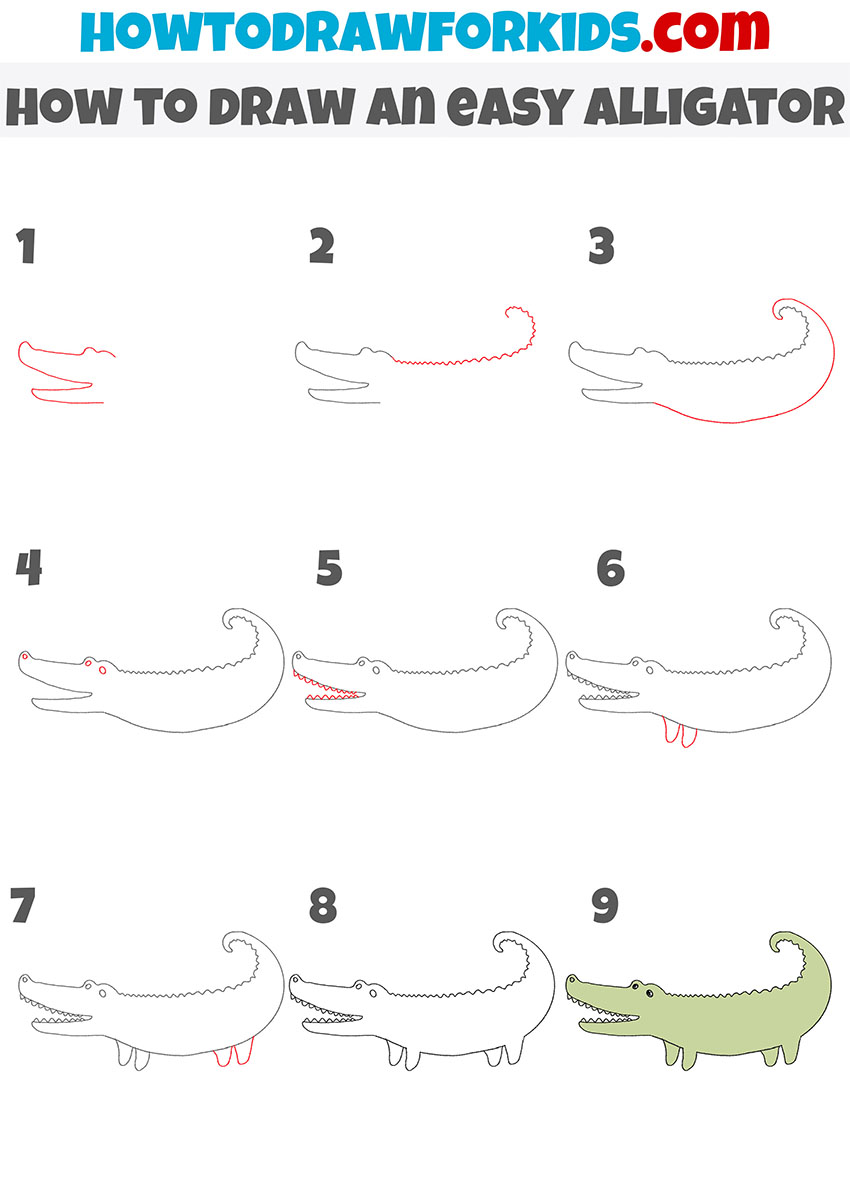
We’ll begin with a simple alligator drawing that is easy to follow, then move on to an even more simplified version with a slightly different look.
Both methods use the same basic principles, so by the end of the lesson you’ll be able to draw an alligator in more than one way.
Prepare your pencil, paper, eraser, and coloring supplies, then follow each step carefully. When you’re ready, let’s start drawing.
Step-by-Step Alligator Drawing Tutorial
Materials
- Pencil
- Paper
- Eraser
- Coloring supplies
Time needed: 30 minutes
How to Draw an Alligator
- Draw the head.
First, create the basic outline of the alligator’s head. Note the large upper jaw and thin, short lower jaw. These delicate, light outlines should be positioned on the left side of your piece of paper.

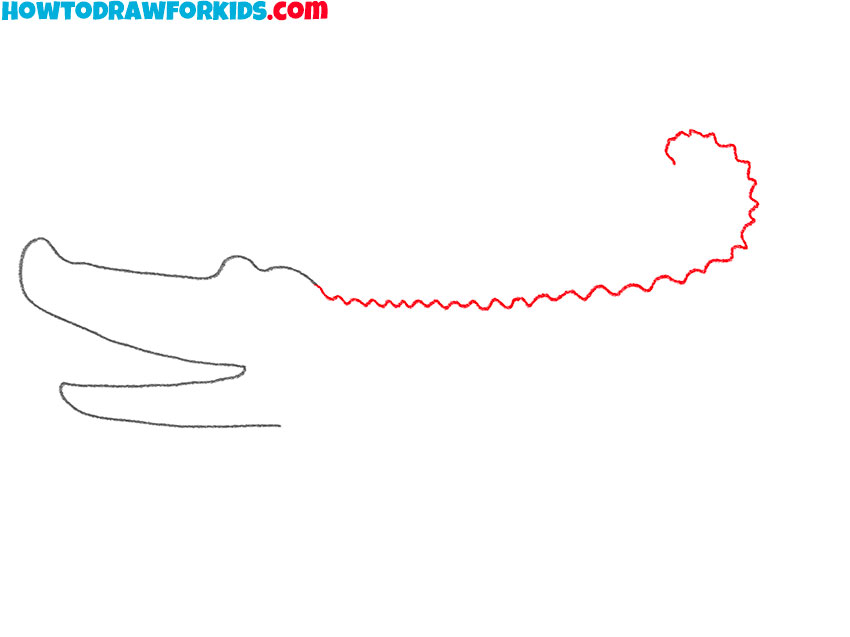
- Depict the back and the top of the tail.
The back of an alligator is similar to the back of a dinosaur. In both cases, the back has a jagged, comb-like shape. However, in our case it is positioned horizontally and curls slightly upward.
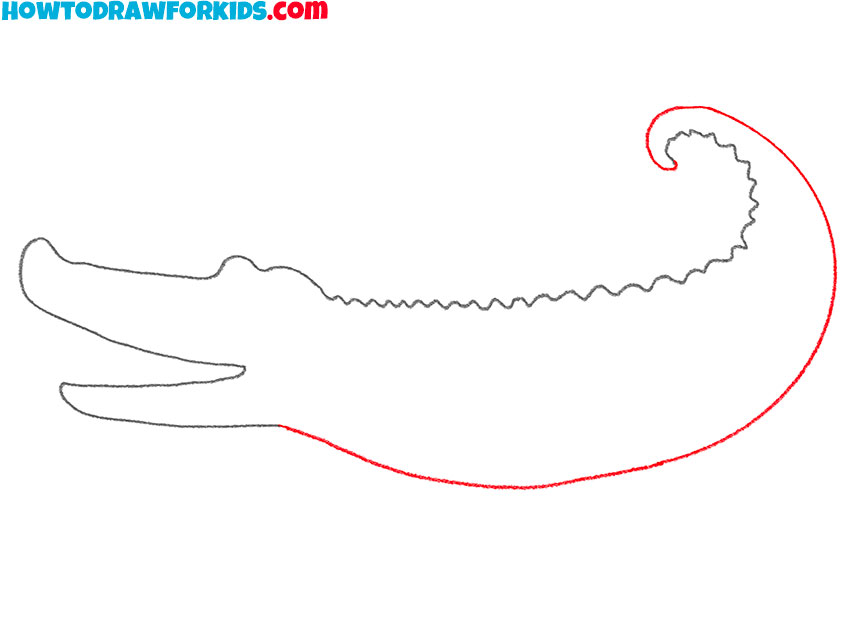
- Add the rest of the body
Finish drawing the basic outline of the crocodile’s torso. To do this, draw a long, smooth line that connects the tip of the tail and the bottom of the edge of the head from step one. Try to do this very delicately and smoothly.
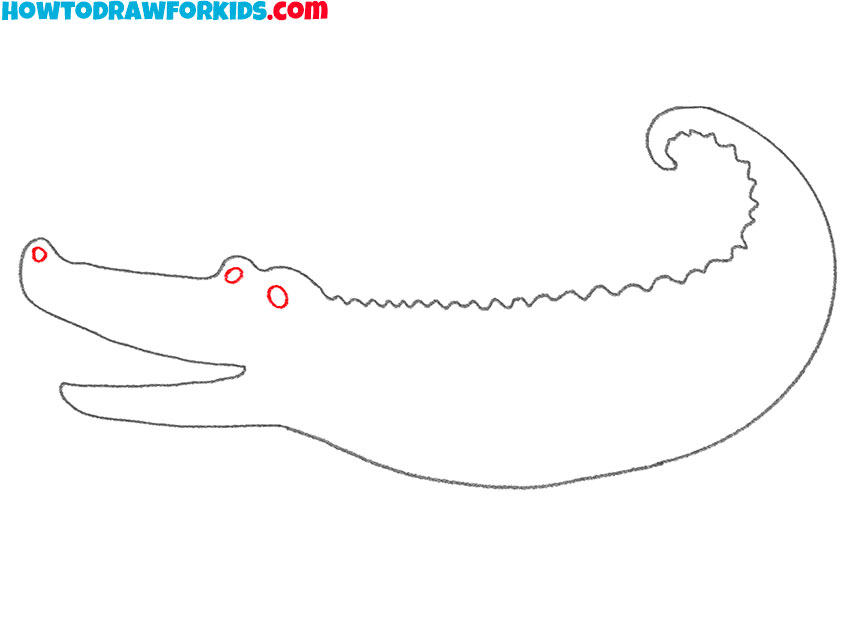
- Sketch out the eyes and nostril.
For the eyes, draw two small ovals on top of the head, and for the nostrils, add two smaller ovals at the tip of the snout. This step is crucial for giving the alligator a face and personality, as well as establishing symmetry and facial features.
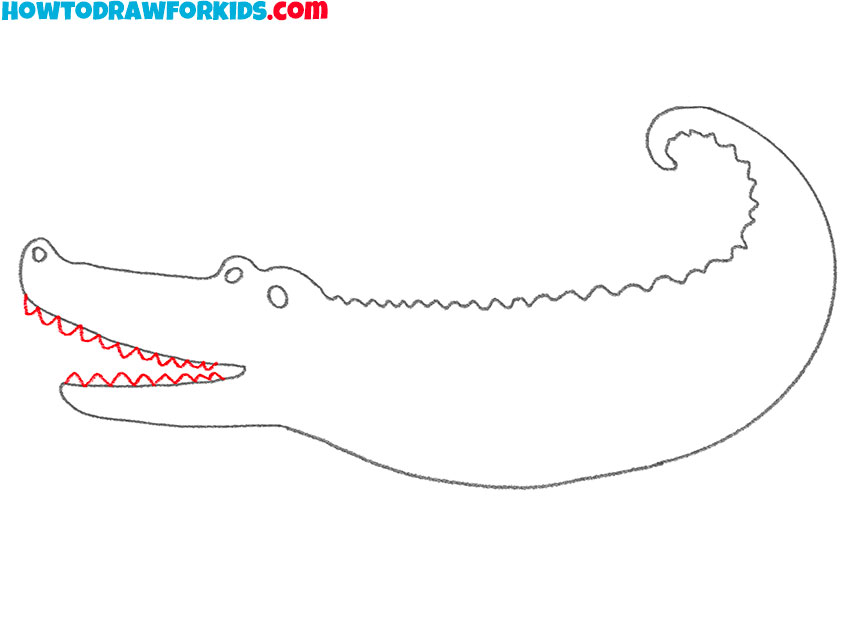
- Draw the teeth.
So, depict a series of small, triangular teeth along the upper jawline inside the mouth. These should be evenly spaced and vary slightly in size to mimic the natural look of an alligator’s teeth.
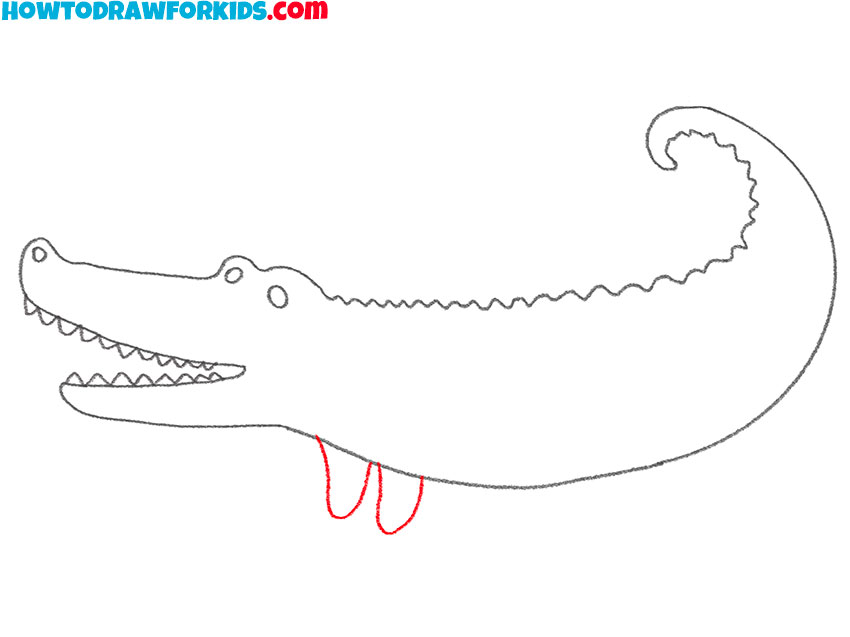
- Depict the front paws.
A pair of curved round shapes below – this is exactly what we need to depict the front paws of our alligator. Draw these short legs on the lower part of the body, very close to where the neck is approximately located.
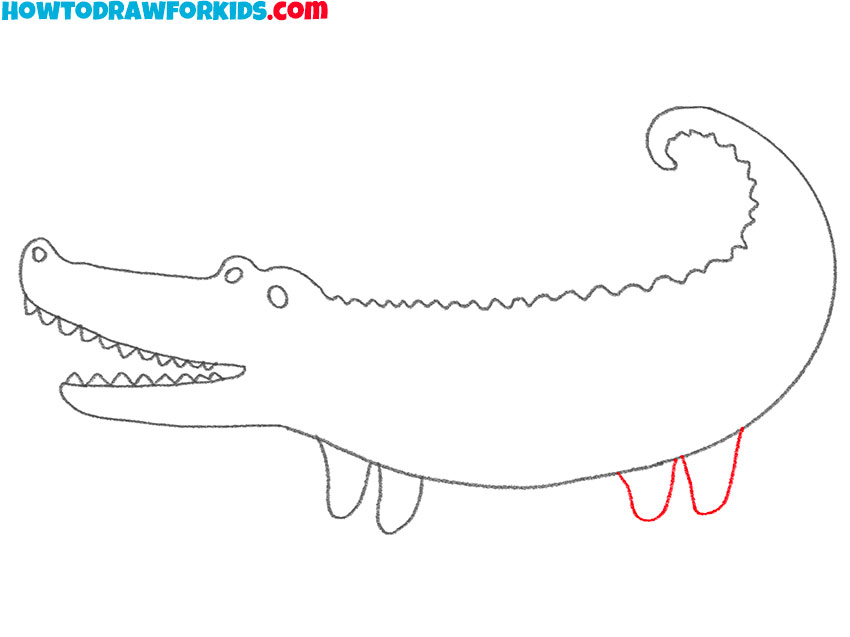
- Depict the hind legs.
Draw two sets of parallel, slightly curved lines beneath the body to form the back legs. The lines should be short and stubby, with the ends rounded for the feet. There is no need for detailed toes at this stage.
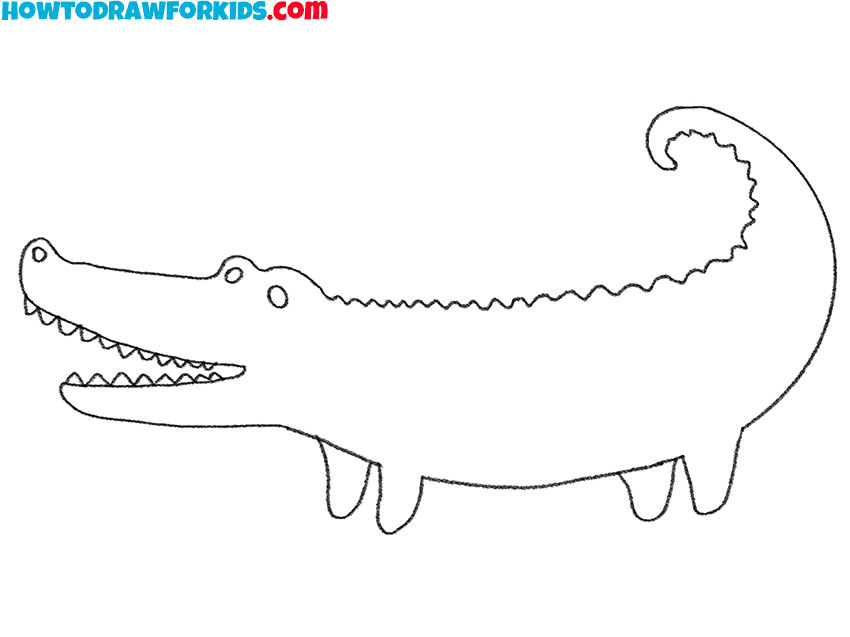
- Correct inaccuracies.
Is your alligator creepy, natural, and still looks cool? Then feel free to move on to coloring. If you see inaccuracies, correct them and remove extra lines.
- Color the drawing.
So, let’s color. A green hue is filled in throughout the alligator’s body, but you can change it. Create a color scheme with a lighter shade on the belly and a darker shade on the back to suggest a three-dimensional form.
Additional Content
In addition to the fun we’ve had drawing together today, I’ve created free PDF file for you. This way, even if you’re somewhere without internet, you can still enjoy drawing our alligator friend. It’s a shorter version of my lesson, packed with all the key steps and additional materials.
Simplified Alligator Drawing Method
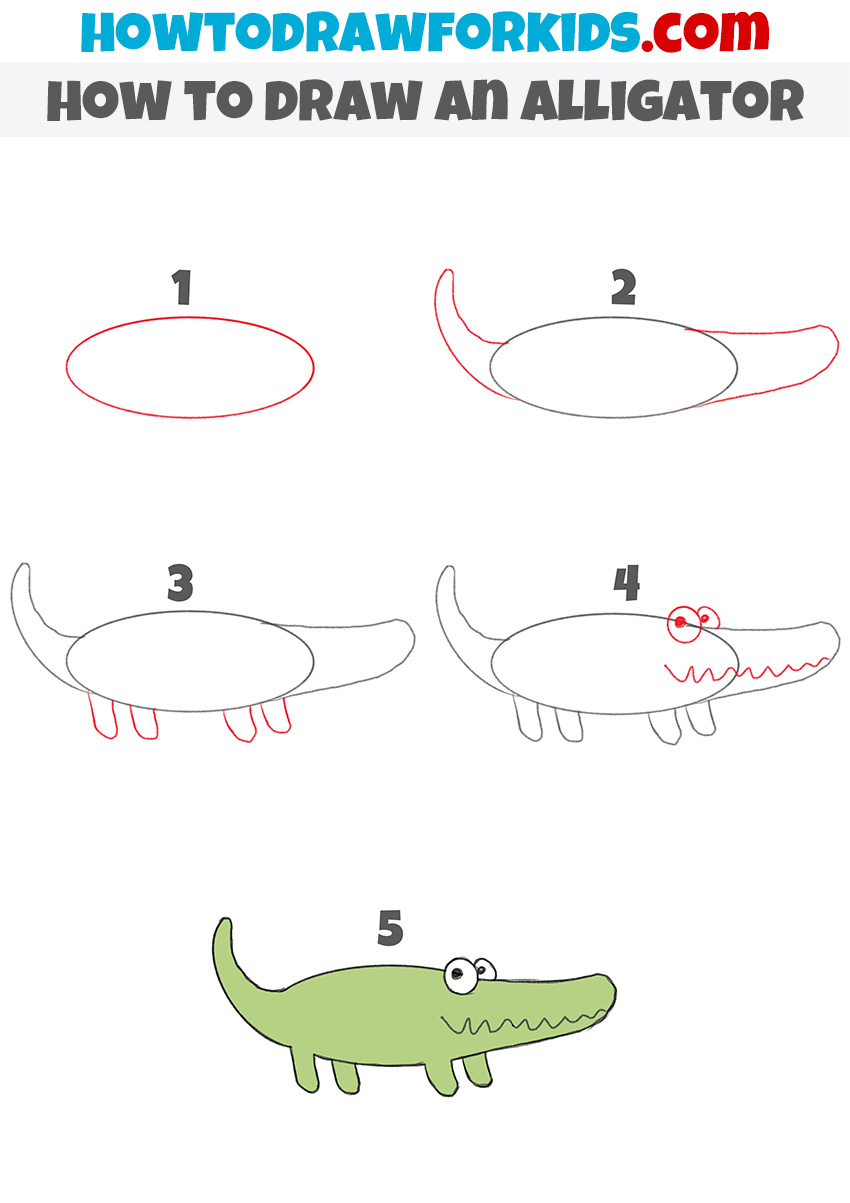
If you’d like to practice one more way to draw an alligator, try this simplified method. It uses fewer details and only a few easy steps. This is a good choice for younger artists or anyone who wants a quicker drawing.
You can start with this lesson and then return to the main tutorial whenever you’re ready to draw a more detailed alligator.
Grab your pencil and let’s draw another alligator together.
Cool Ideas for Your Alligator Sketches
Now that you’ve finished your alligator drawing, you can try adding a few extra details to create a complete scene.
For example, draw a frog sitting on a rock, sketch a fish swimming nearby, or draw a river where your alligator lives.
Small additions like these make the drawing more interesting and give you extra practice with different subjects.
You can also change the expression on your alligator’s face, make the tail longer, or draw it from a different angle.
Try using different shades of green or even create your own color scheme to make each drawing a little different.
Also, you can draw a river at the background, to make the scene even more complex.
Conclusion
Now you know how to draw an alligator in two different ways. If you’d like to keep practicing, be sure to check out my tutorials on how to draw a crocodile.
Although alligators and crocodiles look similar, there are several differences in the shape of the head, snout, and teeth that you’ll notice while drawing.
Before you leave, don’t forget to download the free PDF versions of both tutorials.
If you enjoy these drawing guides, be sure to follow me on social media. I regularly share new tutorials, and you’ll find links to all my pages at this page.