How to Draw Ghost Rider
The tutorial presents a simple way to depict one of the most unusual figures in comics, as you will learn how to draw Ghost Rider.
How to Draw Ghost Rider: Introduction
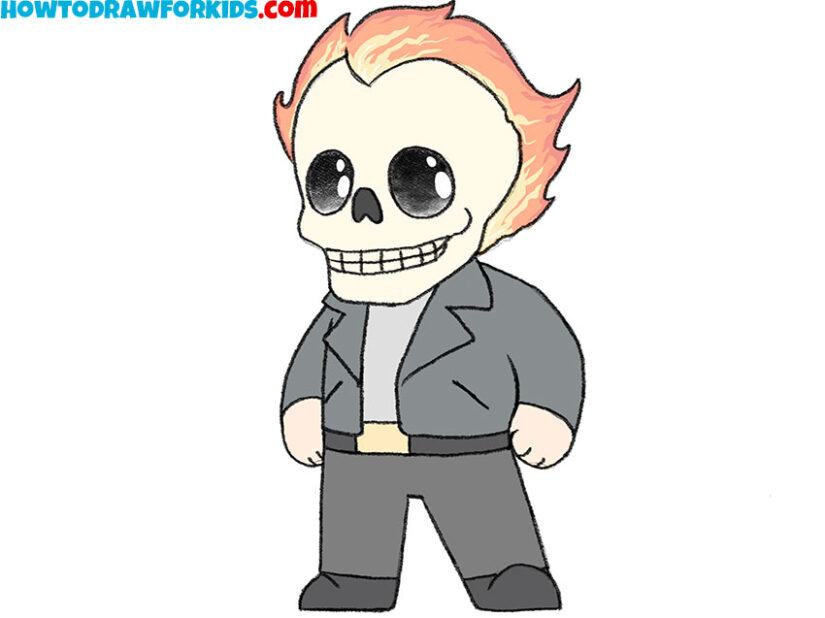
Ghost Rider is one of the most striking characters in Marvel Comics, known for his flaming skull and motorcycle. His appearance combines elements of horror and superhero design, so it as a very interesting subject to practice.
When drawing Ghost Rider in this style, it’s important to pay attention to proportions. The head is drawn larger, the body is smaller, and the flames are shaped with smooth and very simple curves.
The clothes are also very minimalistic. The jacket is really simple but the whole figure easy to reproduce and recognize.
Ghost Rider Drawing Tutorial
Materials
- Pencil
- Paper
- Eraser
- Coloring supplies
Time needed: 35 minutes
How to Draw Ghost Rider
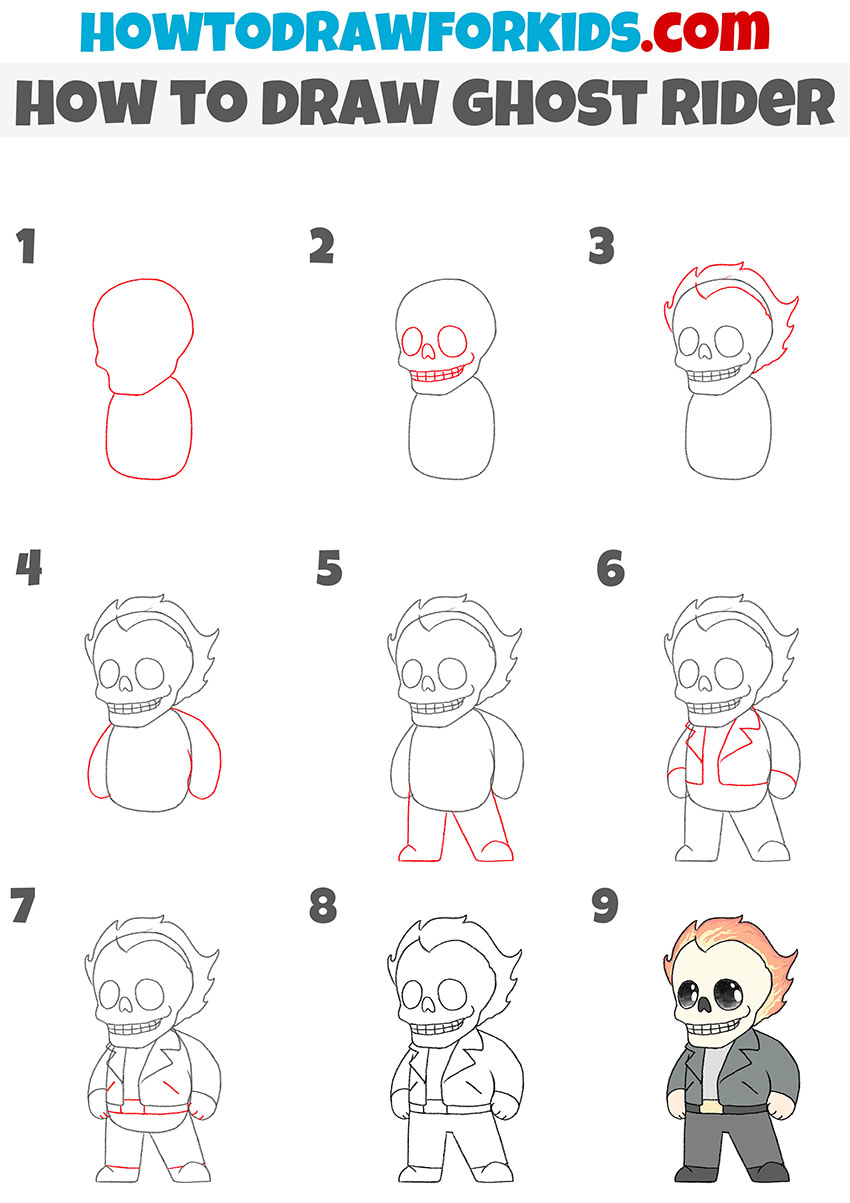
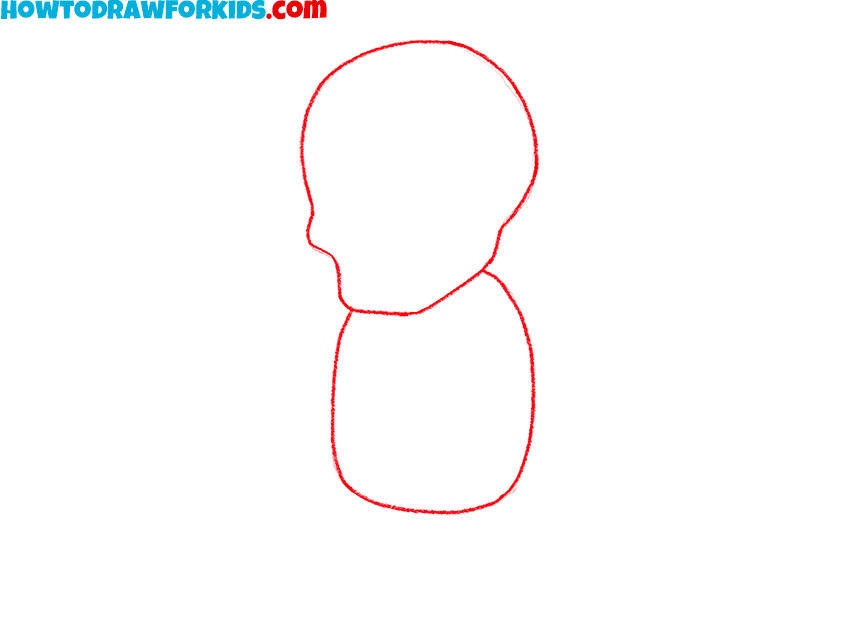
- Sketch the skull and torso shape.
To begin the drawing in comic book style, it’s useful to create a simple base that will guide the rest of the figure. Sketch the shape of the skull first. Define the shape of the jaw with chin. Below this, draw an oval-like body. And as always, use very light lines, to erase them later with ease.
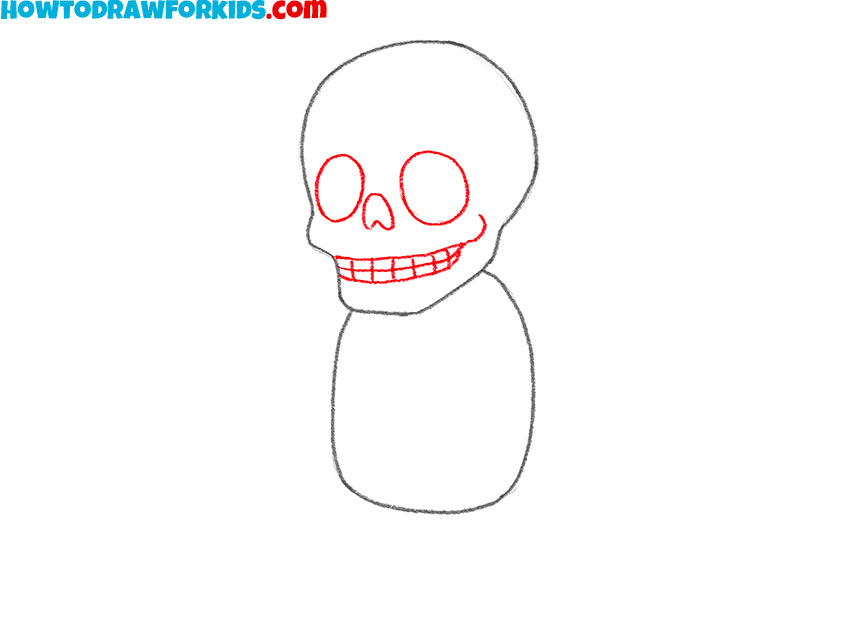
- Draw the skull features.
Now, you can begin sketching the skull details. Draw two round eye sockets. Next, sketch the nose cavity as a small triangle or upside-down heart between the eyes. For the mouth, add a wide rectangle with several short vertical lines across it to represent teeth.
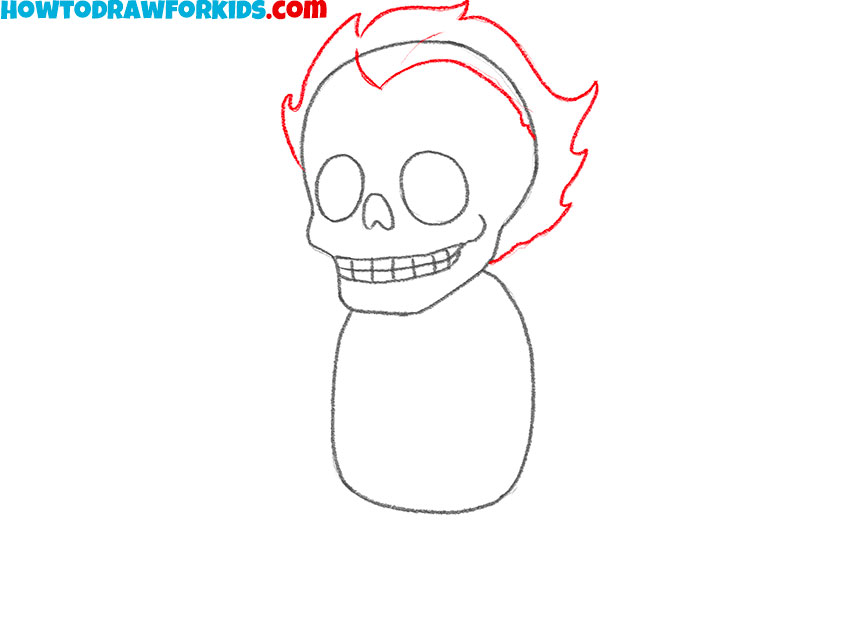
- Sketch the fire around the skull.
The most iconic feature of Ghost Rider is the flaming head, so here you’ll outline the fiery shape around the skull. Starting at the sides of the head, draw curved, flame-like strokes that point upward. Keep the lines irregular, with a mix of short and long curves to draw fire.
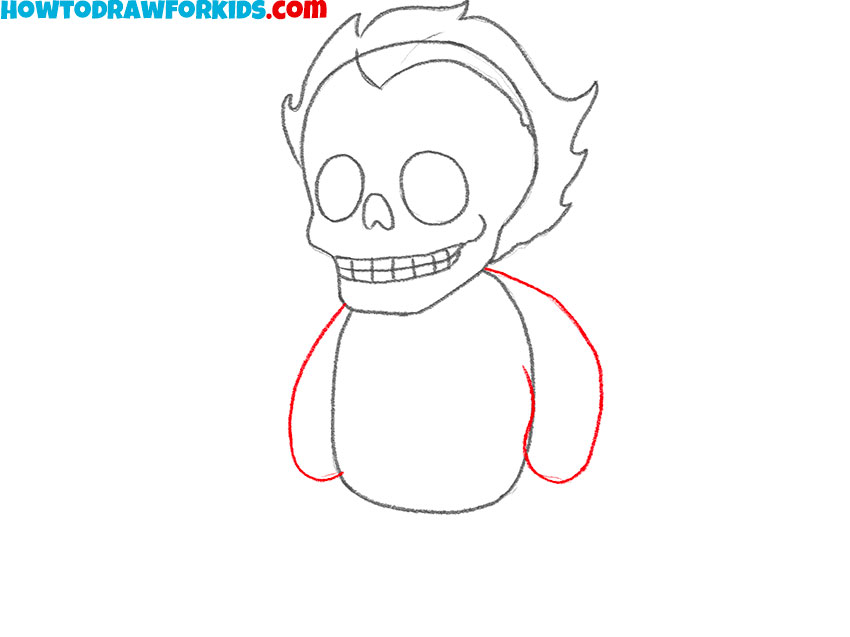
- Draw Ghost Rider’s arms and hands.
Now it’s time to give the character a more recognizable body shape by adding arms. From the sides of the torso, sketch simple arm shapes. The arms should be short and somewhat thick. At the ends, sketch the hands as very simple shapes. Check if the arms are about the same length.
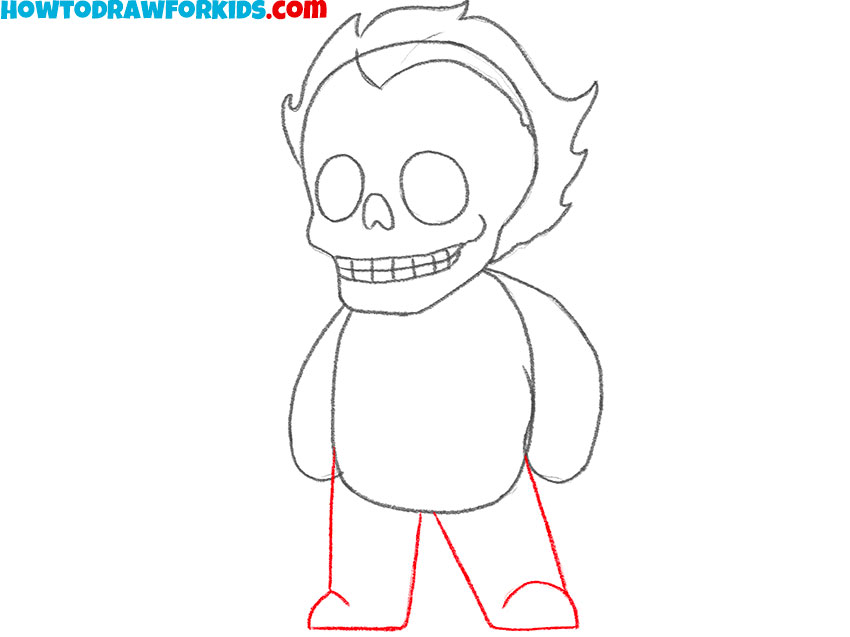
- Sketch the figure’s lower half.
To complete the figure’s main structure, sketch the legs extending from the bottom of the torso. Keep them wide and thick, shaped a bit like rectangles. Draw them apart or give your drawing a different stance. The feet should be indicated by short horizontal bases at the bottom of each leg.
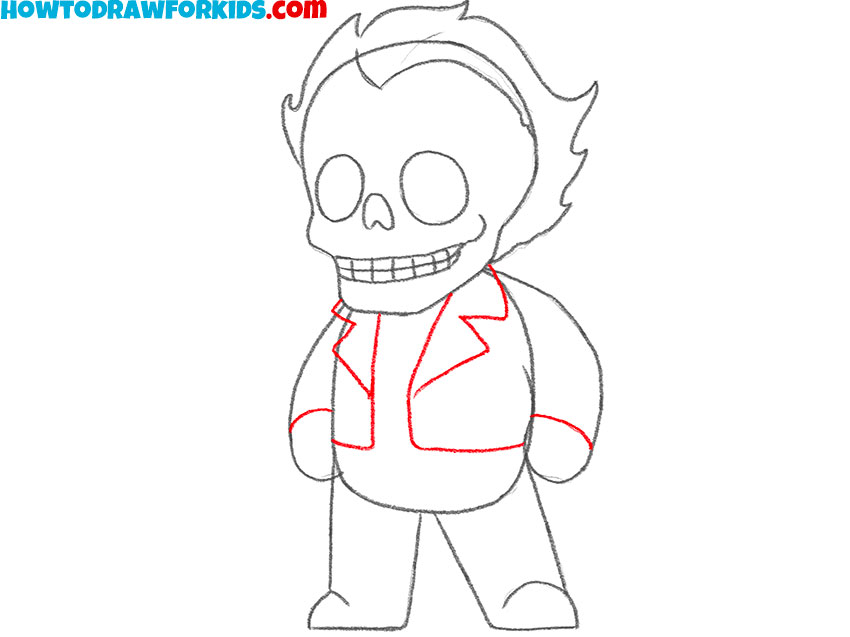
- Draw Ghost Rider’s leather jacket details.
With the full figure structure complete, you can now add Ghost Rider’s signature outfit. First, draw the collar of the jacket, forming sharp triangular points. Continue the jacket outline across the torso, using straight lines to create a classic biker-jacket look.
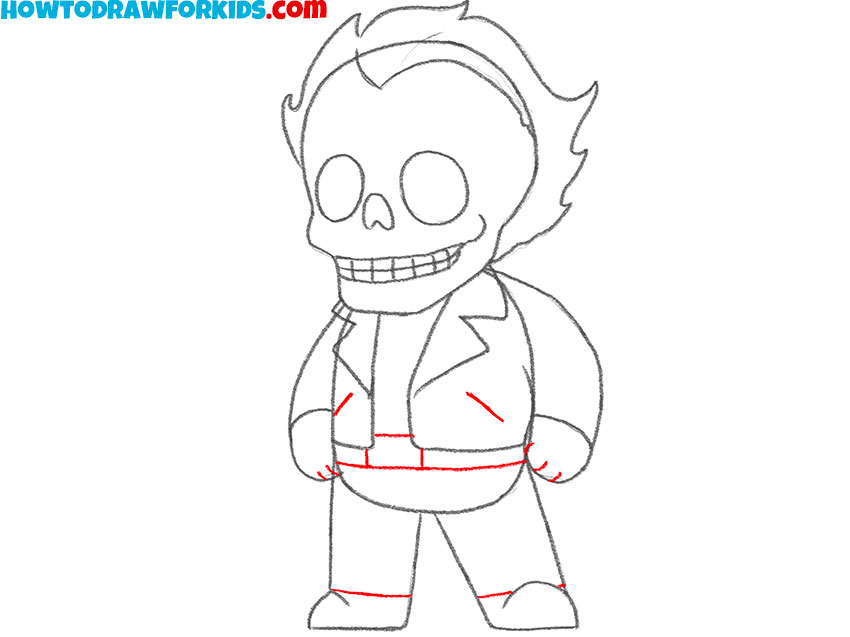
- Add the belt and clothing details.
Make the clothing look more finished, adding details such as a belt at the waist, drawn as a horizontal band across the bottom of the torso. Indicate a buckle in the middle with a small rectangle. Next, sketch the pockets on the jacket, and add a few short lines to the hands to indicate the fingers.
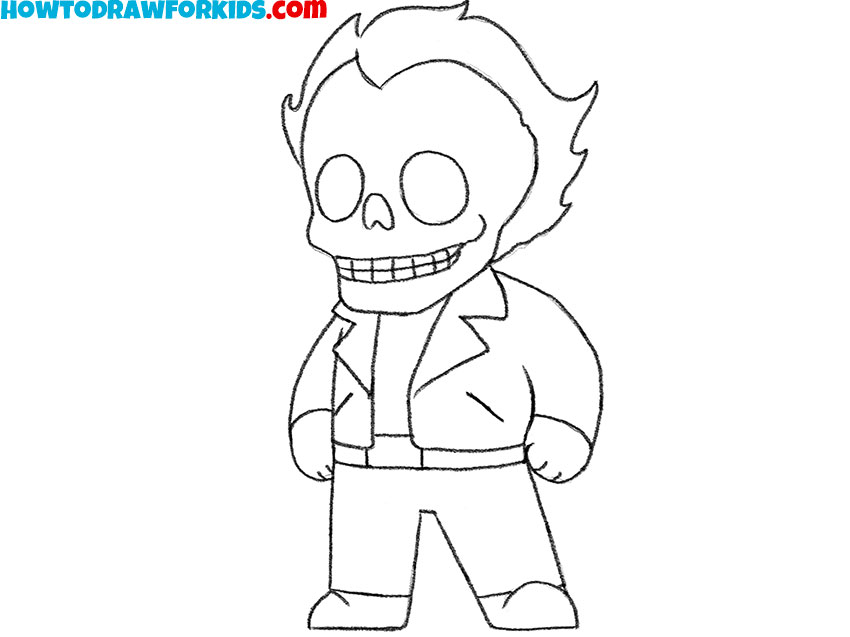
- Erase any remaining construction marks.
Now, you should finalize your drawing by erasing unnecessary construction lines. Carefully remove any overlapping or rough marks from the early stages. Basically you need to delete all the unnecessary parts of the ovals from the first step. While doing this, check proportions once more.
- Color in the character, outfit, and fire.
The final step is to give the character its iconic colors. Paint the skull in a light bone color, making the eye sockets and nose cavity dark. Color the flames in tones of orange and red. The jacket, pants, and boots should be filled in with a dark gray or black, with the belt buckle in a lighter gray or yellow.

Ghost Rider Video Tutorial
Conclusion
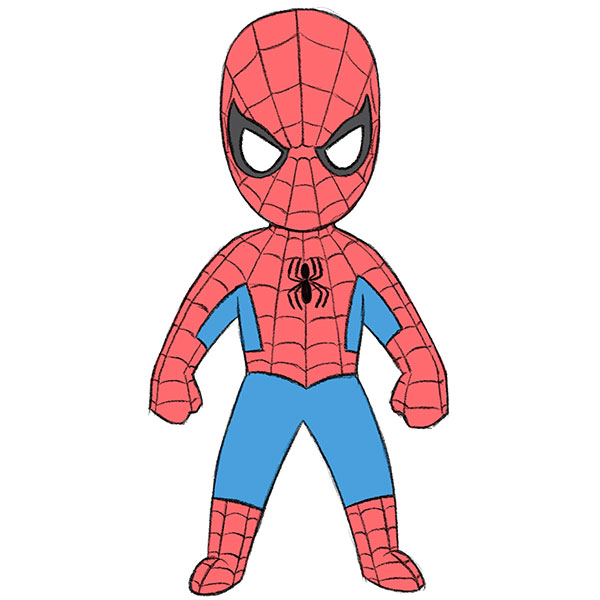
If you want to continue practicing your comic book drawing skills, my Spider-Man drawing tutorial is a good next step.
You can also check the superhero drawing tutorial to learn how to build full-body figures in costumes, or the motorcycle drawing tutorial if you want to add one of Ghost Rider’s most recognizable features.
Share your finished drawing, and take a moment to note what parts were easier and what parts challenged you more. Posting your work or showing it to others can give useful feedback and motivation.
Also, return regularly to new step-by-step lessons to progress steadily and cover a wide range of subjects, from simple objects to detailed characters like Ghost Rider.