How to Draw Hands on Hips
In this lesson, I want to show you how to draw hands on hips. The lesson will be useful and the acquired skills you can apply in the future.
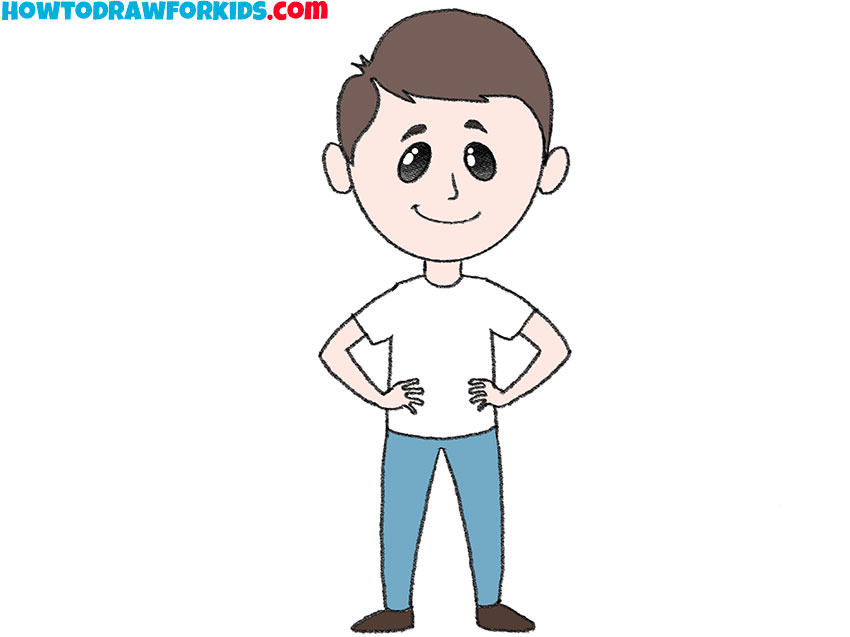
Thank you for showing interest in my drawing lessons, and now I bring to your attention an interesting step-by-step tutorial in which you will learn how to draw hands on hips.
As an example, I decided to choose the figure of a boy who put his hands on his hips, with his arms bent at the elbows and fingers resting on his stomach. When you master this lesson, you will be able to draw the figure of any other person in the same position.
During the lesson, try to follow the sequence of steps and draw the same lines as in the example. Each step in this manual is demonstrated and supplemented with a small hint. For coloring the boy, you can use the same colors as in the example or any other colors of your choice.
Hands on Hips Drawing Tutorial
Materials
- Pencil
- Paper
- Eraser
- Coloring supplies
Time needed: 30 minutes
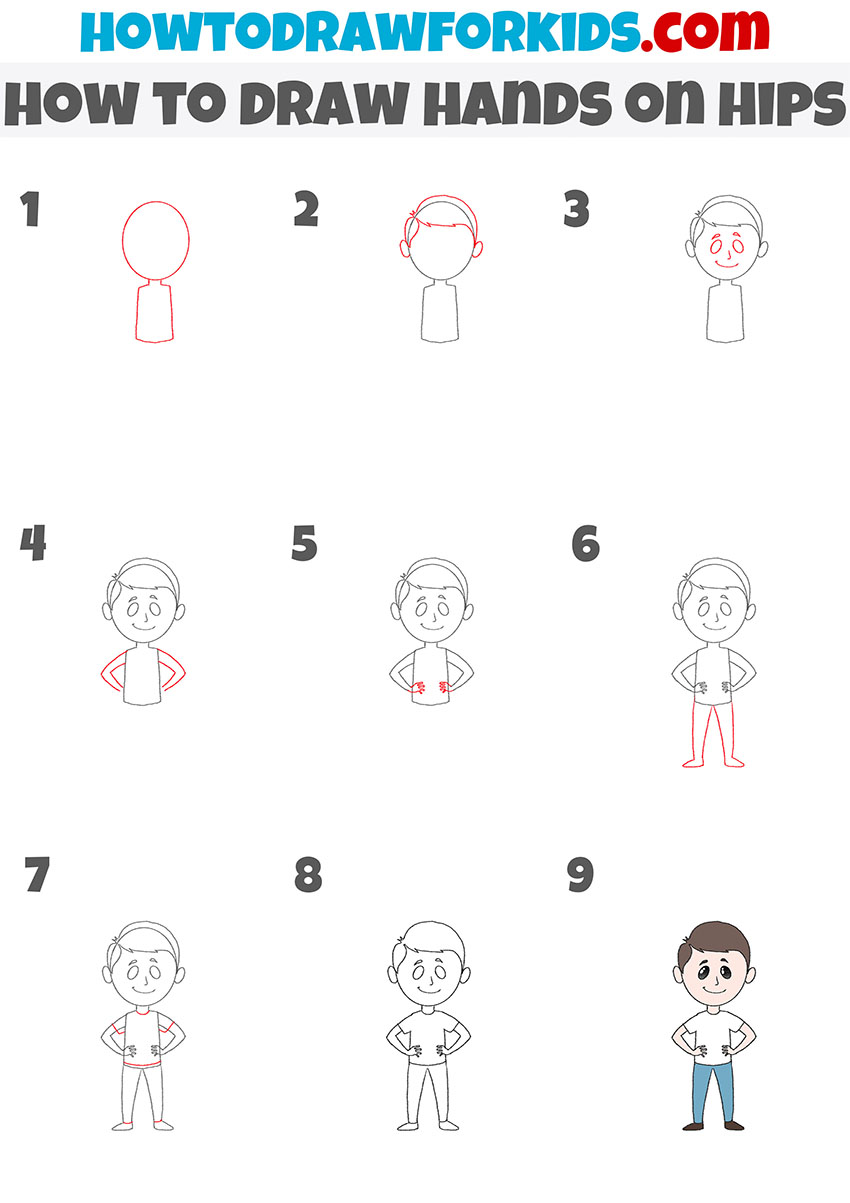
How to Draw Hands on Hips
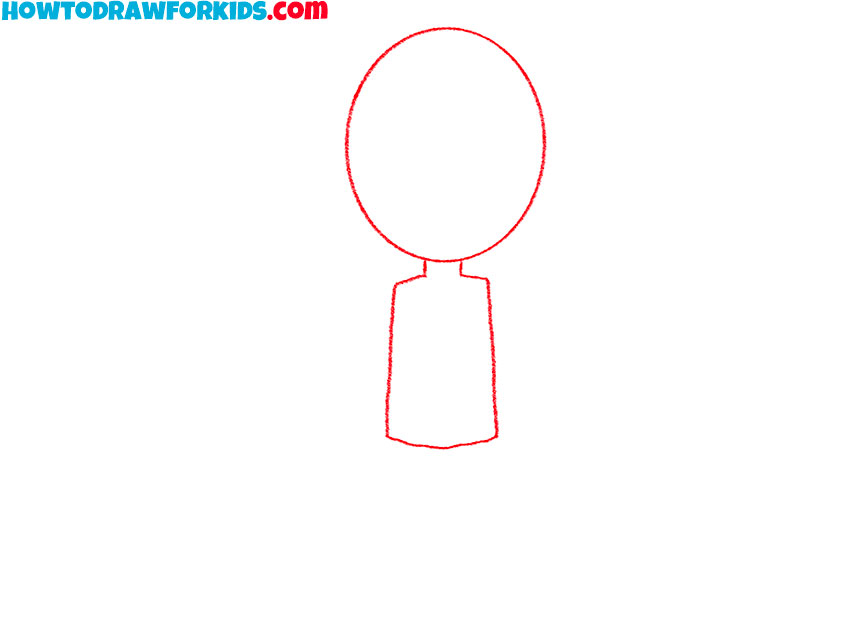
- Draw the head and torso.
Depict the head in the shape of an oval, the body is in the shape of a trapezoid.
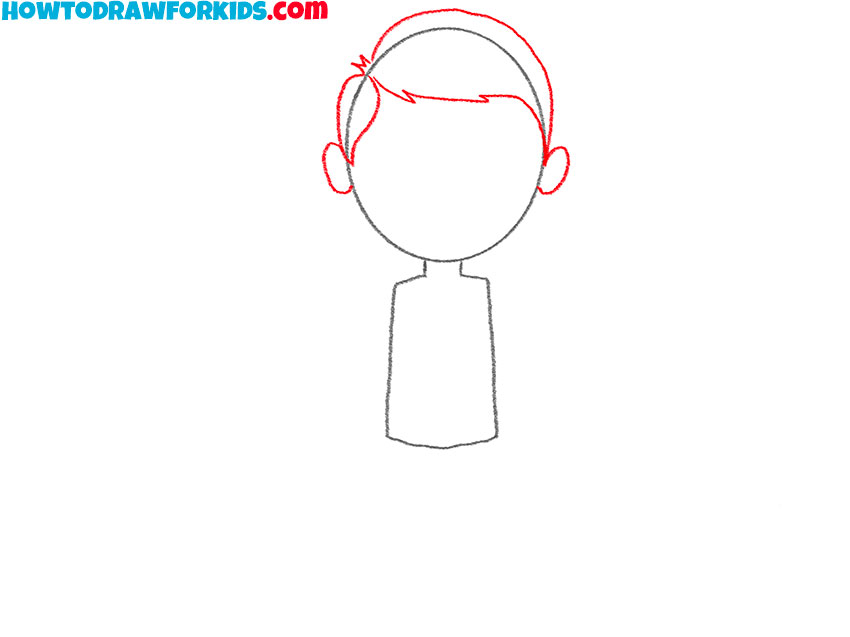
- Add the hair and ears.
Using a few smooth curved lines, draw the hair and add small ears.
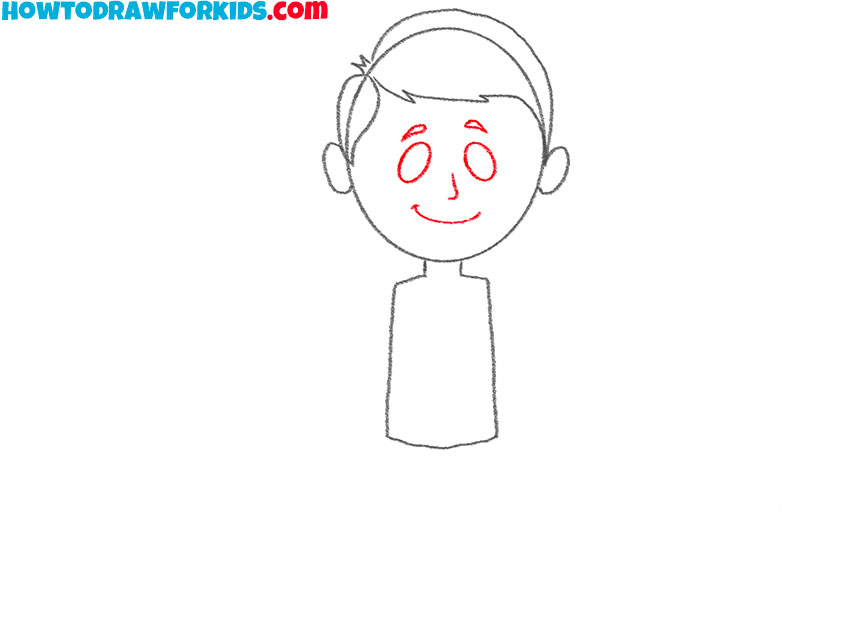
- Depict facial features.
Sketch out eyes, eyebrows, nose, and mouth.
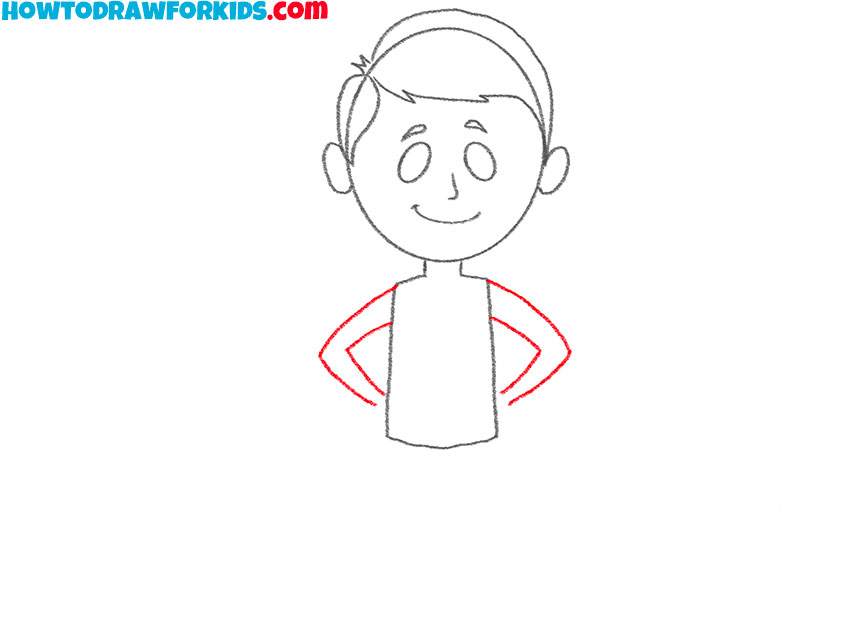
- Add the arms.
Draw curved lines from each side to depict thin arms.
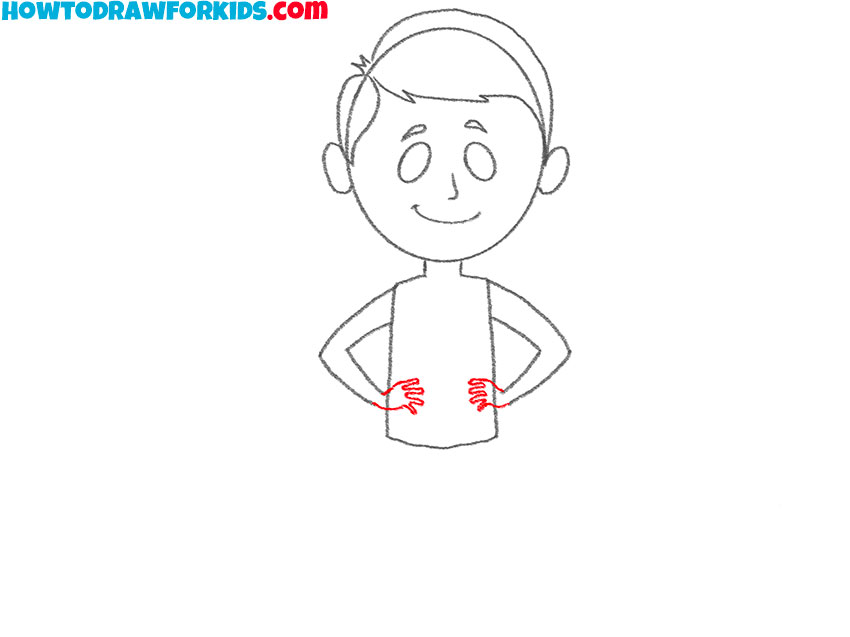
- Sketch out the hands.
The hands are slightly raised. Draw four fingers on each hand.
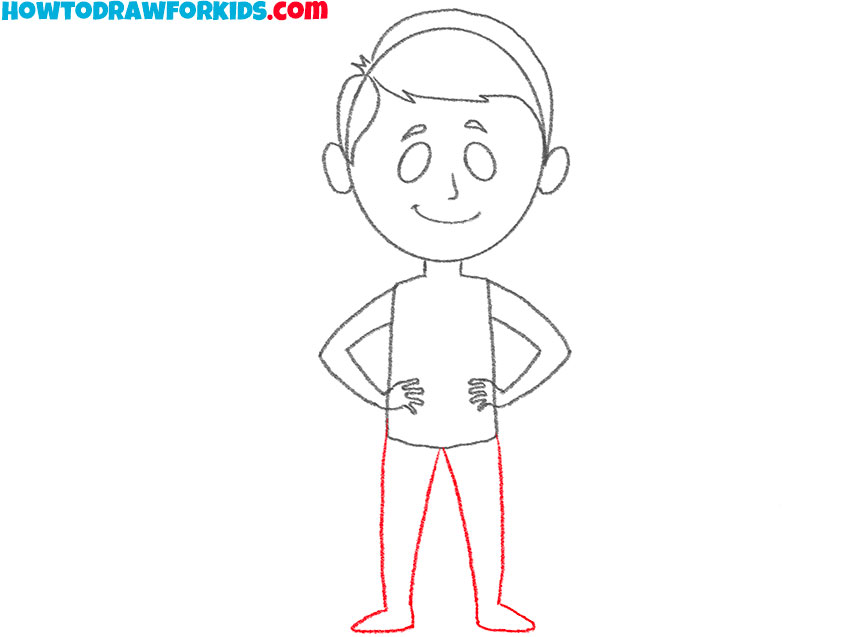
- Draw the legs.
The legs are shoulder-width apart, and the feet are turned in opposite directions.
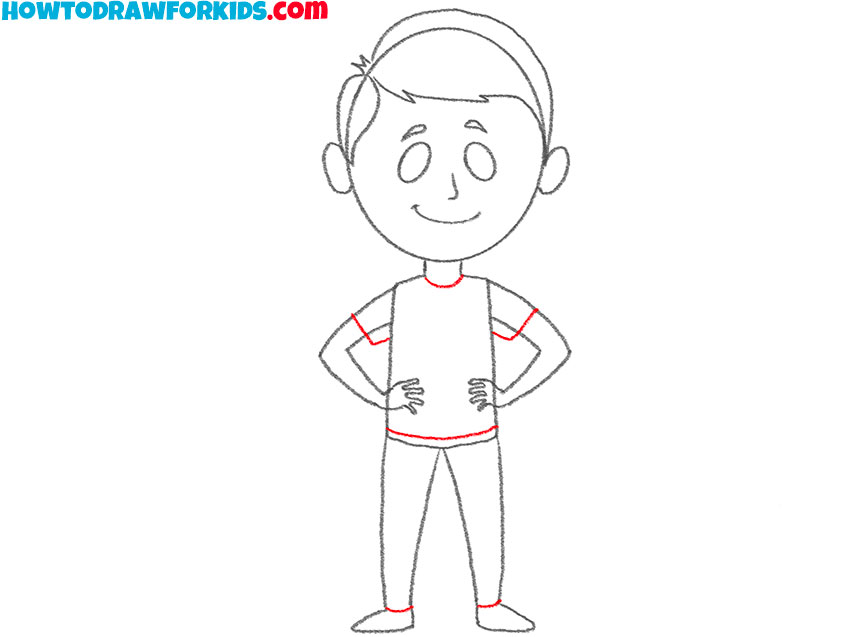
- Add the clothes.
With the help of short transverse lines, depict the T-shirt and trousers.
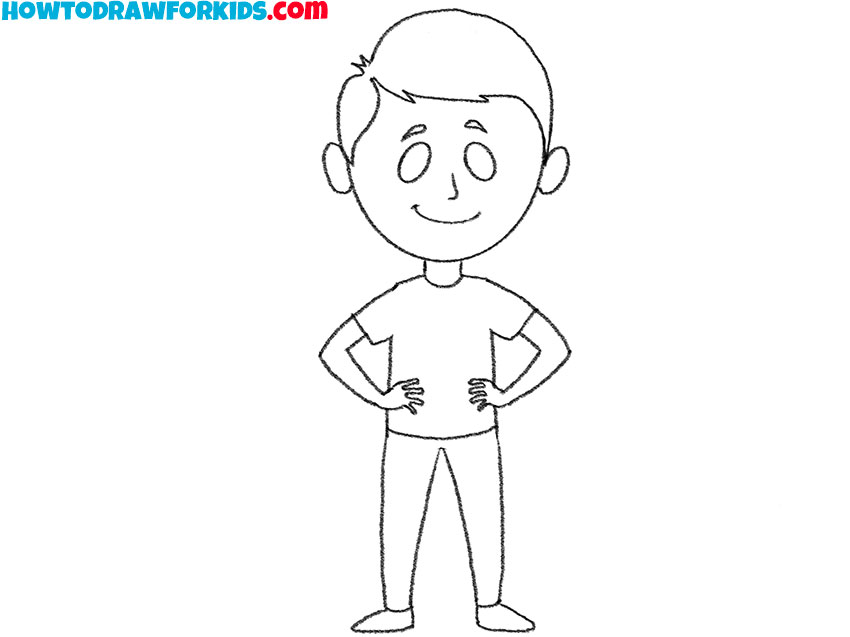
- Correct inaccuracies.
Carefully remove all extra lines in your drawing.
- Color the drawing.
At this stage, choose any color.
I want to remind you that for your convenience, I have prepared a PDF file in which you will find a short version of the lesson and additional training materials.