How to Draw Olaf
Calling all young creatives! I’ve put together a fun-filled guide on how to draw Olaf, offering two separate methods. These steps are designed to help kids master the art of drawing everyone’s favorite snowman, from his carrot nose to his twiggy arms, making the journey of art as joyful and magical as Olaf himself.
How to Draw Olaf: Basic Information
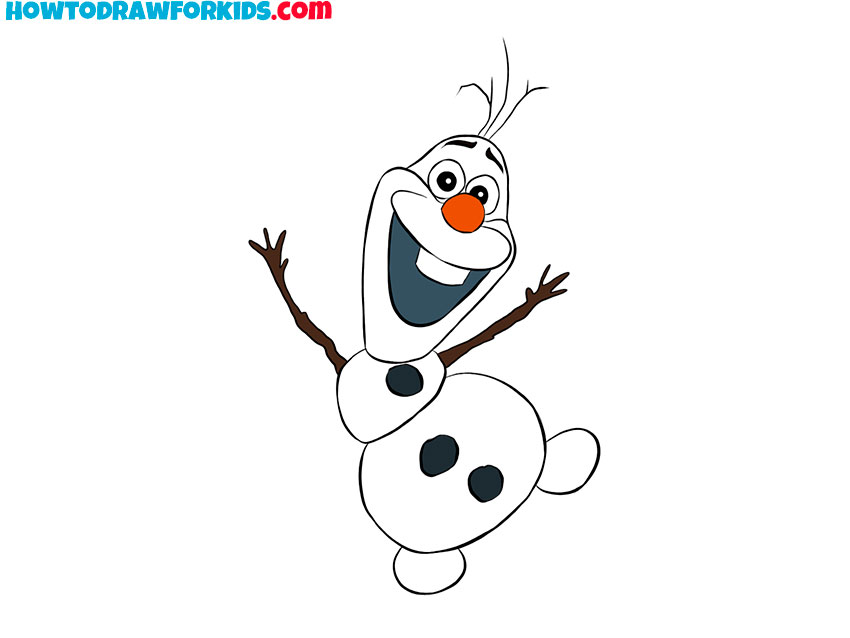
If you’ve ever wanted to learn how to draw Olaf, the beloved snowman with a heart-melting smile, you’re in for a treat. I’ve created this lesson to show you how to bring Olaf to life with a few simple steps. This version of Olaf is all about capturing his joy and quirky personality, from the shape of his head to the twinkle in his eyes.
As we go through this tutorial, you’ll notice that Olaf’s body is made of basic shapes that are easy to draw. I’ve broken down each part, so you can confidently recreate his plump snowballs and iconic carrot nose. The goal is to make each step as clear and joyful as Olaf’s love for summer.
By the end of this guide, you’ll be able to draw Olaf and give him the animation he deserves. Whether it’s the jaunty angle of his eyebrows or his wide, toothy grin, you’ll capture the essence of what makes Olaf so special. Let’s grab our pencils and spread some warmth by drawing Olaf together!
Olaf Drawing Tutorial
Materials
- Pencil
- Paper
- Eraser
- Coloring supplies
Time needed: 25 minutes
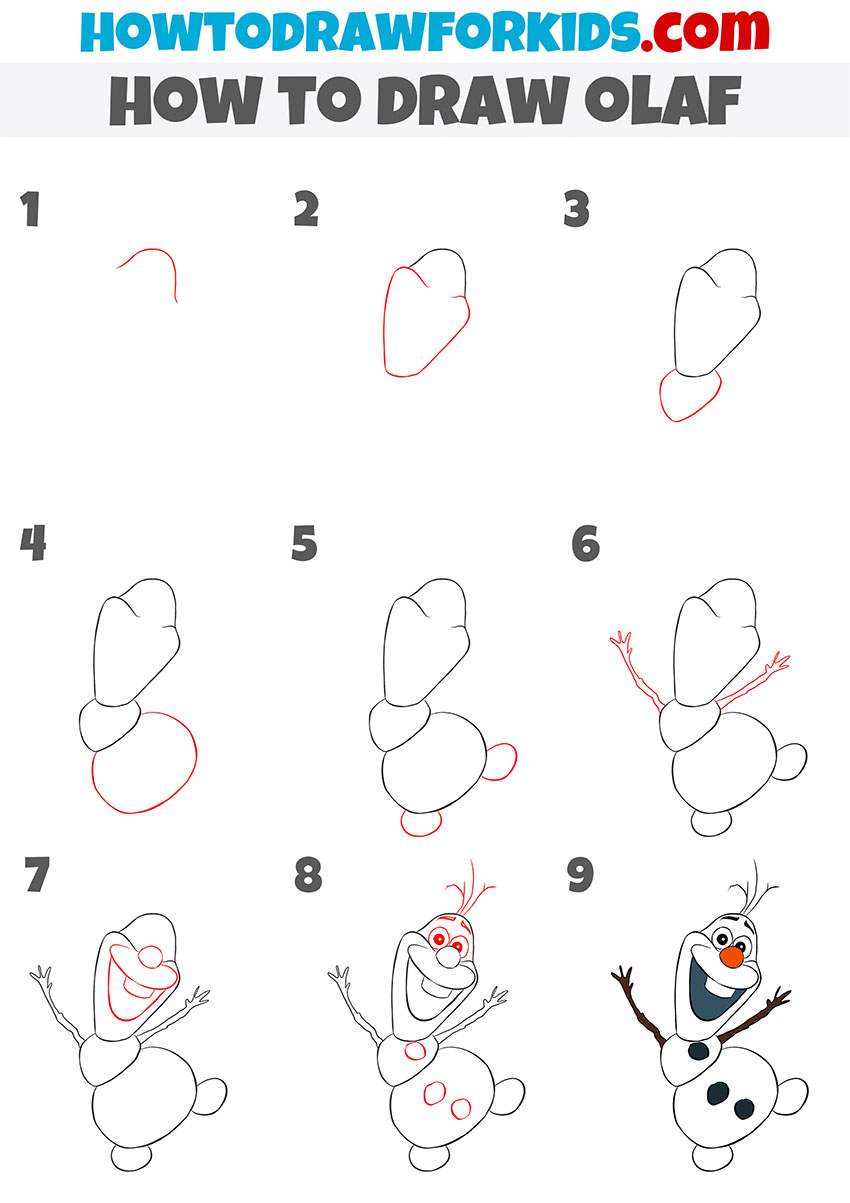
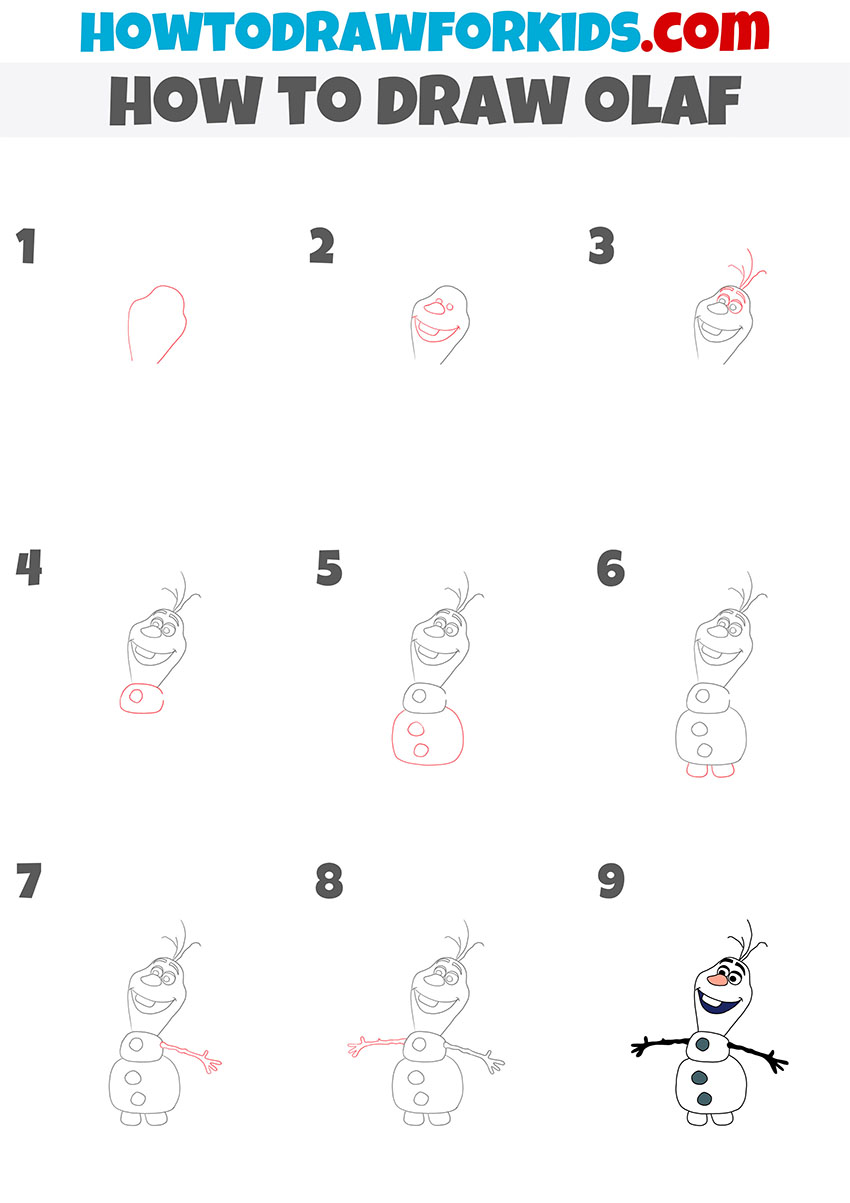
How to Draw Olaf
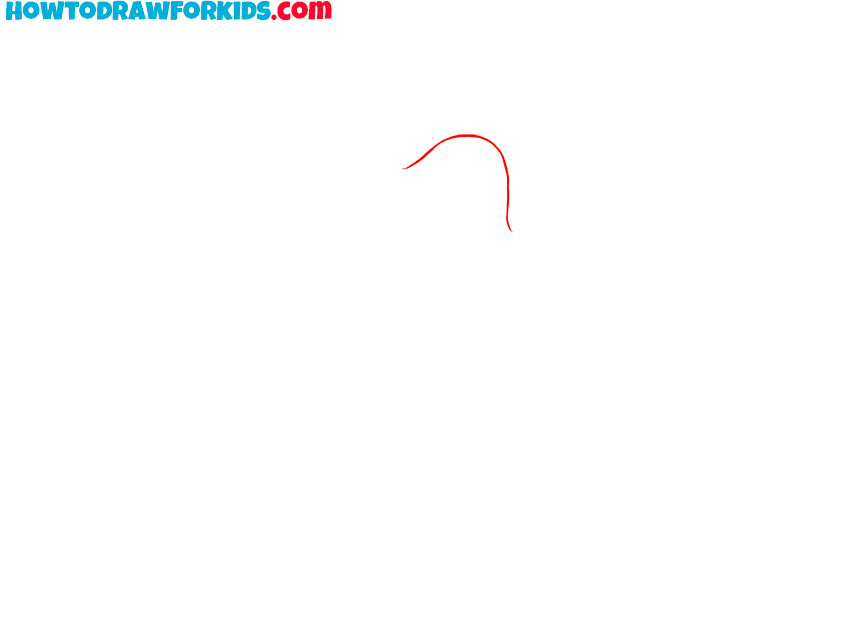
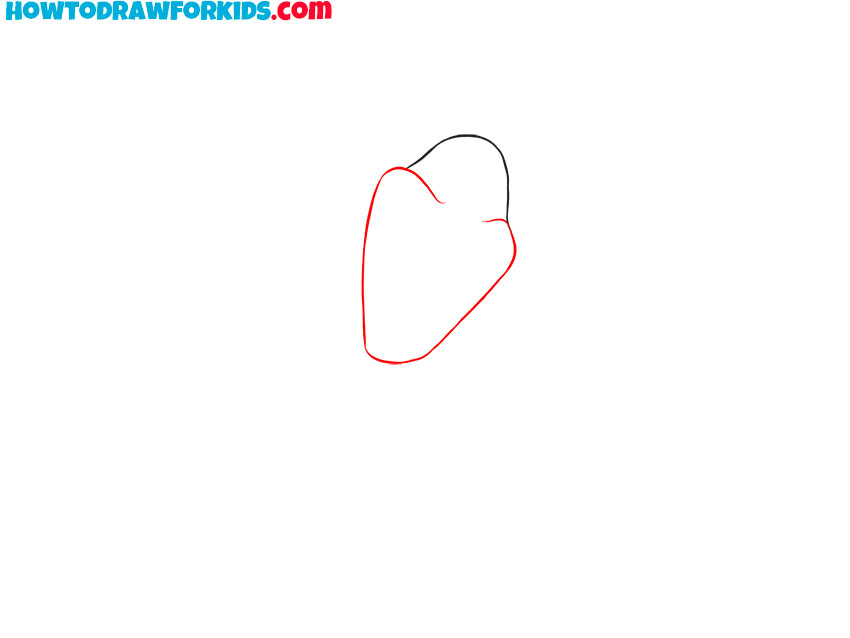
- Draw the top of the head.
Sketch out a small curved line.
- Depict the bottom of the head.
Draw a curved line down, while highlighting the outline of each cheek.
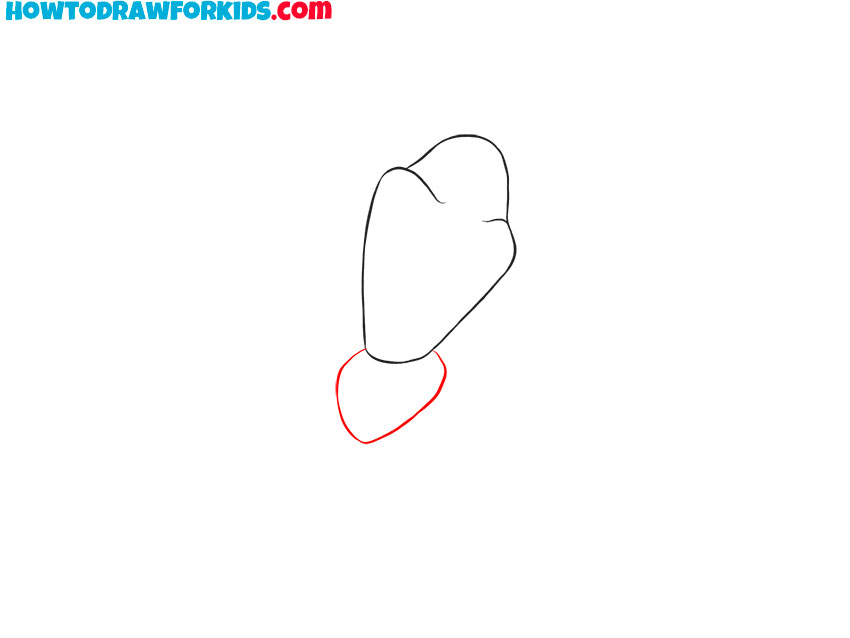
- Add the thoracic region of the torso.
Depict a small snowball below the head using a rounded line.
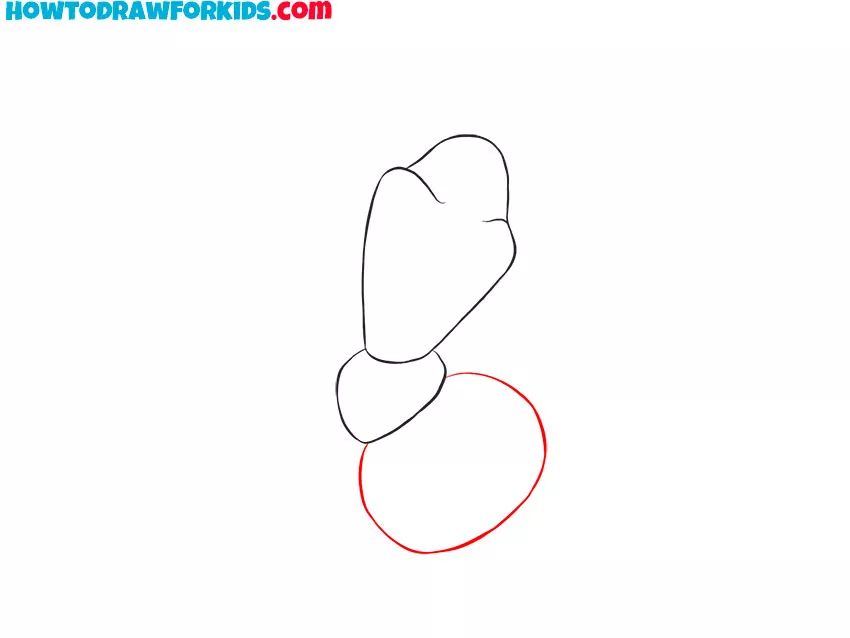
- Sketch out the rest of the torso.
Draw a large snowball at the bottom.
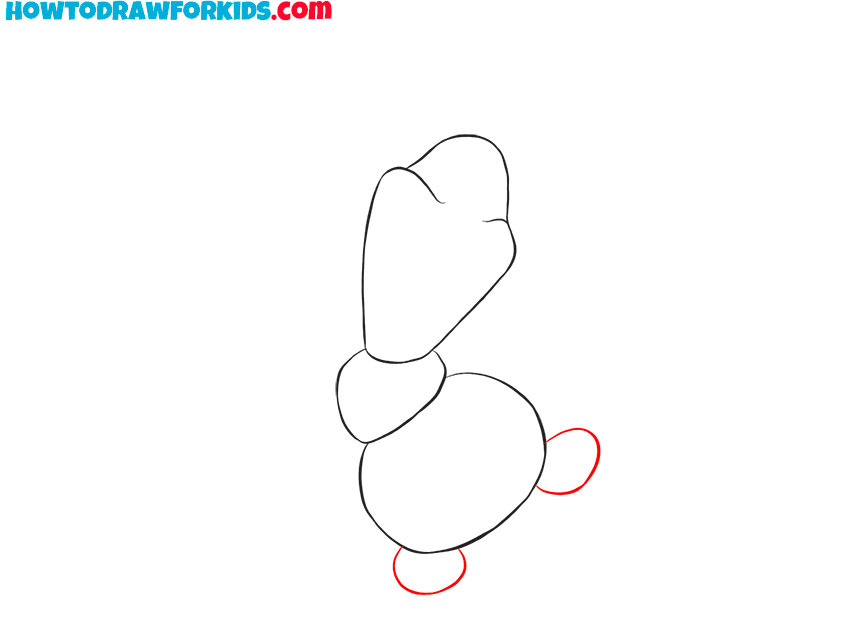
- Draw the legs.
Depict one small oval below, add the second oval on the side.
- Sketch out the arms.
Draw two thin arms that are pointing in opposite directions. Add small fingers.
- Draw the front of the muzzle.
Depict the nose, cheeks and mouth which is wide open. Add teeth.
- Add details.
Depict two eyes, eyebrows and hair. Sketch out three small circles on the body.
- Color the Olaf.
You will need blue, orange and brown.
Additional Content
To further the artistic journey, a free, downloadable PDF that complements the online tutorial on how to depict Olaf is now at your fingertips. This document serves as a quick reference guide, encapsulating the essence of the lesson into a format that can be used without the need for an internet connection.
It’s a convenient tool for kids to keep their artistic skills sharp, whether they’re at home or on the move. This PDF is a silent mentor, always available to guide through the steps of drawing Olaf, ensuring that children can continue to create and enjoy the art of drawing no matter where they are.
Alternative Drawing Technique
To ensure a well-rounded drawing experience, I’ve included an extra technique for drawing Olaf. This variant is tailored to encourage more in-depth practice, focusing on developing a keen eye for detail and a steadier hand. It’s a great way to explore different artistic interpretations and discover new dimensions of Olaf’s character.
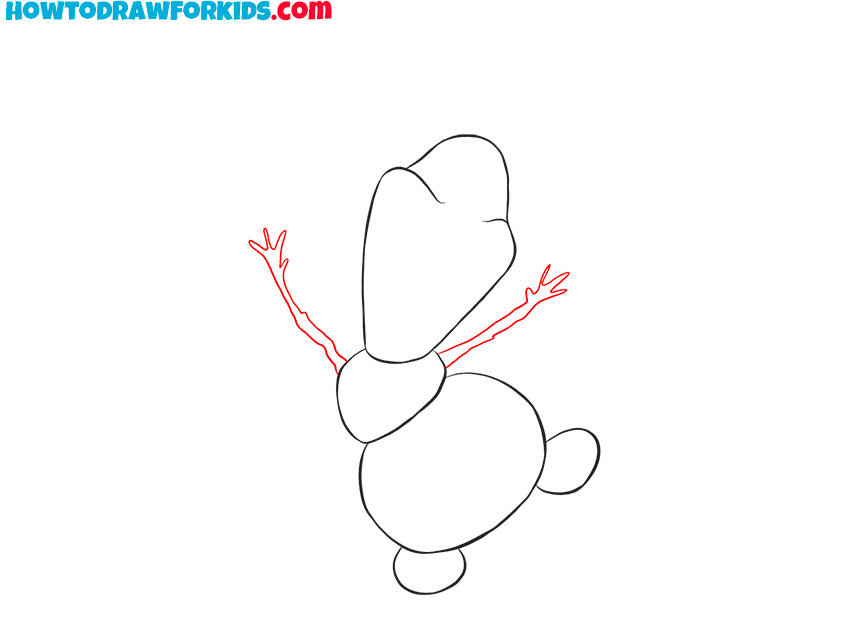
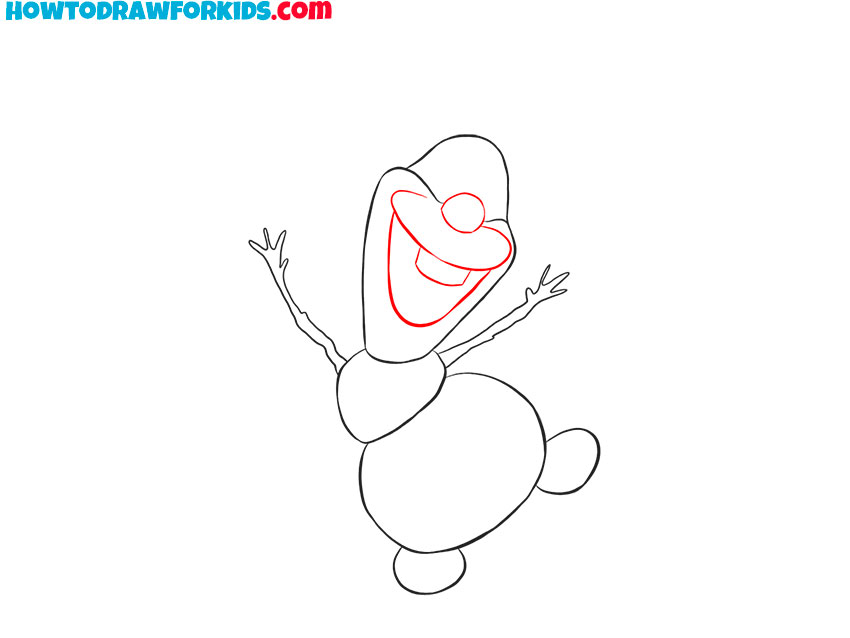
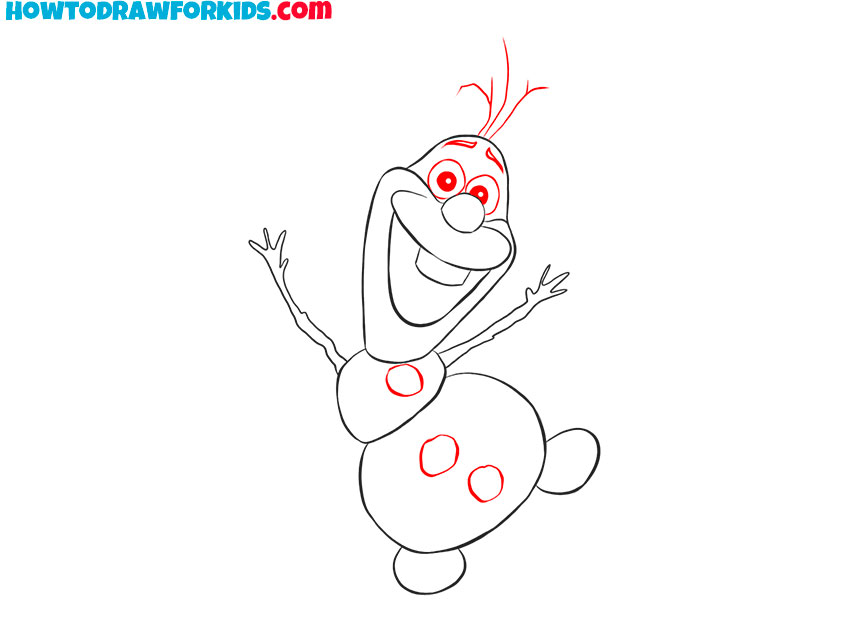
How to Draw Olaf in a Different Pose
This method introduces a delightful twist to drawing Olaf by showcasing him in a different, more animated pose. It’s a wonderful way to stretch the young artist’s abilities in capturing movement and expression.
By practicing this pose, artists not only learn to draw the beloved snowman but also to infuse their artwork with a sense of motion and liveliness, capturing Olaf’s essence in a whole new light.
Imaginative Extras for Your Snowman Scene
You’ve brought Olaf to life with your pencils and colors, and he’s looking splendid. But why stop there? Let’s add some pizzazz to your masterpiece and make it even more magical.
- Snow Pals: Surround Olaf with his main friends—maybe add Anna or Elsa prancing in the background to complete the scene.
- Frosty Scene: Sketch a snowy landscape around Olaf. Maybe some snowflakes or icy hills? Make it a winter wonderland!
- Colorful Sky: Behind Olaf, paint a sky at sunset with purples, pinks, and oranges. It’ll make Olaf pop!
There you have it, a snowstorm of ideas to take your Olaf drawing from cool to ‘Wow, that’s incredible!’ Remember, every extra detail you add makes your drawing uniquely yours.
Conclusion
We’ve had a blast sketching Olaf with his big smile and even bigger heart, but don’t let your artistic journey stop here! My website is full of other exciting lessons. Why not try your hand at drawing an elegant woman or speed off the page with a sleek Lamborghini? There’s a drawing challenge for every interest!
Make sure to follow me on social media so you won’t miss any new lessons. Your ideas are always welcome, so leave a comment with your wishes for future lessons. Let me know, and perhaps your idea will be the star of our next drawing adventure!