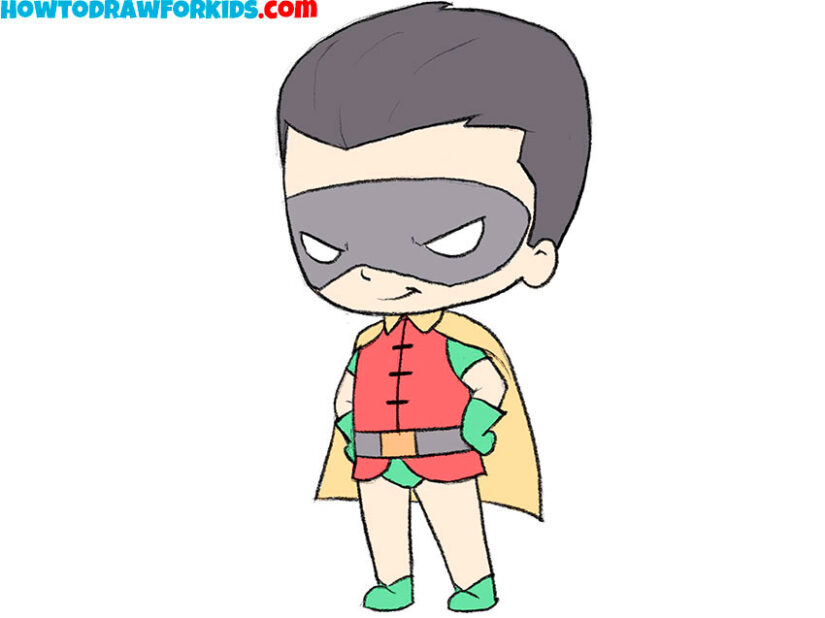
How to Draw Robin
Welcome to my tutorial on how to draw Robin, Gotham’s own boy wonder, in an easy-to-follow chibi format. I created this lesson to help you capture his iconic look with a fun twist, focusing on simple shapes and lines. We’ll walk through transforming these basic elements into the spunky sidekick we all admire.
How to Draw Robin: Basic Information
Step into the world of chibi superheroes with my tutorial on how to draw Robin. This guide was crafted with the intent to break down his iconic look into simple steps. You’ll learn to depict his masked vigilance and gallant posture through the lens of charming chibi artistry, capturing the essence of Batman’s famed partner with ease.
In this drawing, you’ll learn how to piece together Robin’s classic costume and confident stance, all while maintaining the charming proportions of chibi art. I’ve broken down each component – from his domino mask to his cape – into easy steps, so you can replicate his superhero style with just a pencil and paper.
By the end of this guide, you’ll not only know how to draw Robin in a playful, chibi style but also have a deeper understanding of translating character details into simpler forms. This method is all about making the drawing process a joyous and achievable task. Let’s grab our pencils and channel the energy of Robin into our sketches.
Robin Drawing Tutorial
Materials
- Pencil
- Paper
- Eraser
- Coloring supplies
Time needed: 35 minutes
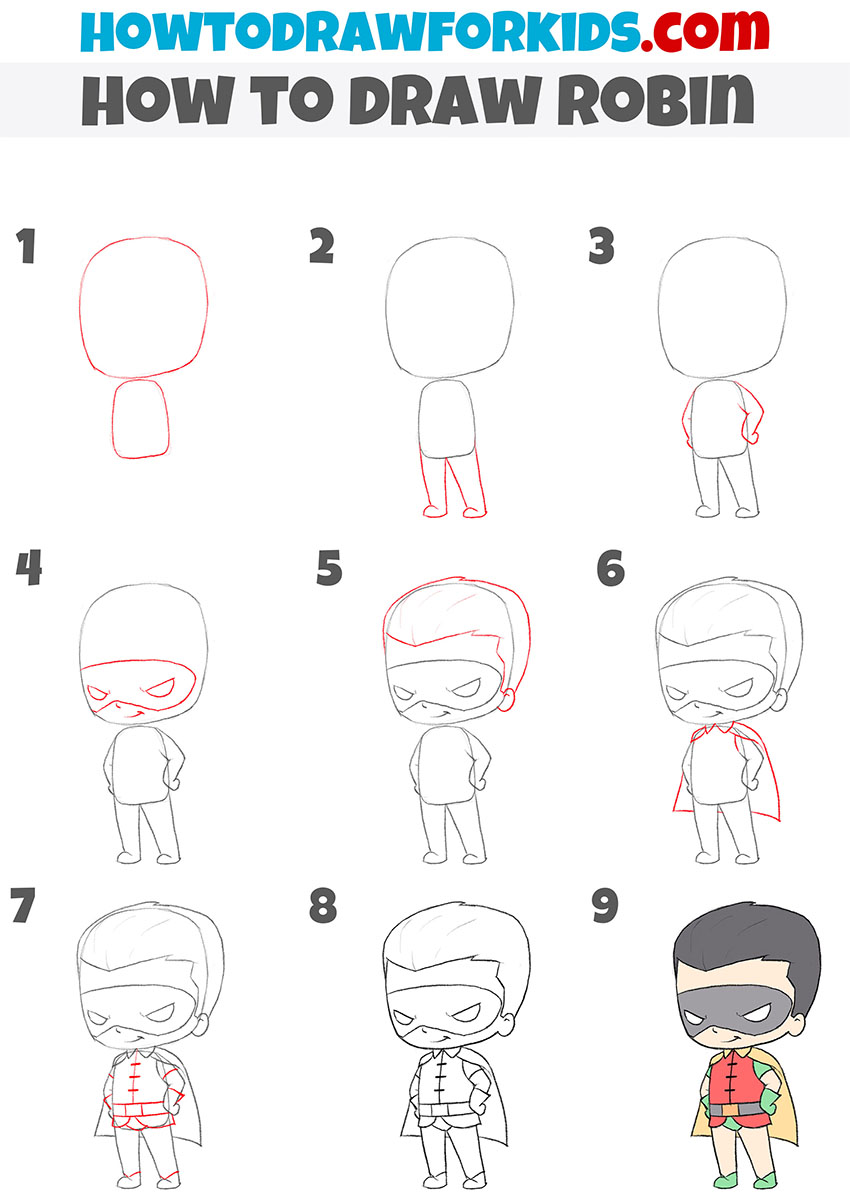
How to Draw Robin
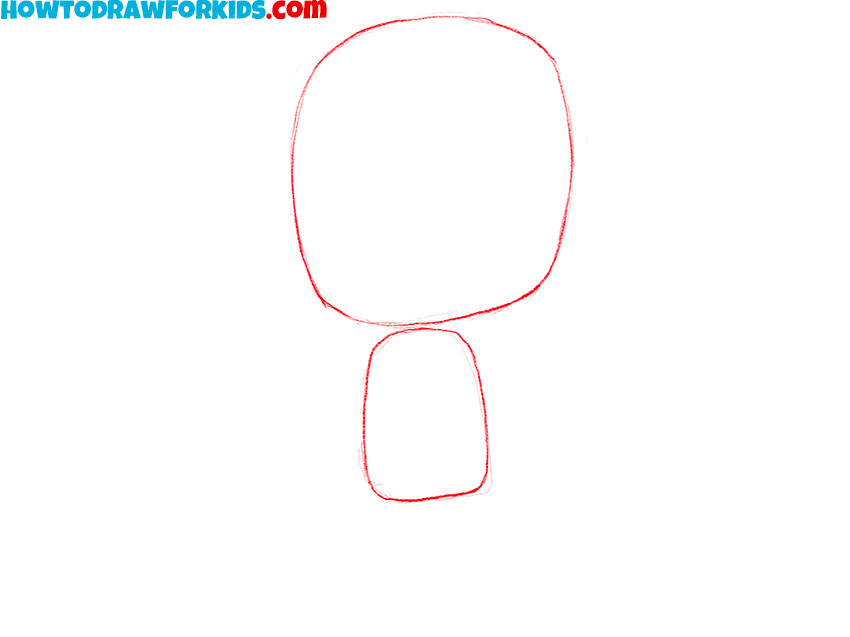
- Draw the outline of the head and body
The first step starts with creating the basic outline for Robin’s head and body. Begin by sketching a large oval for the head and a smaller rectangular shape beneath it for the torso.
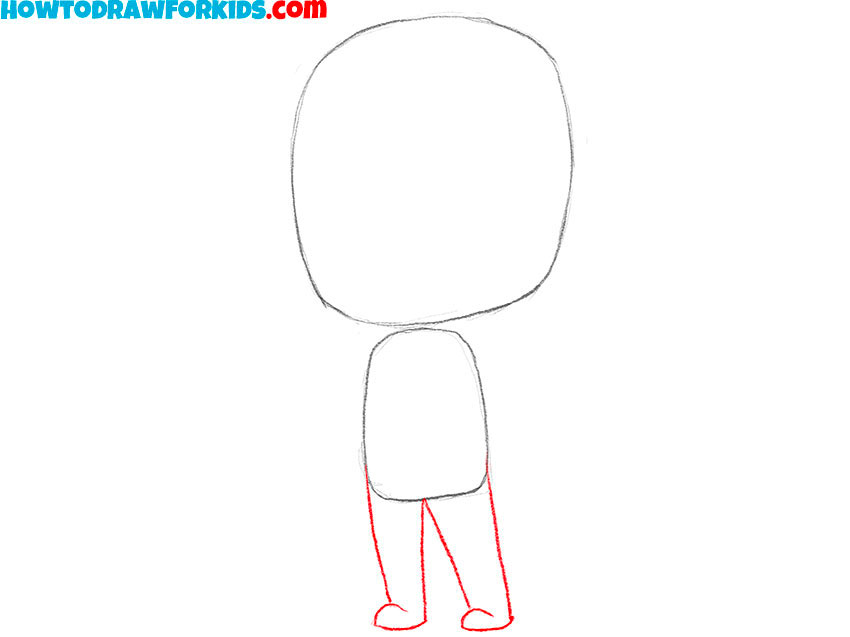
- Add Robin’s legs.
Refine the outline of the body by adding the legs. Draw two straight lines extending down from the lower torso to establish the lower limbs. This step is crucial for setting the stance of the character.
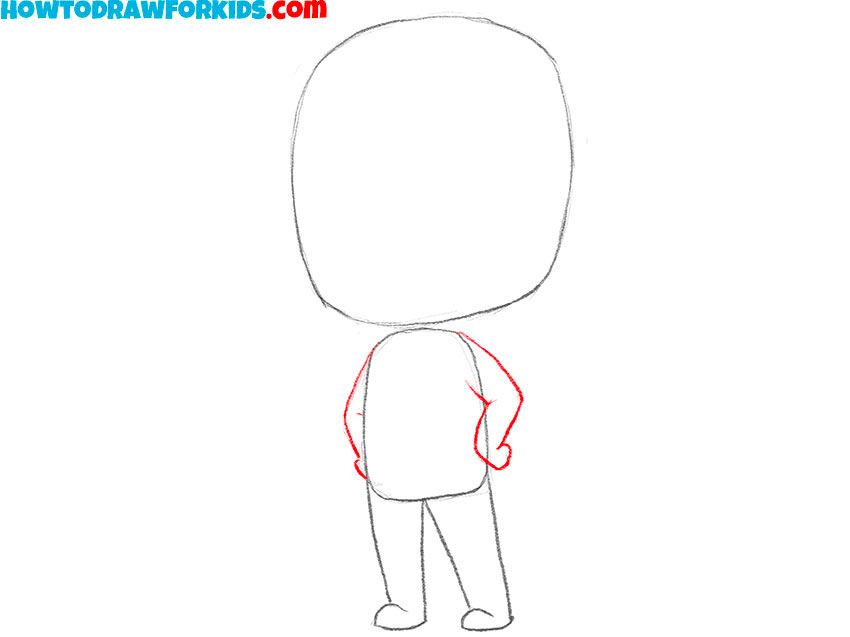
- Sketch the arms.
So, here we focus on defining the arms and hands. Sketch two bent lines extending from the sides of the torso to represent the arms. At the ends of these lines, add small ovals for the hands.
- Draw Robin’s mask.
Carefully draw the outline of the mask over the face area, ensuring that it’s symmetrical and sits comfortably on the upper half of the face. Then add two short strokes to represent the nose and mouth.

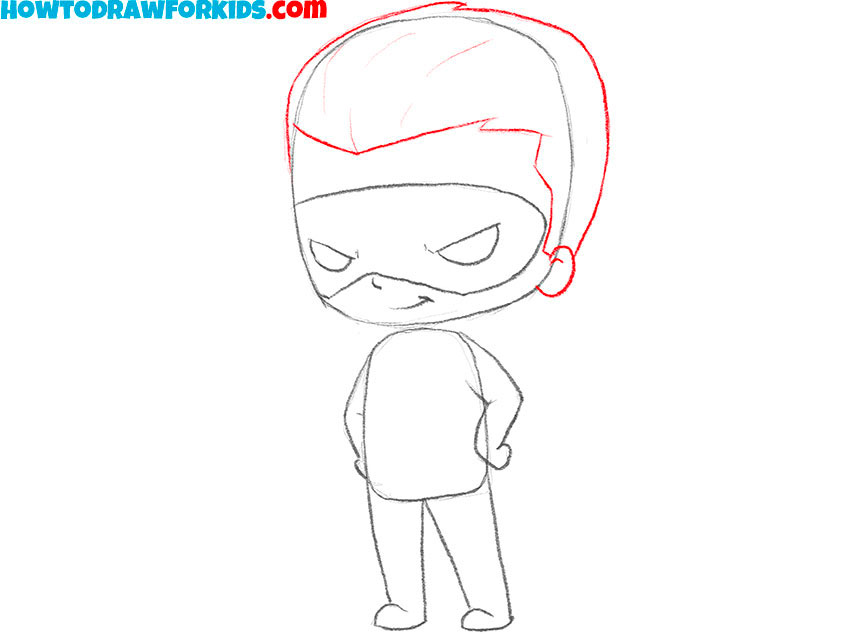
- Add the hair and ears.
Start with the hairline, creating a series of gentle curves that mimic the shape of the head. Sketch the hairstyle with a bit of angle and a slight tuft at the front. Also draw the ear in the form of a semicircle.
- Draw Robin’s cape.
When drawing a superhero cape, the main thing is to correctly and accurately determine the proportions and shape of the fabric. Don’t forget the small fold of fabric on the shoulder.

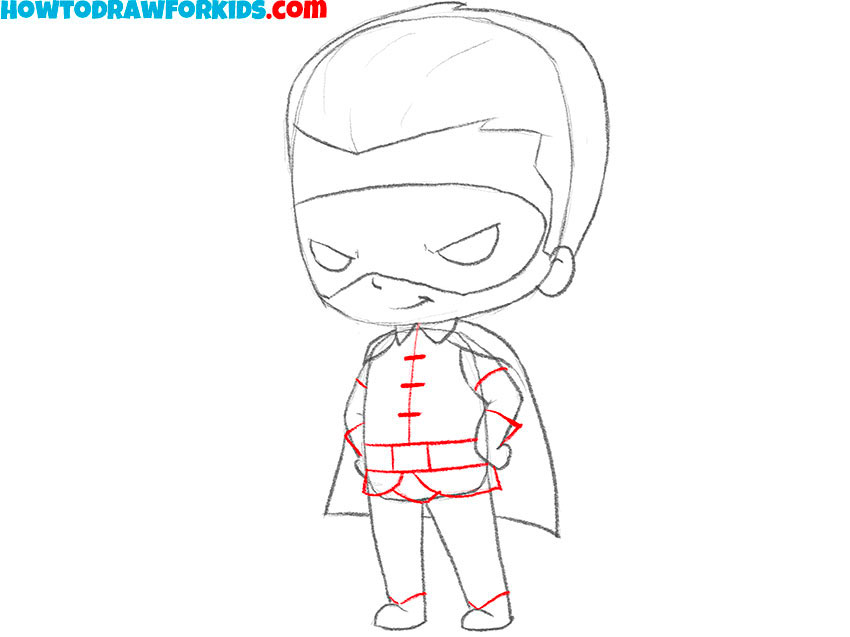
- Add the details to Robin’s costume.
So, start with the outlines of the gloves and boots. Sketch the utility belt with simple geometric shapes, and add lines to the gloves and boots to suggest folds in the material.
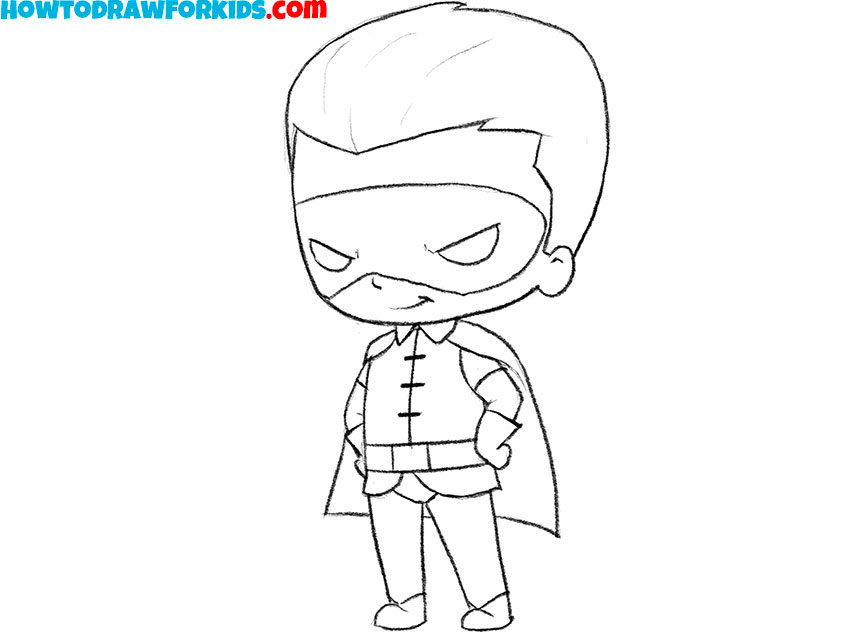
- Delete extra-lines.
Rate Robin’s figure and look at the individual details of this superhero’s costume. Correct any inaccuracies, remove unnecessary lines and start coloring.
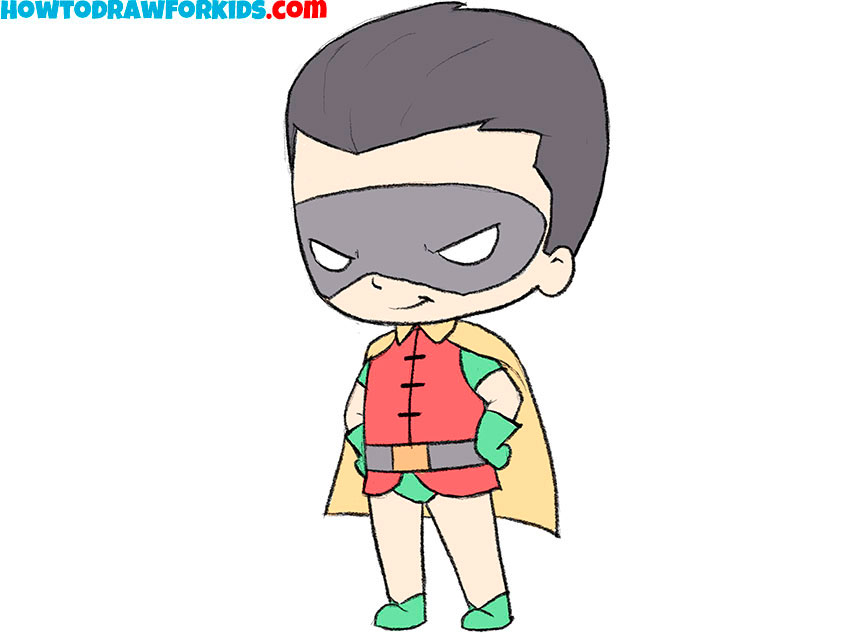
- Color the drawing.
Lastly, color in the drawing, sticking to the traditional colors of Robin’s costume—red, green, yellow, and black—for an authentic and vibrant finish.
How to Draw Robin: Video Tutorial
Additional Content
To support your artistic journey, I’ve distilled the essence of our Robin tutorial into a free, downloadable PDF. This abridged version is a convenient tool, providing you with the ability to practice anywhere, even when offline. It’s perfect for quick reference, ensuring you have guidance whenever inspiration strikes.
Carrying this PDF with you is like having a portable art instructor by your side, ready to demystify the chibi drawing process step by step. It’s been structured to make drawing Robin a breeze, outlining the fundamentals you need to start creating without delay, regardless of where you are.
By offering this PDF, I hope to make learning to draw Robin as effortless as possible. Download it to your device, and let it serve as a constant companion in your creative endeavors. Whether you’re in a bustling café or a quiet park, you can hone your skills and bring the Boy Wonder to life on paper.
Advanced Tips for Drawing Robin
As we cap off our session drawing the chibi rendition of Robin, it’s beneficial to reflect on some tips and tricks that can elevate your artwork. These snippets of advice are gleaned from the many subtleties of illustration and are meant to enhance your future endeavors with your pencil and paper.
- Start with Light Strokes: Begin your drawing with gentle, light pencil strokes to make initial adjustments easier and prevent marks that are difficult to erase.
- Check Proportions Frequently: Use the size of the head as a reference to ensure the rest of the body parts maintain that adorable chibi proportionality.
- Practice the Pose: Before finalizing the drawing, sketch a few quick poses to find the most dynamic and characteristic stance for Robin.
- Add Depth with Shading: Even in a chibi character, proper shading can bring volume to the drawing. Use it sparingly to maintain the simplicity of the style.
- Highlight the Details: Small details like the R on Robin’s costume or the texture of his hair can make a big difference. Use a fine tip for these areas.
- Use References: Keep a reference image nearby. This can be especially helpful for getting the color palette and costume details just right.
Remember, every tip and trick here is a stepping stone to a more polished result. As you continue to draw and apply these techniques, you’ll find your own rhythm and style emerging. These small, intentional practices will not only improve your depiction of Robin but also enrich your overall experience as an artist.
Ideas to Enhance Your Robin Drawings
Now that you’ve captured the chibi charm of Robin, it’s time to consider how your drawing can evolve even further. Enriching your illustration with a background or companion characters can add a narrative depth, turning a simple drawing into a story on paper. Let’s explore some specific examples to enhance your artwork.
- Introduce Gotham City: Sketch the silhouettes of Gotham’s skyscrapers behind Robin, hinting at the bustling city he protects.
- Include the Bat-Signal: Add the iconic Bat-Signal in the sky, giving a sense of urgency and purpose to Robin’s pose.
- Draw Batman: Place a chibi Batman beside Robin, creating a dynamic duo ready for action.
- Create a Villain Encounter: Illustrate a chibi version of the Joker in the background, setting the stage for a face-off.
- Craft a Scene of Rescue: Draw Robin in the act of saving a cat from a tree, showcasing his softer side.
By adding context or characters, your drawing of Robin transitions from a solitary figure to an active participant in his world. These enhancements not only build upon your artistic skills but also invite viewers into the narrative you’ve created. Let each new element you introduce invite curiosity and bring richness to the story your art tells.
Conclusion
Completing your Robin is just the beginning of our artistic collaboration. Explore my site for more tutorials, where you can learn to draw everything from the tranquil flow of a river to the juicy roundness of a peach. Each lesson is designed to broaden your palette and challenge your skills, inviting you to dive deeper into the world of art.
Stay connected and never miss an update by following my social media channels. Here, announcements of new content await you, along with a community eager to see your creations. Feel free to leave comments with your lesson wishes or feedback; your input helps shape our future artistic adventures together.