How to Draw a Skier
This tutorial will teach you how to draw a skier wearing a classic ski suit and shown in a recognizable downhill skiing pose.

How to Draw a Skier: Introduction
My website features a wide range of categories and sections dedicated to different themes and drawing styles. One of the most popular sections is focused on drawing people in various professions and hobbies. Continuing with that theme, today I’d like to show you how to draw a skier.
Previously, we’ve already covered how to draw a skateboarder and other similar activities. This skier drawing lesson continues that direction and also builds on the broader topic of drawing people and characters. In this tutorial, you’ll learn how to draw a skier in a standard ski outfit, without any complex or extra details.
I’ve intentionally simplified this lesson as much as possible to make it accessible to beginners. In addition to this, I’ve created a second skier drawing tutorial, which you’ll find at the bottom of this page. That version uses a different approach and set of steps, includes extra details, and features a slightly different angle for variety.
You’re also free to make your skier drawing more advanced by adding your own elements. For example, you could draw mountains in the background or include motion lines behind the skier to show movement and speed.
Skier Drawing Tutorial
Materials
- Pencil
- Paper
- Eraser
- Coloring supplies
Time needed: 40 minutes
How to Draw a Skier
- Draw the skier’s head.
First, sketch a small circle near the center of the page. This will represent the skier’s head. Slightly tilt the circle forward to reflect the downhill skiing pose. Keep the shape smooth, simple, and round. Make sure to leave enough room below and behind the head for the body and skis.

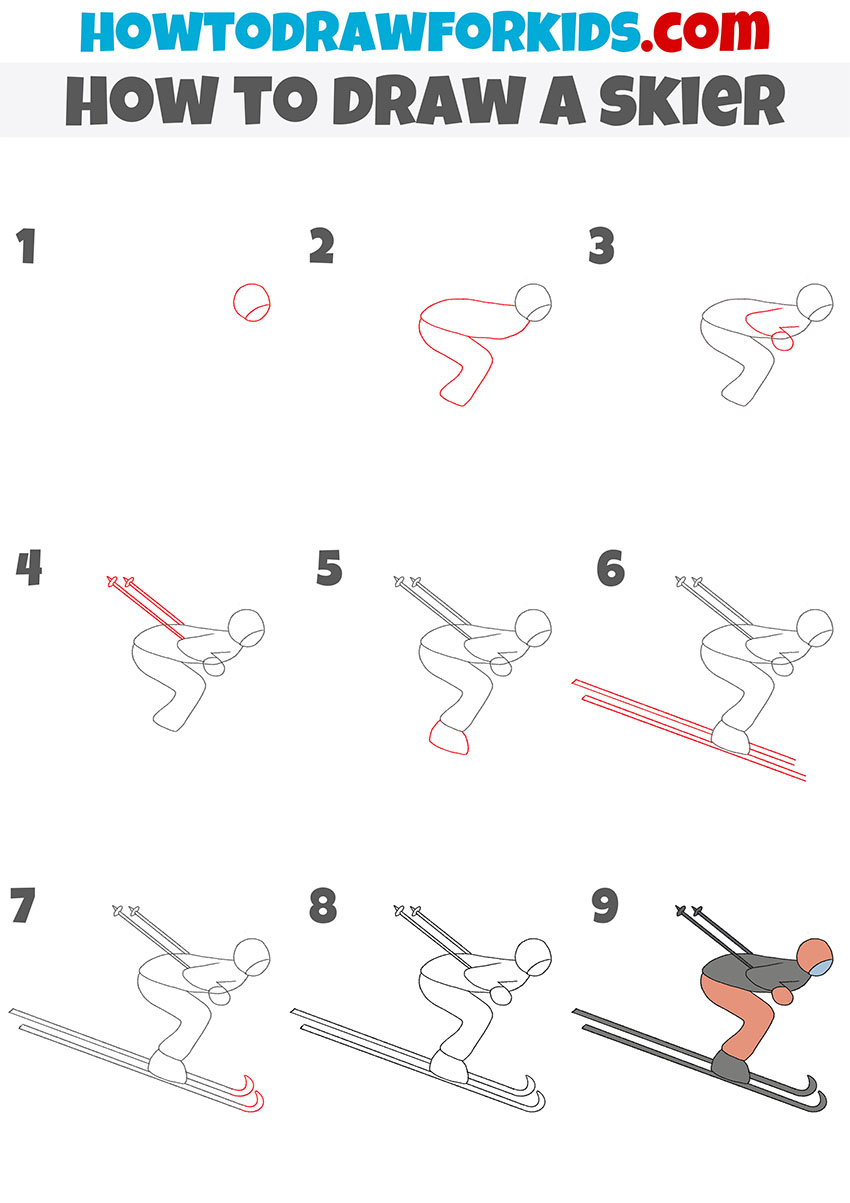
- Sketch the torso and legs.
Now add the skier’s torso and bent legs to form the classic crouched skiing position. Start with a long, curved shape that connects to the head and flows downward to represent the spine and back. Continue the shape into a bent leg, using angular, stylized lines to show the skier leaning forward.
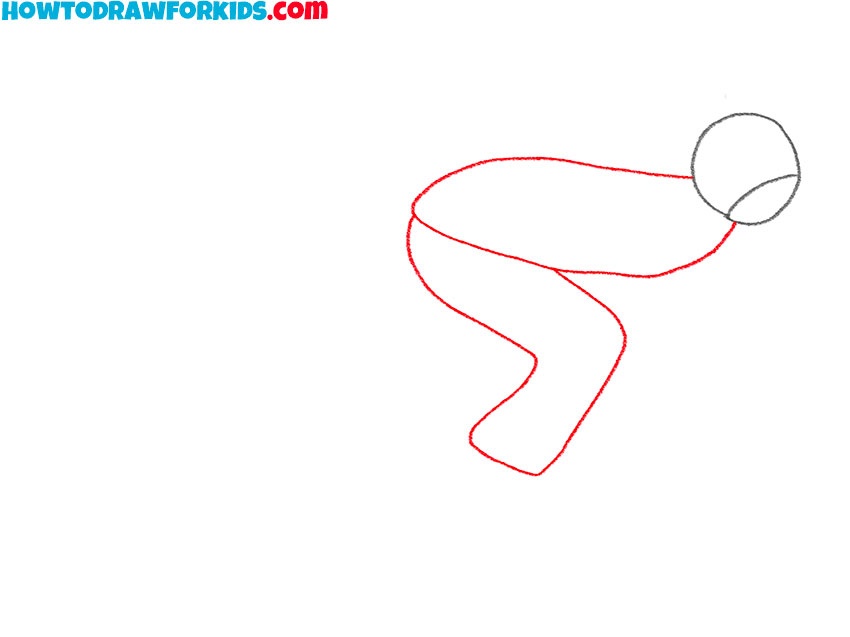
- Add the arms and hands.
Draw two curved lines from the torso to represent the skier’s arms. The arms should be bent and pulled close to the body, with the hands near the knees. This posture reflects the aerodynamic form skiers use to reduce drag while going downhill. Sketch two small oval shapes at the end of each arm to draw the hands.
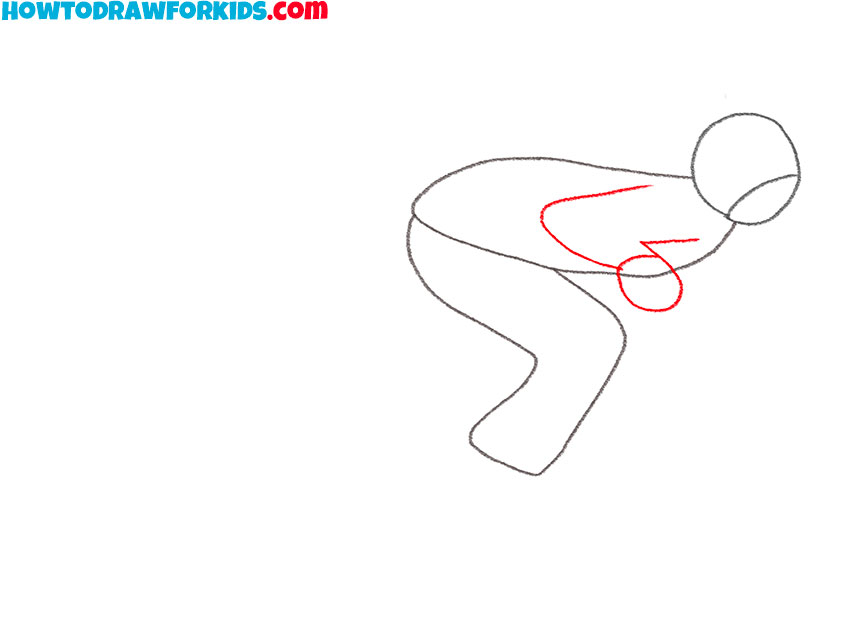
- Draw the ski poles.
Behind the skier, draw straight lines extending upward from the hands to illustrate the ski poles. Add small ovals at the ends of the poles to give them a more realistic look. Keep the lines of the poles straight and parallel to one another.
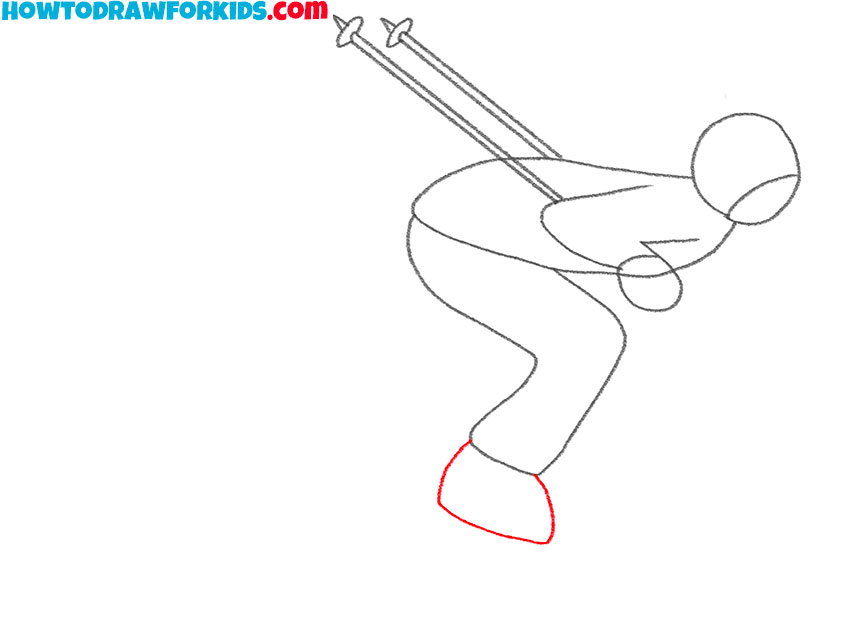
- Draw the skier’s boots.
At the base of the skier’s legs, add large boot shapes to represent ski boots. These should be oval or rectangular in shape, depending on your style. Ski boots are typically larger than regular shoes. You can keep the shapes simple or add some details for more realism.
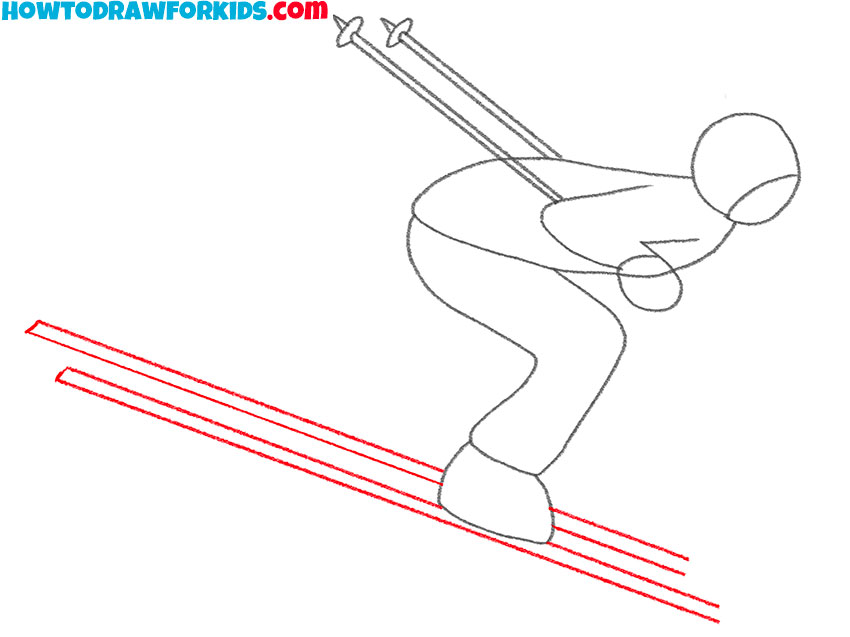
- Start sketching the skis.
Now, draw long, parallel lines at the bottom of the boots to form the skis. These lines should be angled downward to reflect the skier going downhill. Make the skis longer than the body. The skis should pass behind the figure and stretch far in front.
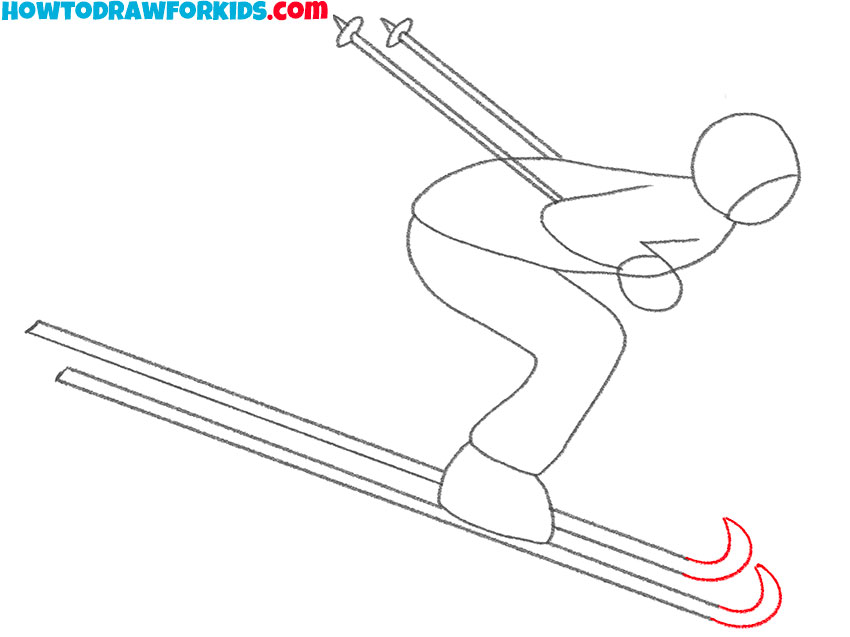
- Curve the tips of the skis.
Add gentle upward curves at the ends of both skis to show the signature lifted tips. Keep the curves symmetrical and smooth, and avoid overly sharp points. At this stage, your skier is fully outlined and looks well-positioned on the slope.
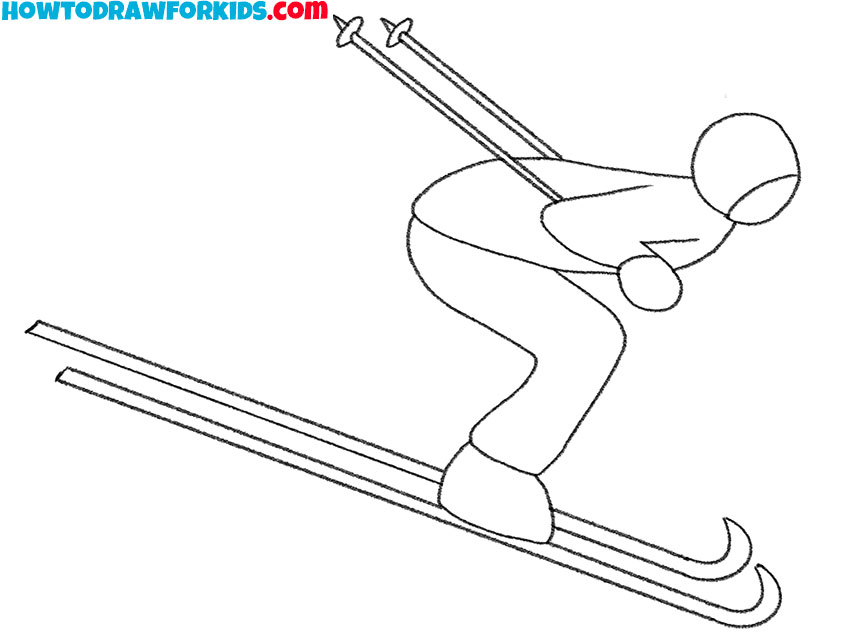
- Clean up the skier drawing.
Now go over your entire skier drawing with a darker pencil or pen to trace all the lines. Erase any extra guidelines from your sketch. At this stage, all proportions and gear should look complete. With the outline finalized, your drawing is ready for the final touch – color.
- Use color to complete your skier.
To color you’re drawing of a skier, use gray or black for the skis and poles, and choose bold colors for the ski suit like red, blue, or orange. Add blue for the ski goggles and use gray for the boots. Try to match the colors of real ski gear, or customize them however you’d like.

Additional Content
Now you know how to draw a skier step by step. As always, I’ve prepared a PDF file for you in advance, which includes a brief set of instructions and additional helpful content. Download the file and draw whenever it’s convenient for you.
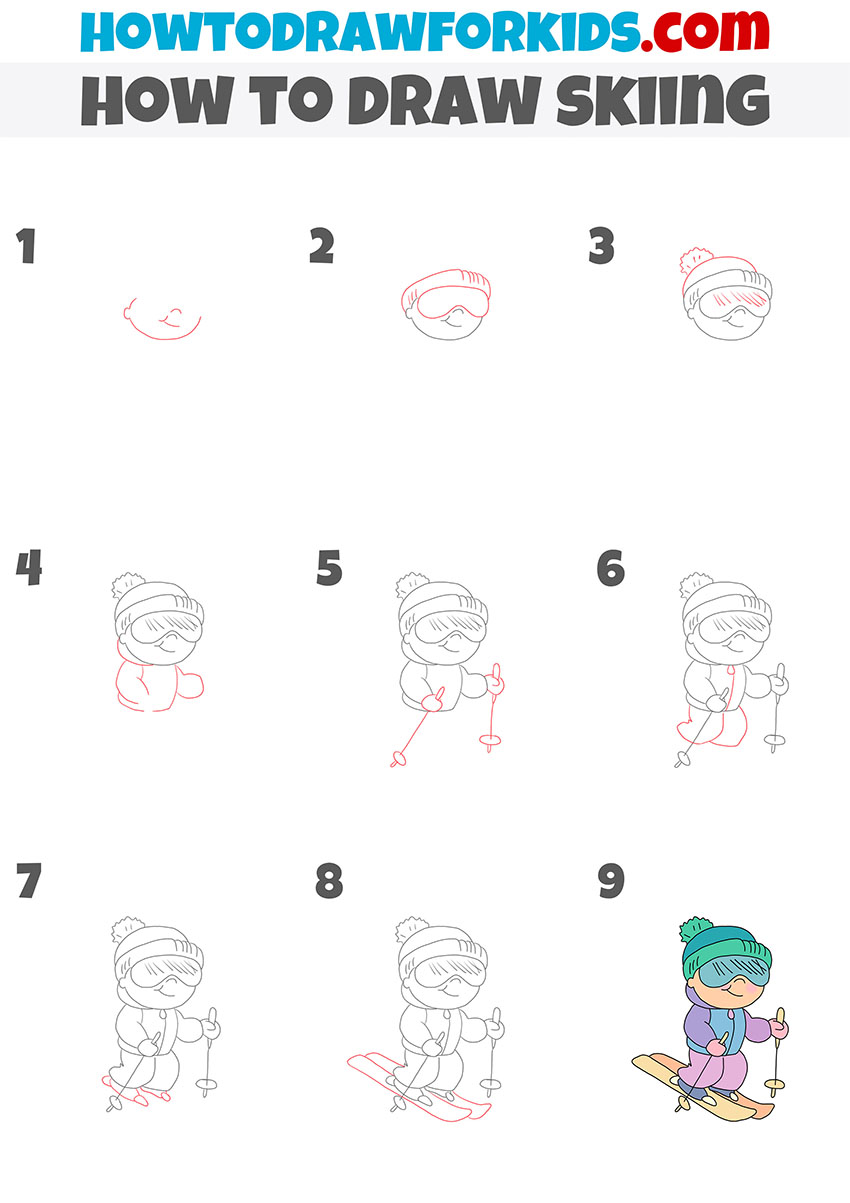
Skiing Person Drawing Tutorial
This skiing person drawing tutorial stands apart from the previous one by presenting a more character-driven approach. Instead of focusing on body posture and gear, this method introduces a full, cartoon-style figure dressed in winter clothing, complete with a hat, ski goggles, and warm jacket. The character appears more childlike and animated, with a front-facing stance and simple, rounded shapes. It’s especially suited for younger artists or anyone wanting to draw a cute and fun version of a person skiing.
To follow this tutorial on to draw a skiing person, begin by drawing a rounded face with a simple smile and a cheek. Add large ski goggles covering the eyes and sketch a winter hat with a pom-pom on top. Then sketch the upper body, including a jacket and large mitten-like hands.
Add two ski poles, angling downward from the hands. Draw the legs bent in a gentle motion and place the feet in simple boots. Complete the drawing by adding two large skis under the boots. Outline everything with clean lines and erase unnecessary guides. Color the clothing in bright, wintery tones.
Conclusion
Today, we completed an interesting and informative project by learning how to draw a skier in two noticeably different ways. Now it’s the perfect time to keep building your skills and take the next step toward becoming a confident and capable artist. To help with that, I strongly recommend exploring other drawing tutorials on the topic of professions in the “People” category on my website.
In addition, be sure to check out my winter coloring pages collection, where you’ll also find skiers, other characters, and winter-themed scenes. This will not only help you improve your coloring skills but also give you a fun and relaxing way to continue practicing.
Overall, I encourage you to explore both the drawing tutorial section and the coloring pages section of my website. And don’t forget to follow me on social media so you won’t miss any new posts related to these topics.