How to Draw Still Life
Looking for a fun educational activity? My tutorial on how to draw a still life offers kids a wonderful opportunity to learn artistic skills while creating a vibrant composition of fruit.
In this lesson I will tell you about the basic principles of drawing a still life, how to create a composition of fruits and how to make the entire still life complete.

How to Draw a Still Life: Basic Information
Learning to draw a still life is incredibly beneficial for young artists as it builds a solid foundation in several crucial artistic skills. Starting with the arrangement of objects, young artists learn the importance of composition, which is essential for creating visually appealing and balanced artworks.
One of the most important things a young artist learns when drawing a still life is learning the basic principles of composition. How to arrange objects correctly? How much space should I leave between the objects themselves and the borders of the sheet? Which objects should be placed in front and which ones behind?
Also, determining and utilizing a consistent light source in their drawings teaches young artists how light affects the perception of form and space, a fundamental aspect of creating realistic and dynamic images. This understanding is critical as it applies not only to still life but to any form of visual art that involves rendering scenes and objects in a three-dimensional space.
By adhering to the principles of perspective, young artists learn to depict space and depth realistically, skills that are essential for drawing scenes and objects convincingly. The practice of accurately rendering shadows and highlights further helps in understanding how objects interact with their environment, grounding them realistically in their space.
Finally, the act of continuously stepping back to assess their work helps young artists develop a critical eye for their own work, encouraging a habit of self-evaluation and ongoing improvement.
Still Life Drawing Tutorial
Materials
- Pencil
- Paper
- Eraser
- Coloring supplies
Time needed: 30 minutes
How to Draw Still Life
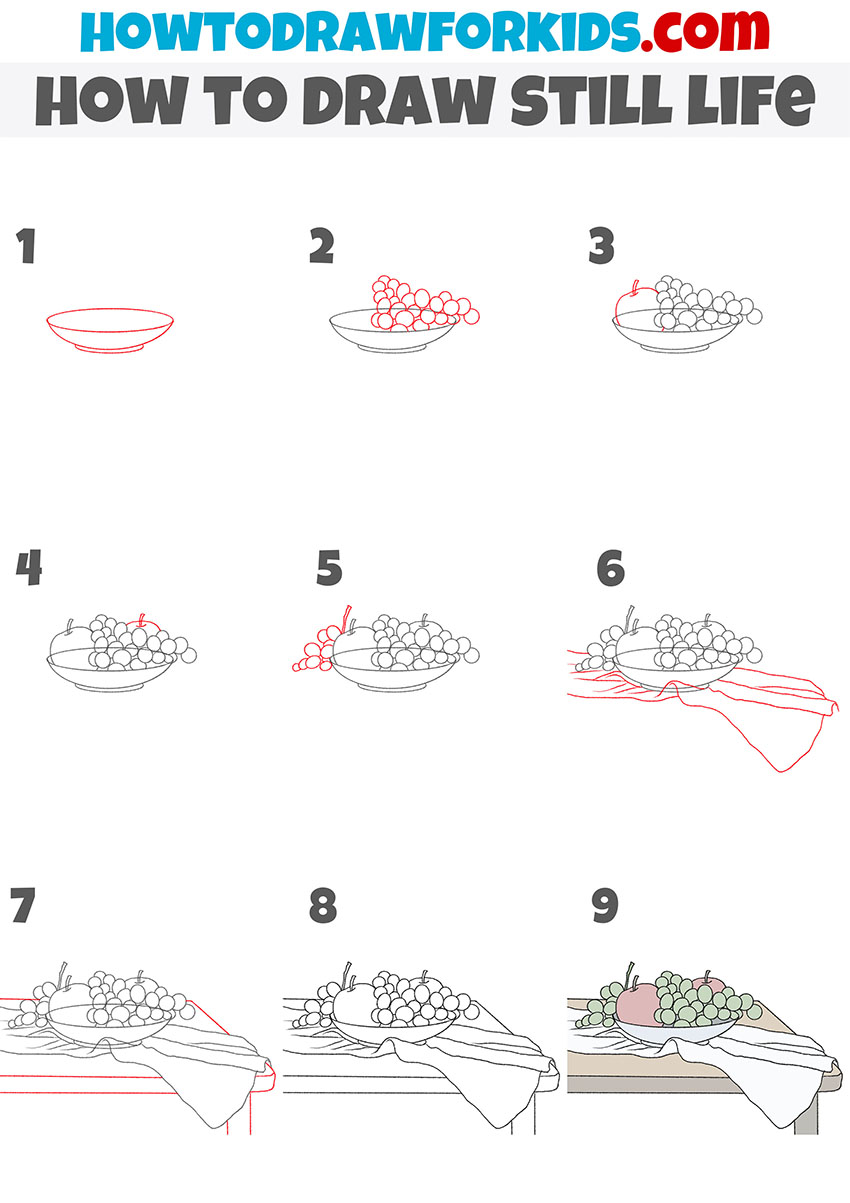
- Draw the bowl.
Start by sketching the basic shape of the bowl. This outline should look like an elongated oval that’s flattened at the bottom. Ensure that the lines are smooth and the shape symmetrical as this will form the foundation for your still life drawing.
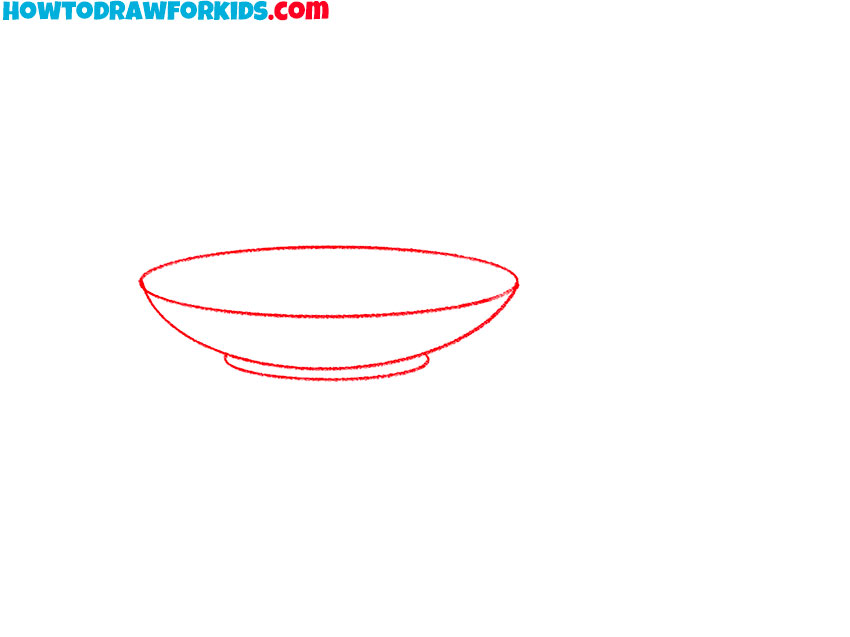
- Sketch the grapes.
Next, methodically draw an abundance of the grapes, starting from the rim of the bowl, overlapping each circle as you go, to depict the fullness and dimension of the bountiful grape cluster. These circles should vary slightly in size to suggest natural variation.
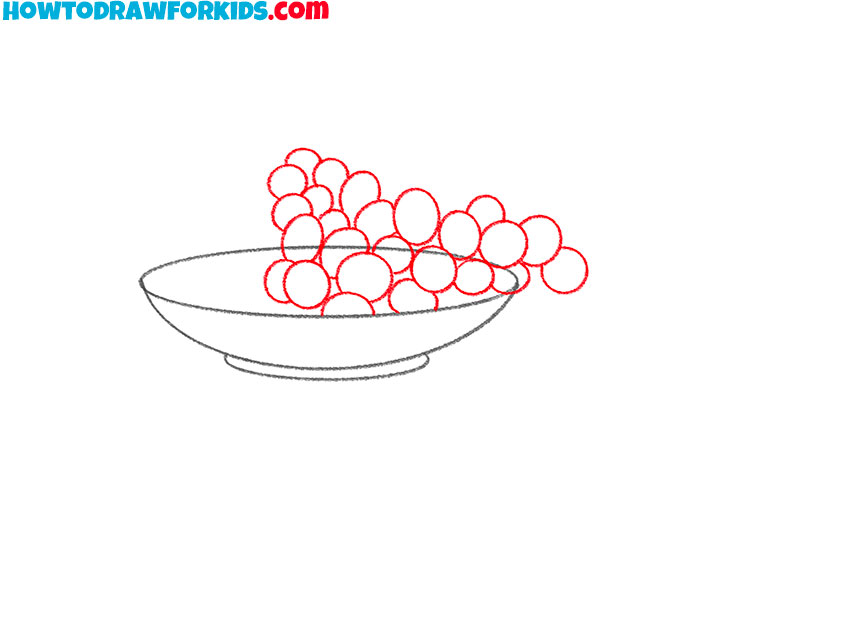
- Draw the apple.
Add an apple to the composition by sketching it to one side of the bowl. Draw the apple slightly larger than the grapes, with a noticeable oval shape and include a small stem at the top. Position the apple in such a way that it partially overlapped by the grapes to integrate it into the still life seamlessly.
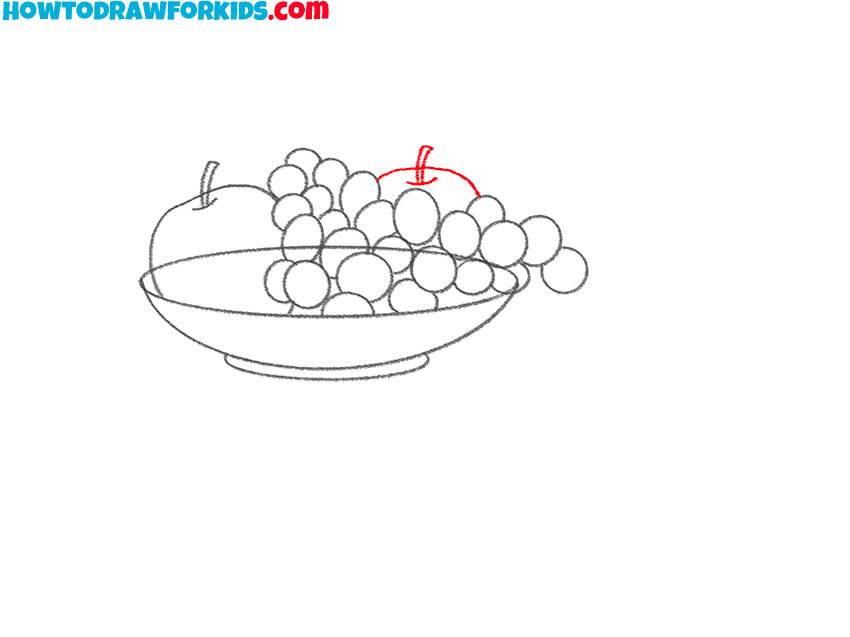
- Add another apple.
Sketch another apple behind the first, slightly obscured by the other fruits. This background apple helps build the composition’s depth and complexity. Ensure that it is proportionally smaller to maintain perspective, indicating it is further away from the viewer.
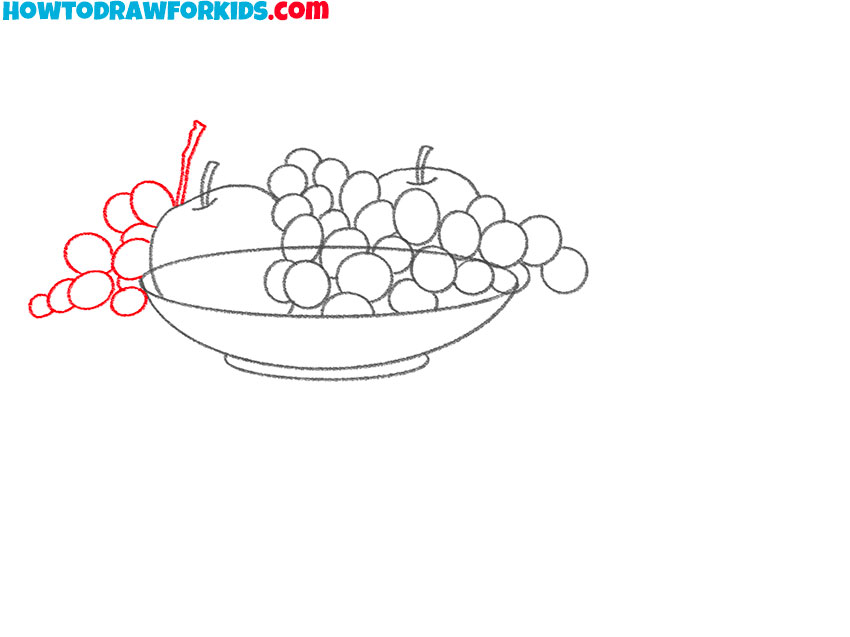
- Draw more grapes.
Continue adding more grapes to the bowl, especially filling any gaps and extending some clusters slightly over the edge of the bowl to enhance realism. These additional grapes should be varied in size and partially hidden behind others, suggesting a full and abundant bowl of fruit.
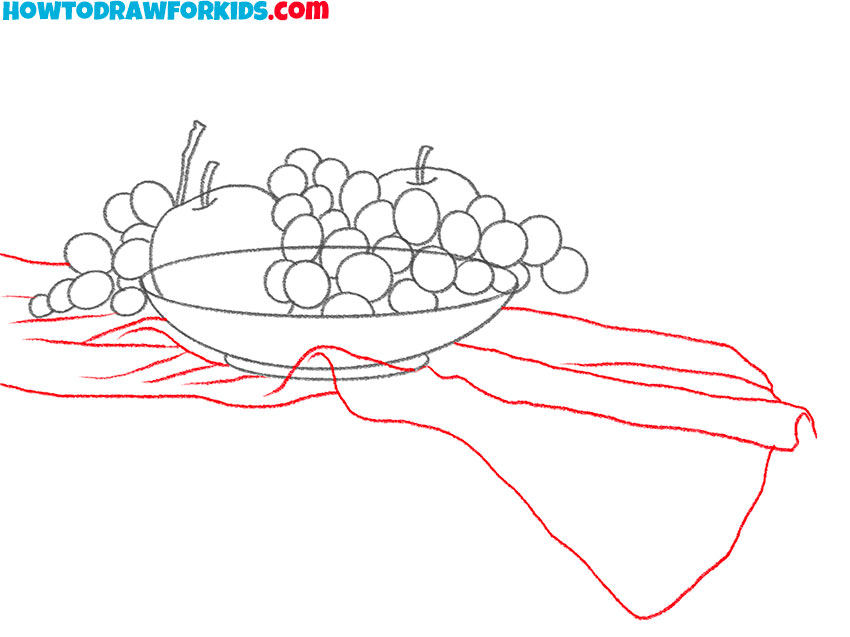
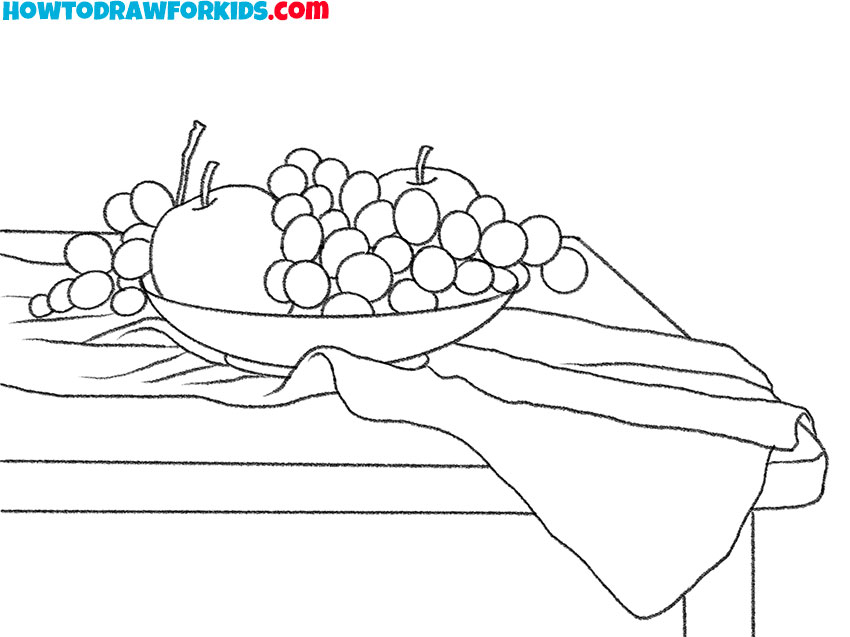
- Add the fabric to your still life.
Draw a piece of fabric under and around the bowl. Begin with flowing lines that suggest a soft, draped cloth extending beyond the boundaries of the composition. This fabric will add texture and a new element to the drawing, enhancing the still life’s overall aesthetic.
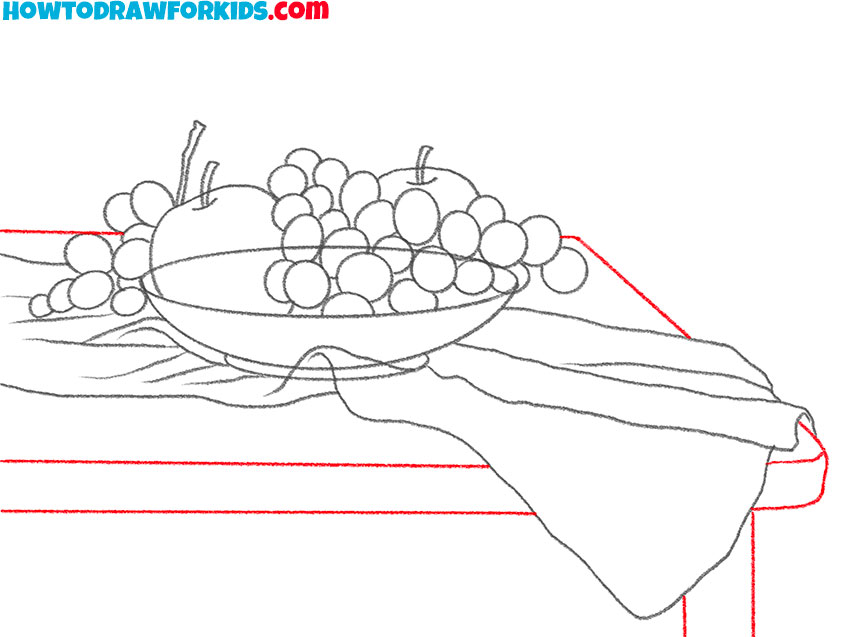
- Illustrate the table.
Draw the table supporting your still life by using a series of straight lines. Outline the edges to create a rectangular shape that gives a solid and stable base for the fruit-laden cloth to rest upon. Draw the lines of the table in such a way as to convey perspective and depth. Draw the leg to complete the table.
- Correct any inaccuracies.
Carefully erase any initial guidelines or unnecessary marks that were made during the earlier steps. Cleaning up the drawing at this stage prepares it for final detailing and coloring, ensuring that only the essential lines remain in your still life drawing.
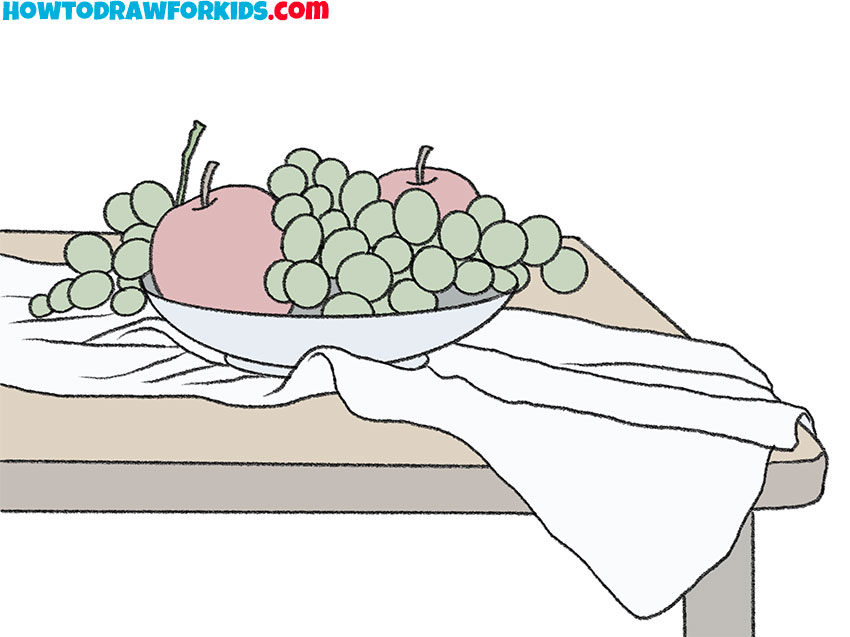
- Color your still life drawing.
Use appropriate colors for the grapes, apples, fabric, and table. You can shade the objects to give them volume and depth, highlighting areas where light naturally hits and adding shadows beneath and around the objects to anchor them visually.
Additional Content
I’ve got a special treat for you: a cool PDF version of our still life drawing lesson, all bundled up and ready to go. And it’s completely free! You can download it to your gadget and take it on all your adventures. No internet? No problem! Your new art buddy will be with you anytime, ready to help you create masterpieces wherever you are!
Tips and Tricks for Still Life Drawing:
Are you ready to supercharge your still life drawing with some insider know-how? Let’s roll up our sleeves and discover some clever tips and tricks that’ll make drawing a still life as easy as pie – and twice as fun!
For achieving perfectly round forms when illustrating items such as grapes, an effective method is to employ a coin or a bottle cap as a tracing tool. This technique ensures uniformity and precision, essential for realistic and visually appealing depictions.
Improving a table illustration with two shades of brown can significantly augment the aesthetic appeal, simulating a sophisticated woodwork effect. This method involves skillfully blending both shades to achieve a gradient or layered look that mimics the natural variations in wood.
To add depth and a three-dimensional effect to fruit drawings, it is advisable to lightly sketch shadows beneath each fruit. This technique helps to elevate the fruits from the two-dimensional plane of the paper, making them appear more lifelike. For artists seeking to refine their shadowing techniques, I have detailed guidance in my article on the interplay of shadow and light which can be a valuable resource.
In instances of slight errors or overmarking in your drawings, utilizing a kneaded eraser is highly recommended. Unlike standard erasers, a kneaded eraser gently lifts graphite from the paper without leaving smudges, thereby preserving the integrity and cleanliness of the artwork.
It is important to remember that perfection in art is not achieved instantaneously but through consistent practice. Each drawing session contributes to improving your skills, enhancing your technique. Therefore, do not be disheartened by initial imperfections; rather, view each piece as a step towards mastering your craft.
Conclusion
And just like that, our still life drawing tutorial is over! But don’t let the fun stop here. Move to other tutorials on my website, and learn to sketch a hoppy frog or a sparkly star!
Got something to say or a brilliant idea for our next drawing lesson? Leave a comment! I can’t wait to hear your thoughts and maybe even turn your suggestions into our next art escapade.
And don’t forget to follow me on social networks! You wouldn’t want to miss out all the new and exciting drawing tutorials, would you?