How to Draw a Queen
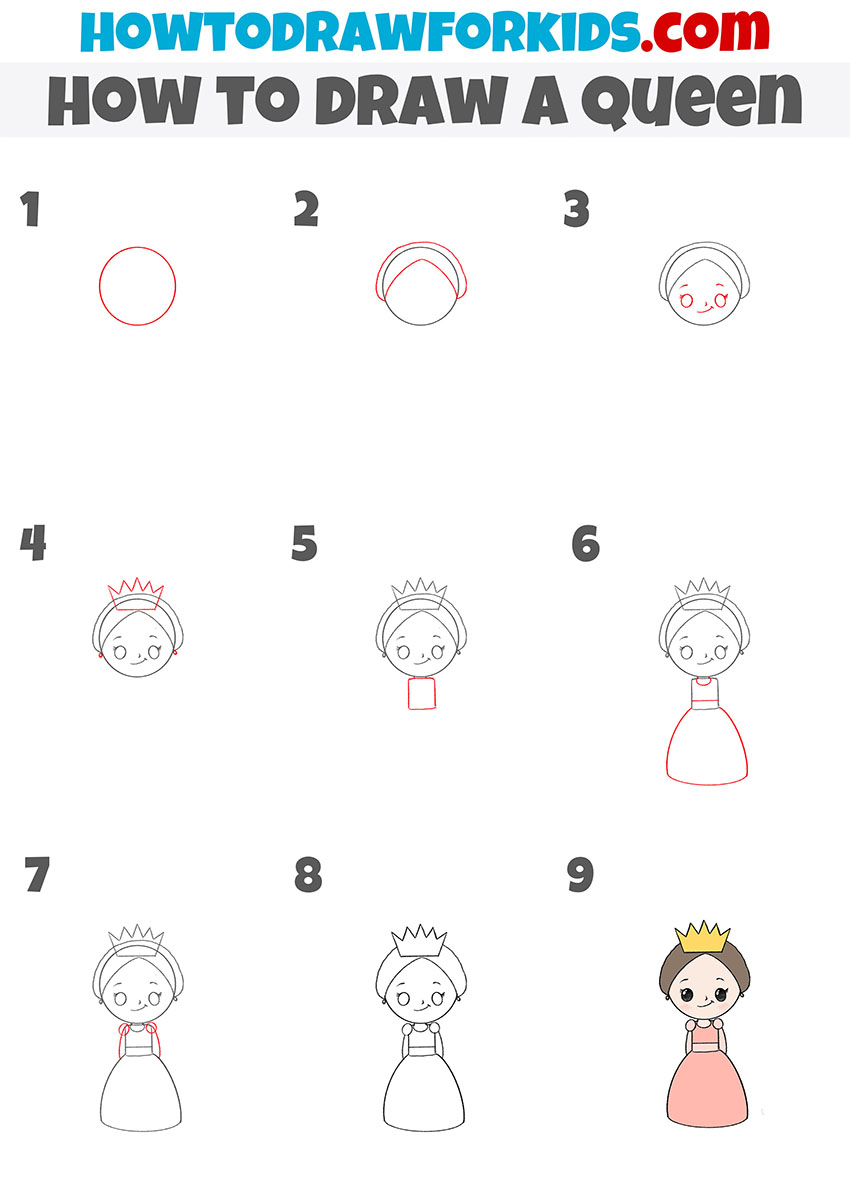
In this super easy tutorial you will learn how to draw a queen quickly and easily. This instruction consists of only nine steps.
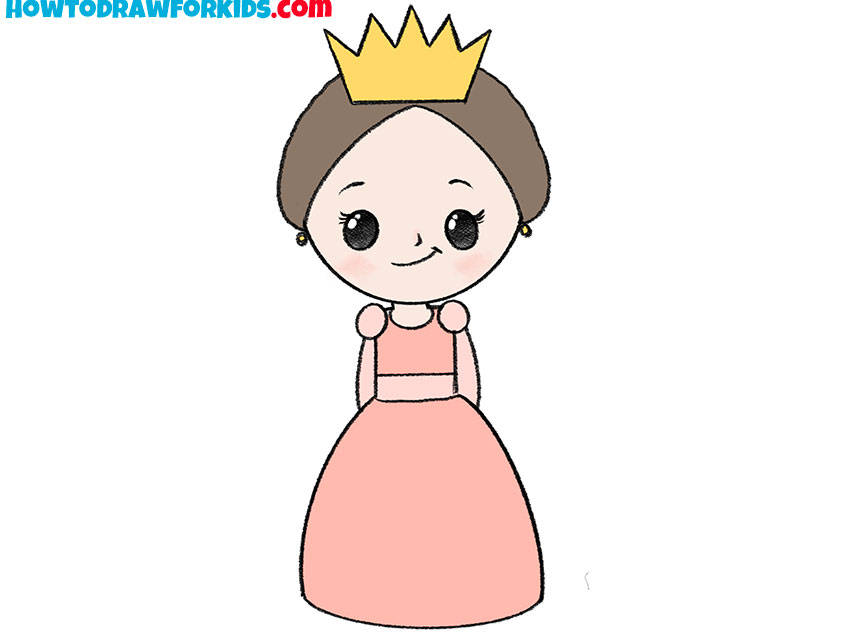
In this tutorial, I will show you how to draw a queen. I promise that the lesson will be interesting and simple.
Now another exciting task awaits you, in which you will learn how to draw a queen. This is a very popular character. Queens are found in many children’s fairy tales and cartoons.
In the picture, the queen is depicted in a cartoon style and looks very cute. The queen has a beautiful dress and a crown on her head, as any monarch should be. The drawing contains a minimum of elements, so you can easily repeat all the drawing steps.
Materials
- Pencil
- Paper
- Eraser
- Coloring supplies
Time needed: 30 minutes
How to Draw a Queen
- Draw the head.
Sketch out a straight circle.

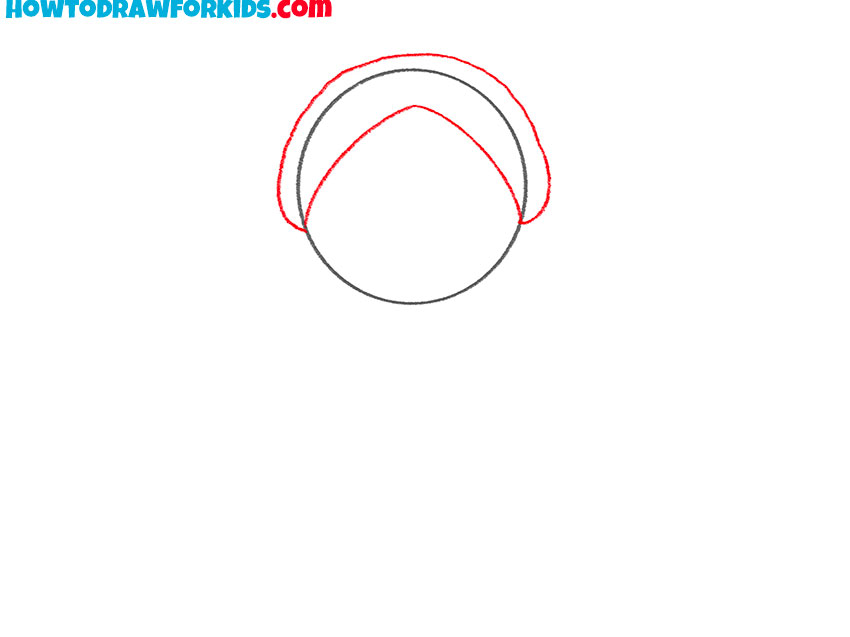
- Depict the hair.
Use smooth, rounded lines to depict the hair, which is styled neatly.
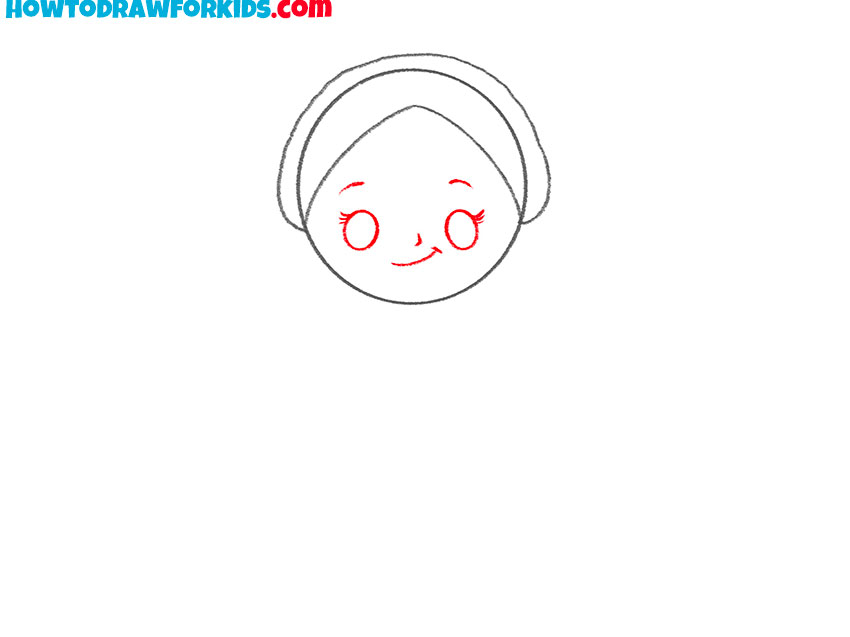
- Add facial features.
Draw eyes, eyebrows, nose and mouth.
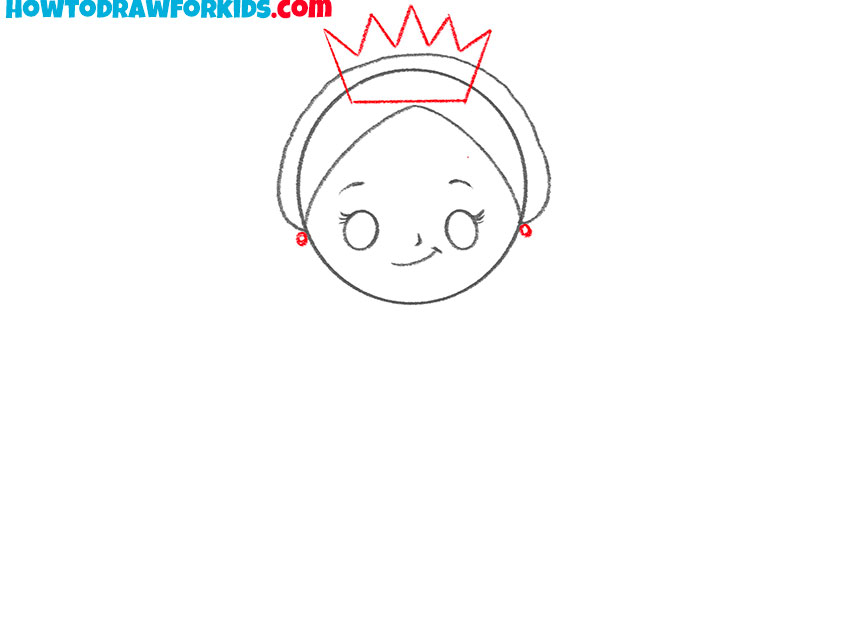
- Depict the crown and earrings.
With the help of straight lines, draw the crown. Then add small circles to depict the earrings.
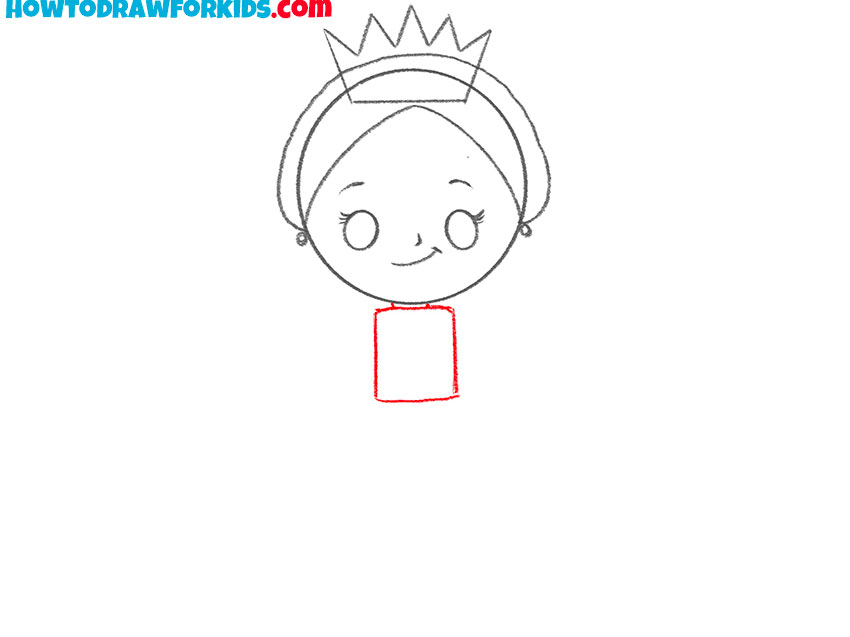
- Sketch out the upper body.
Below the head, draw the small torso, which has a rectangular shape.
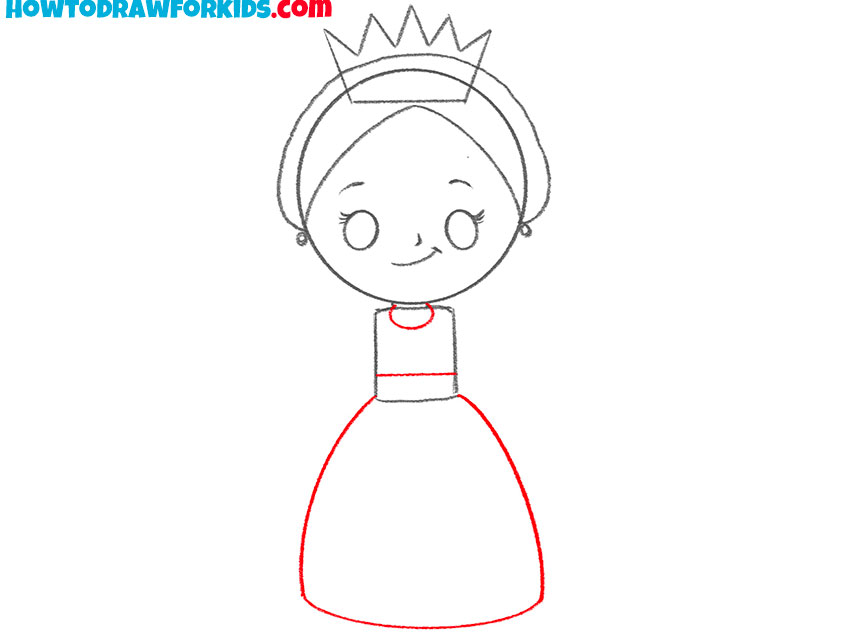
- Draw the clothes.
Depict the collar, the belt and draw the fluffy skirt below.
- Add the hands.
Draw circles to depict the puffy sleeves and move down smooth rounded lines.
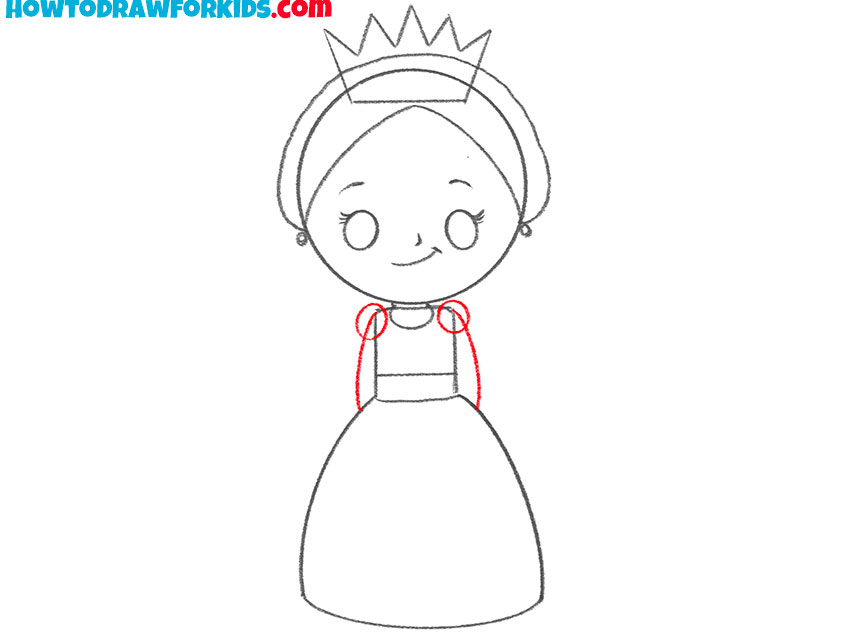
- Correct inaccuracies.
Carefully remove all extra lines in the drawing.
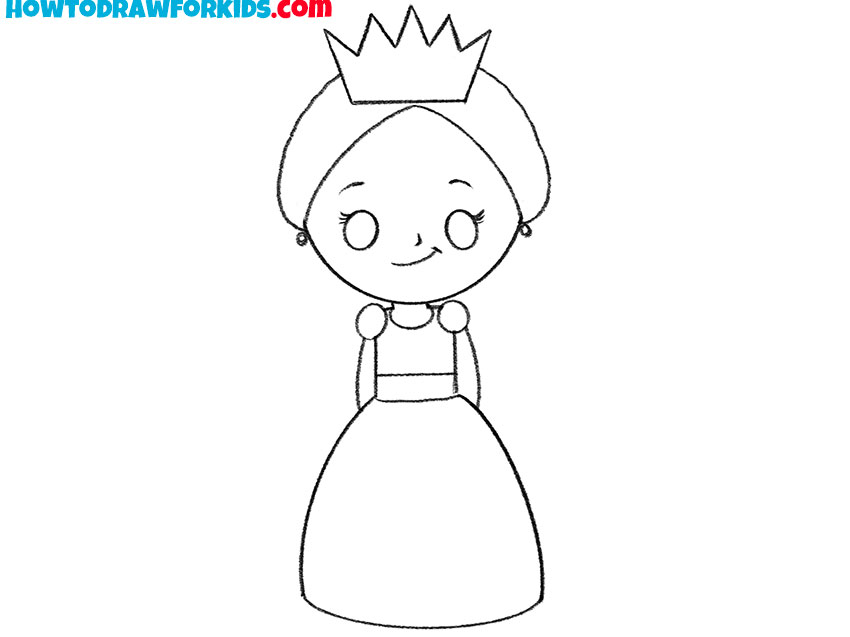
- Color the queen.
Choose any color for the drawing.

By tradition, at the end of the lesson, you have a link where you can download a short version of the lesson in PDF format for free. Save this file, so you can return to the lesson any time you want.


