How to Draw Puppy Ears
Today, I will show you how to draw puppy ears. With this guide, you will once again train your artistic abilities and have a good time.
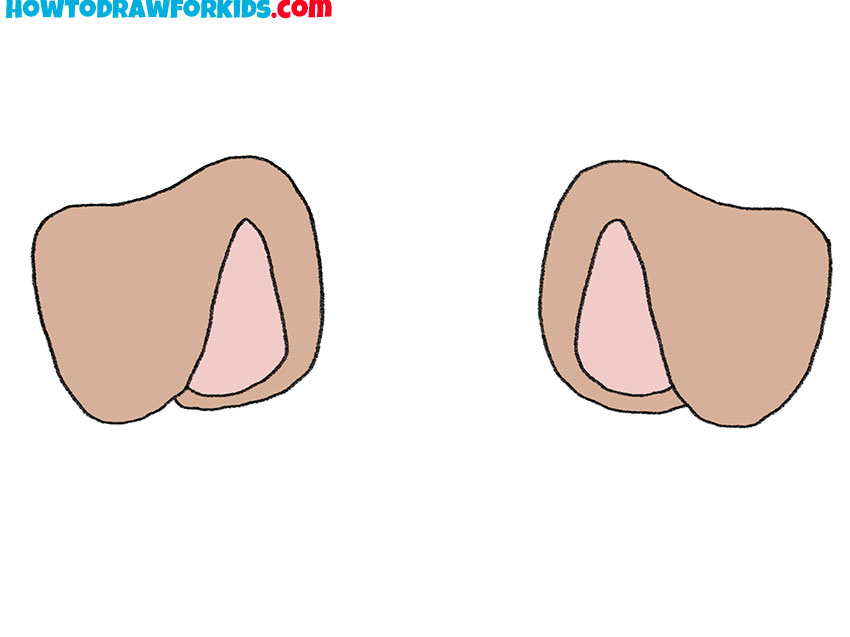
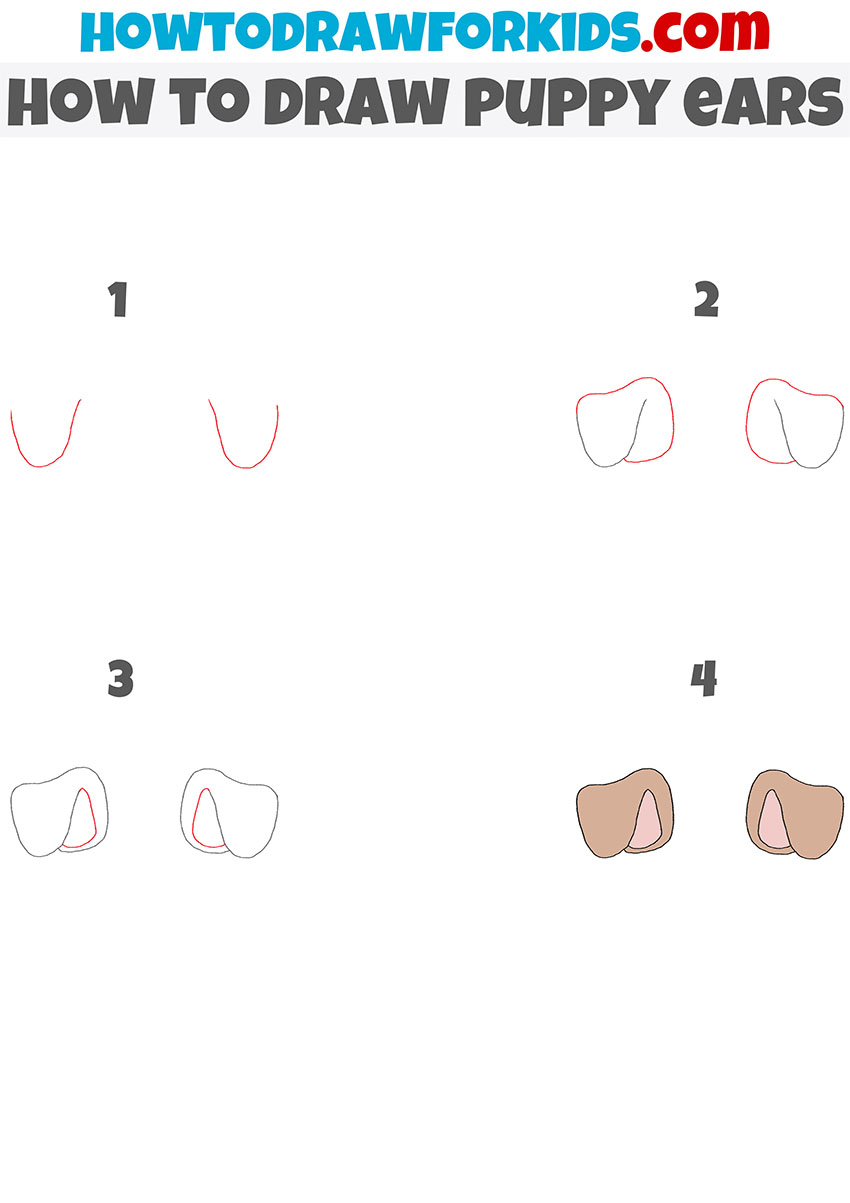
I invite you to complete a new lesson in which you will learn how to draw puppy ears. The lesson includes only four simple steps and a small description of each drawing step.
Small dogs have soft, floppy ears. Consider this feature when you want to draw a puppy. When the animal grows up, the ears take on a different shape.
In this lesson, simple lines will be used that any beginner can easily repeat. Remember all the drawing steps so that in the future you can quickly and easily draw puppy ears if necessary.
Be careful and careful at every step of drawing to achieve an excellent result. Also, make sure that the ears are placed symmetrically. This will be a good training for you and the acquired skills will be useful in the future.
Materials
- Pencil
- Paper
- Eraser
- Coloring supplies
Time needed: 20 minutes
How to Draw Puppy Ears
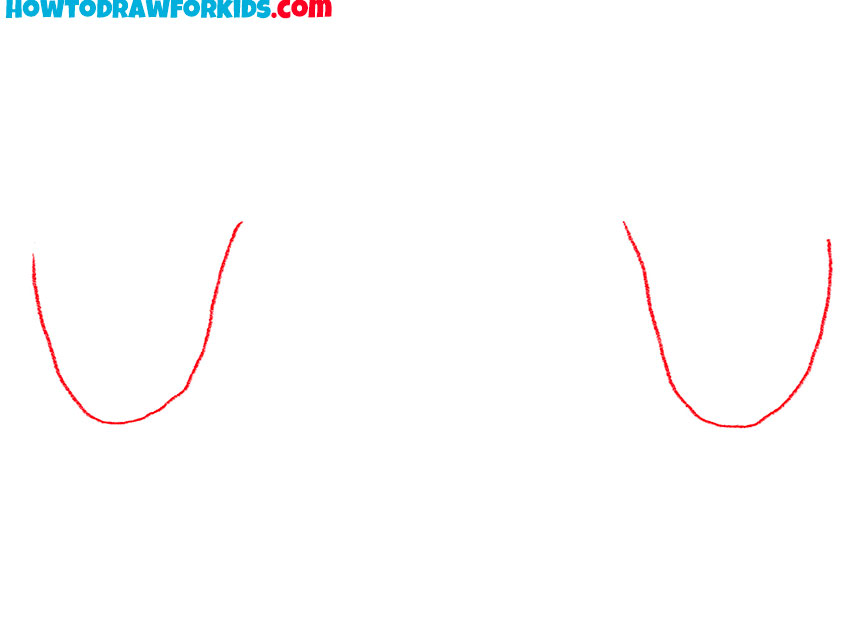
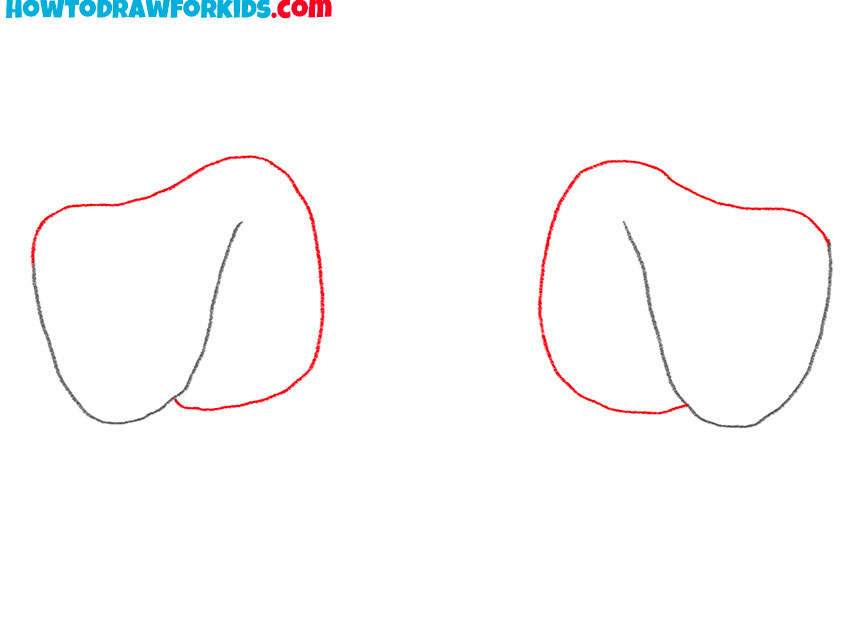
- Draw the outer sides of the ears.
Determine the location and size of the drawing and draw two smooth, curved lines.
- Add the rest of the ears.
Depict smooth lines on each ear to end up with a closed outline.
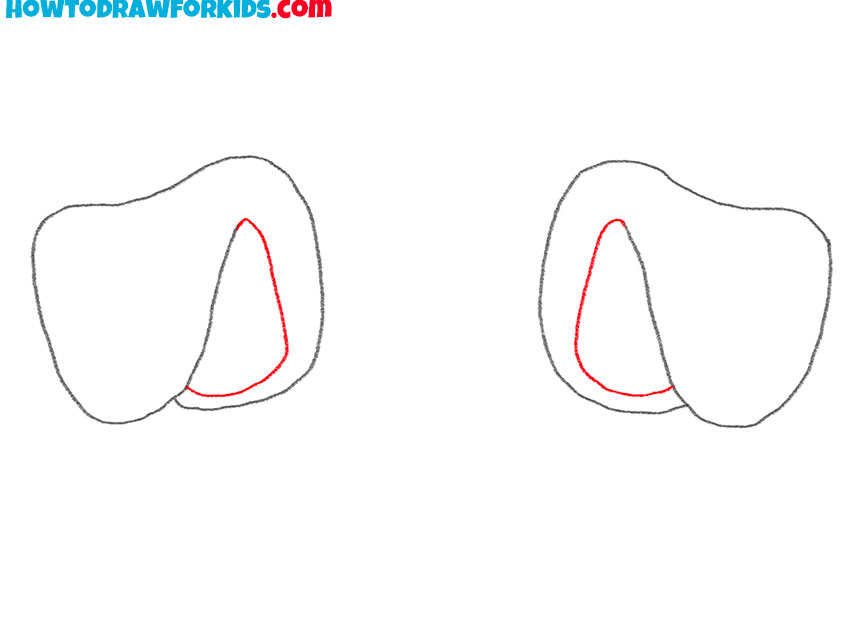
- Depict the inside of the ears.
Sketch out smooth, curved lines to outline the inner contour of the ears.
- Color the puppy ears.
Choose light brown for the outside of the ear and pink for the inside of the ear.

The lesson has come to an end. I hope that you quickly and easily coped with this task. Now you know how to draw puppy ears and you can apply the acquired skills when you want to draw an entire animal. Share your impressions about this lesson in the comments. I will be glad to receive feedback from you.
Finally, I suggest you download a short version of the lesson in PDF format for free. Use the file whenever you need to return to this lesson.


