How to Draw a Cowboy
If you love cowboy stories and the aesthetics of the Wild West, you’ll love this step-by-step tutorial on how to draw a cowboy.
In this lesson you will learn how to draw a cowboy step by step. The image of a cowboy is often found in films, cartoons and in literature.
Cowboys were engaged in driving cattle, it was a difficult job that required some skill. Cowboys were excellent at riding techniques, and rodeo has historically developed among Mexican and American cowboys.
If you have long wanted to draw this character, then this step-by-step drawing will make this task easier. Here the cowboy is presented in a cartoon style and looks very funny.
The indispensable attributes of a cowboy are jeans, a cowboy hat, boots, a vest, a revolver. In this lesson, you will consistently draw all the elements of this character.
Materials
- Pencil
- Paper
- Eraser
- Coloring supplies
Time needed: 30 minutes
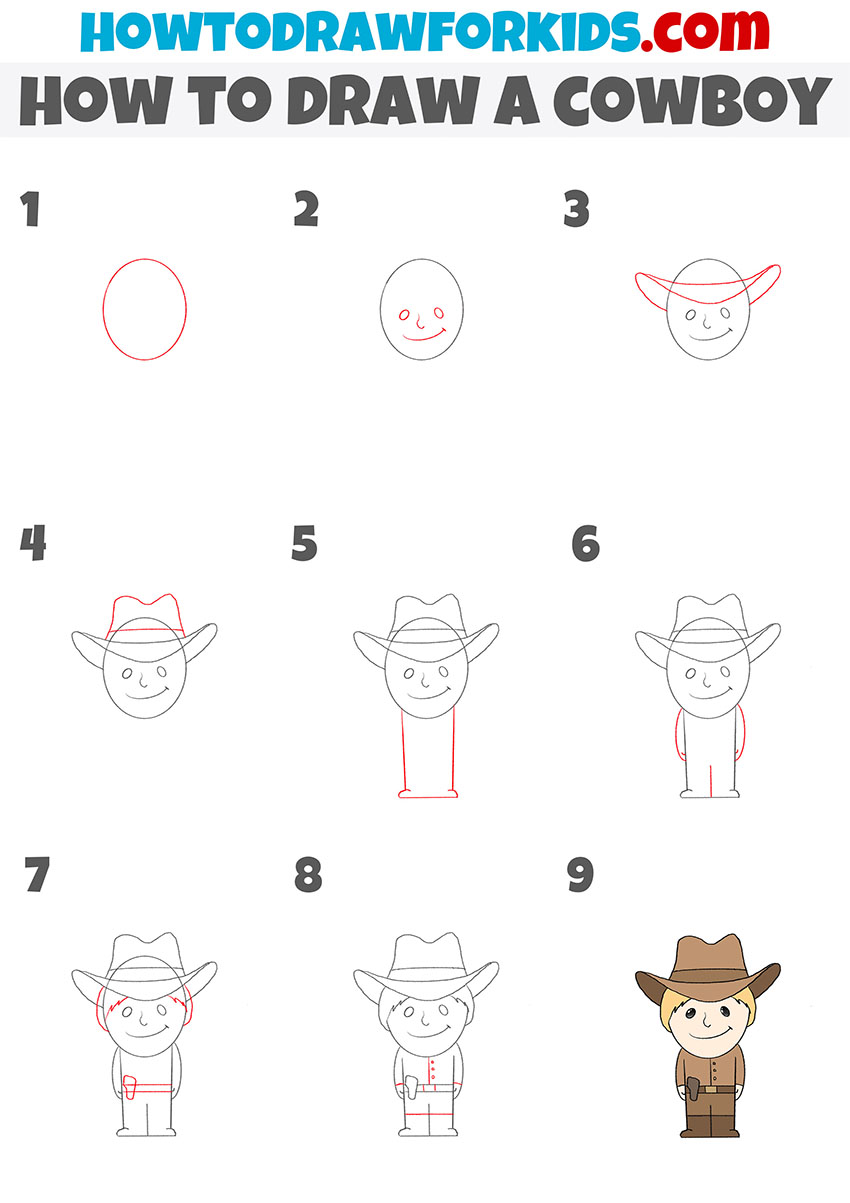
How to draw a cowboy step by step
- Outline the head of the Western character.
First, sketch a simple oval in the center of your page. This basic shape will become the cowboy’s head in the next steps and helps set the proportions for the rest of the body. Try to draw the head as smooth and symmetrical as possible. As always, draw the head using really light pencil strokes and leave enough space below for the cowboy’s body.

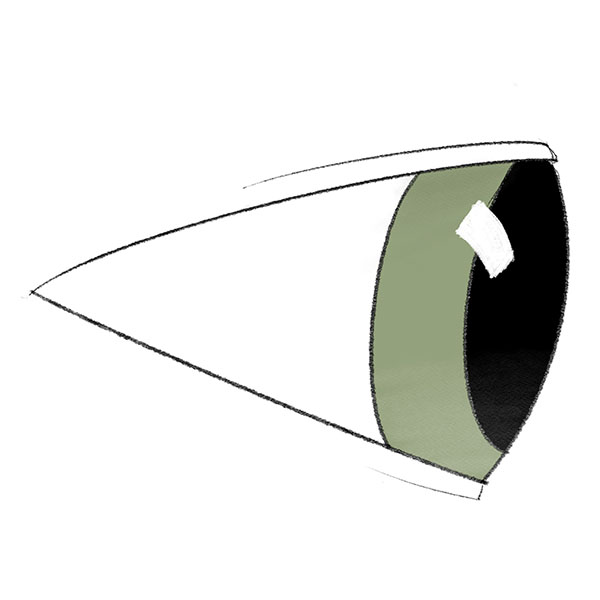
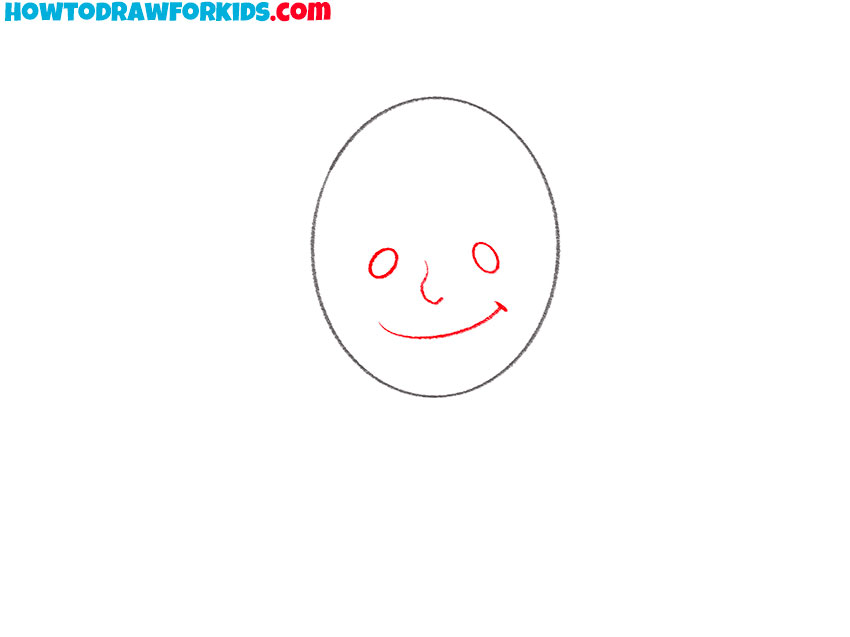
- Draw the cowboy’s facial features.
Inside the oval, draw the eyes as two small circles, placing them above the center of the face. Add a small curved line for the nose between the eyes, and then draw a longer upward curve below it for the smiling mouth. You can add a beard or mustache to make your cowboy drawing look more unique.
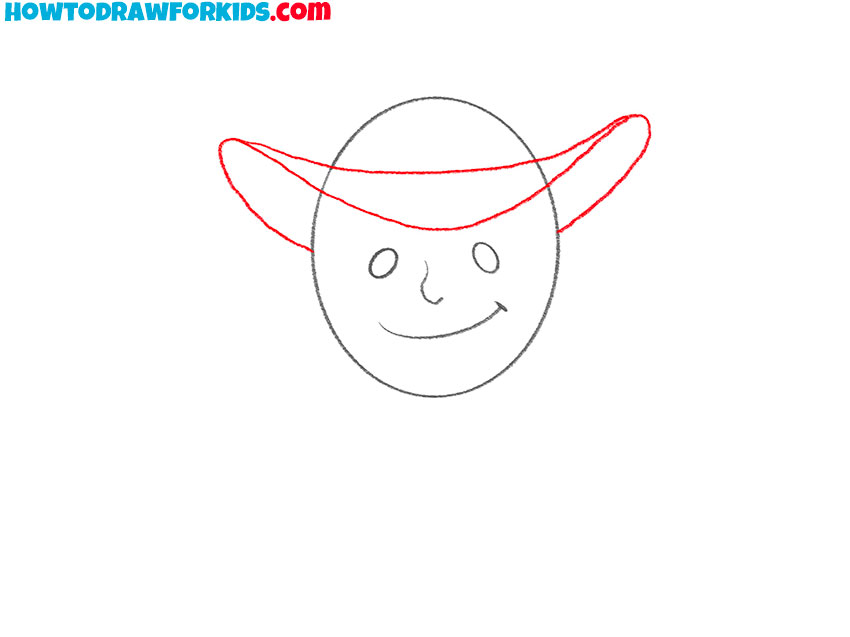
- Sketch the brim of the cowboy hat.
Above the head, draw the cowboy hat sketching a wide, curved line that stretches beyond both sides of the oval. Then add another curved line below it to form the brim’s thickness. The simple brim shape should be wide and arched on both sides, to give the hat a classic Western look.
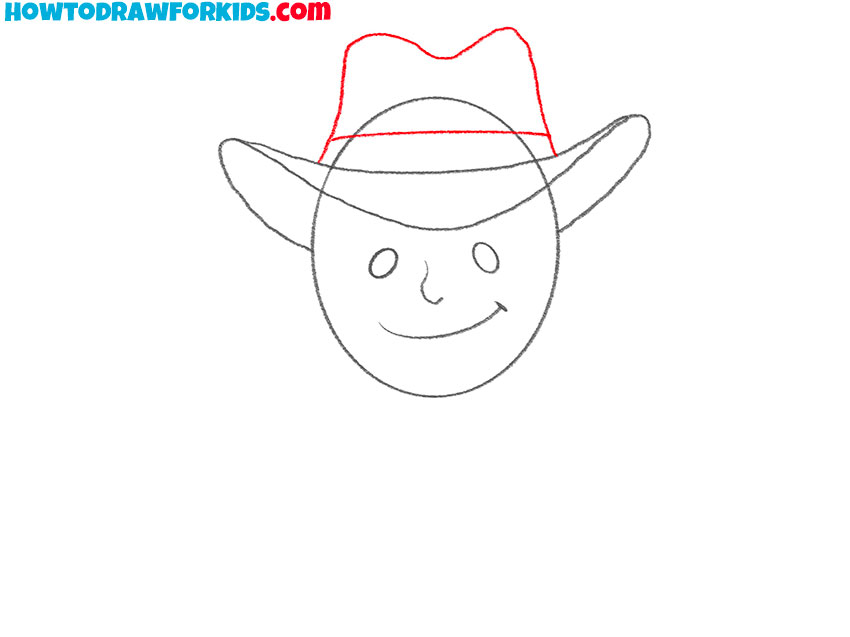
- Add the crown of the Western hat.
Now complete the cowboy hat by adding the crown above the brim. Start by sketching a curved line that rises from one side and dips in the center before going up again to the opposite side. This forms the classic indented top shape seen in cowboy hats. Add a horizontal line to indicate the hat band.
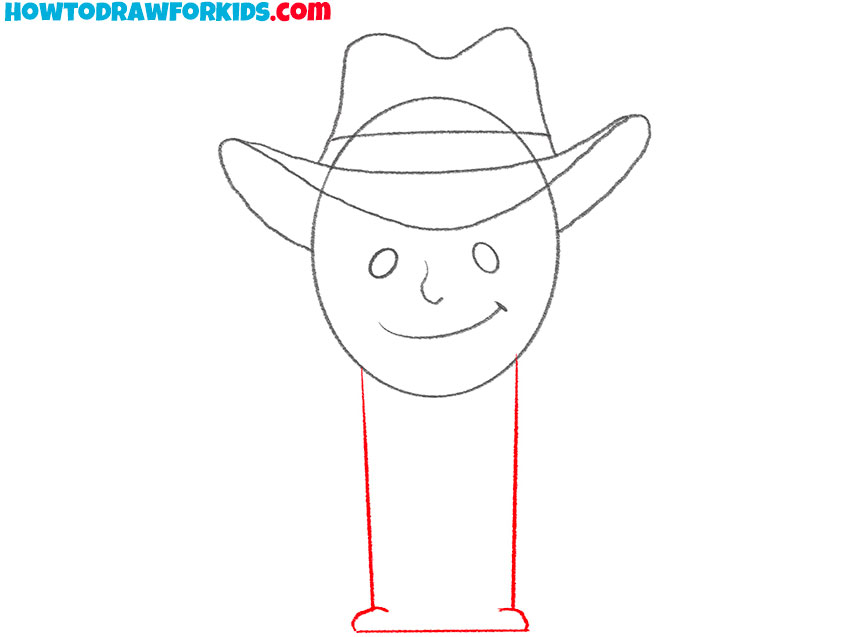
- Outline the body and legs shape.
Sketch two short, parallel lines downward from the bottom of the cowboy head to form the outline of the torso and legs. Add small curved shapes at the base for the bottom edge of the feet. This simple shape forms the overall outline to help drawing the body.
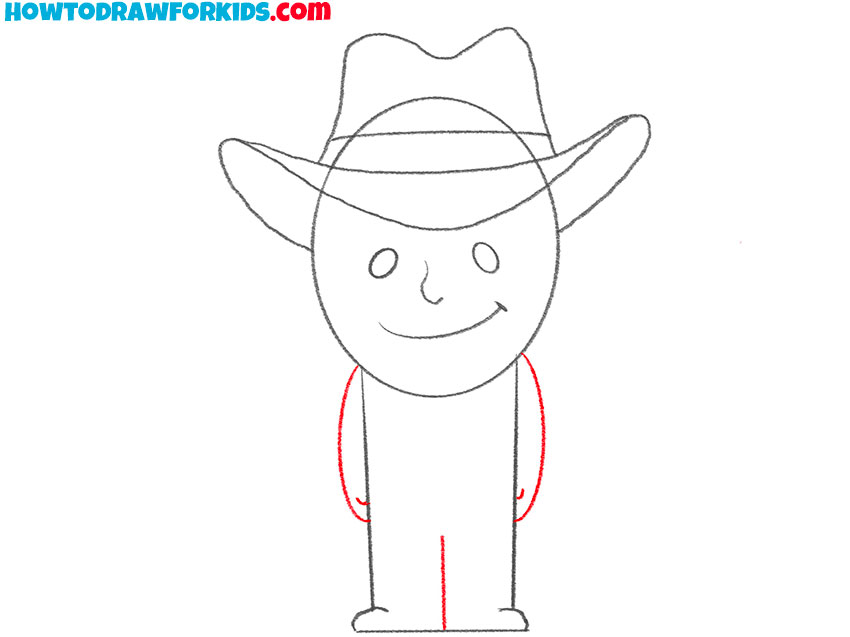
- Sketch the cowboy’s arms and area.
Sketch smoothly curved lines on the sides of the torso to form the arms of the cowboy. Make sure both arms reach about the waist level, where the cowboy belt will later be added. After that, divide the legs by sketching a vertical line at the bottom of the body shape.
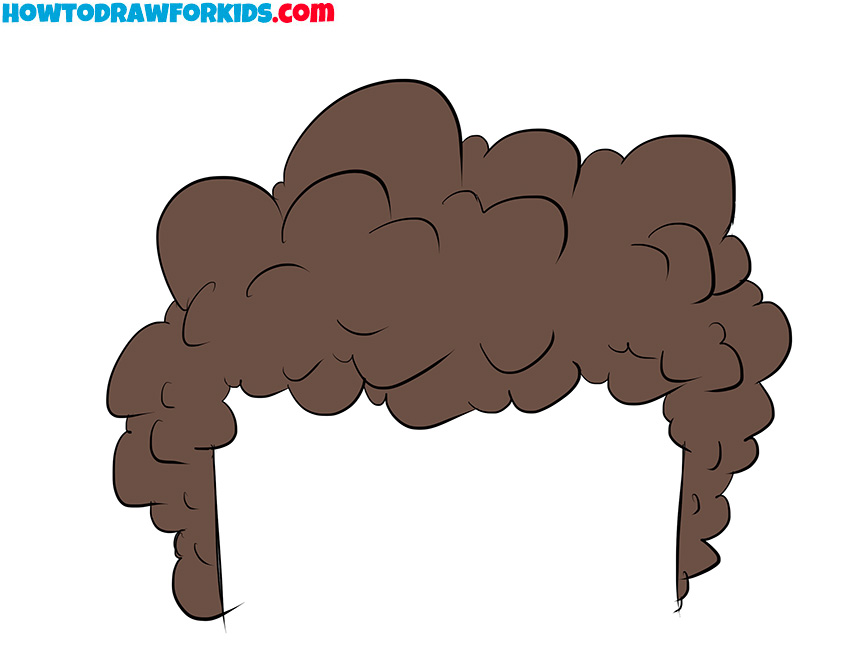
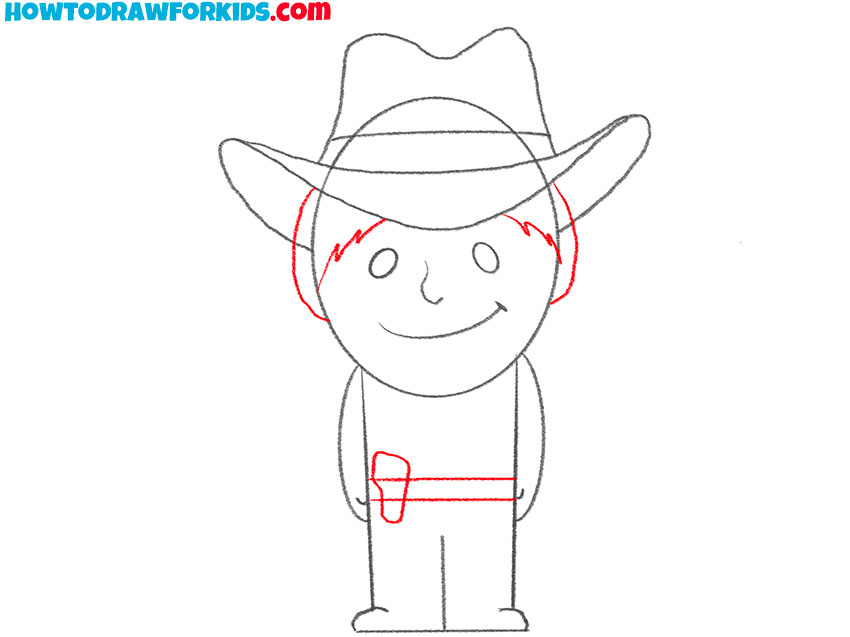
- Add the hair, belt, and holster.
Across the lower part of the cowboy’s torso, sketch a horizontal line for the belt. Add a small rectangle in the center for the buckle and a vertical shape on one side for the gun holster. Then, draw short curved lines under the hat to show the cowboy’s hair.
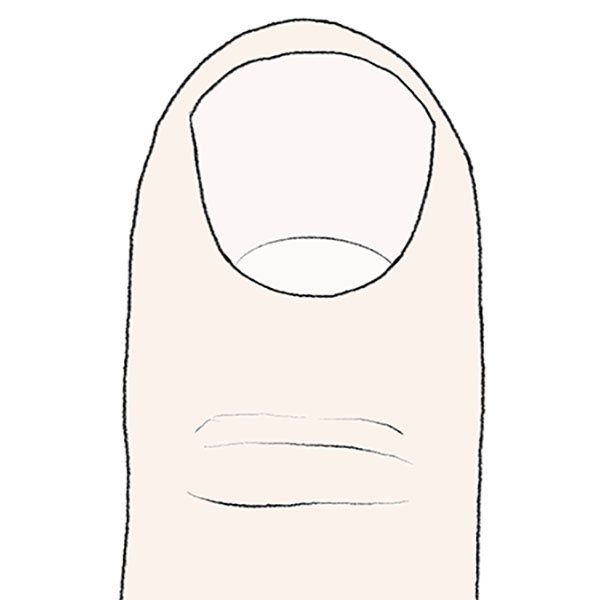
- Illustrate the cowboy’s outfit features.
Now, on the torso of the cowboy, sketch a few buttons and a seam line down the shirt. After that, sketch two short horizontal lines on the arms to indicate the hands. At the bottom of the legs, draw the cowboy boots, indicating their top edges with a couple of short horizontal strokes.

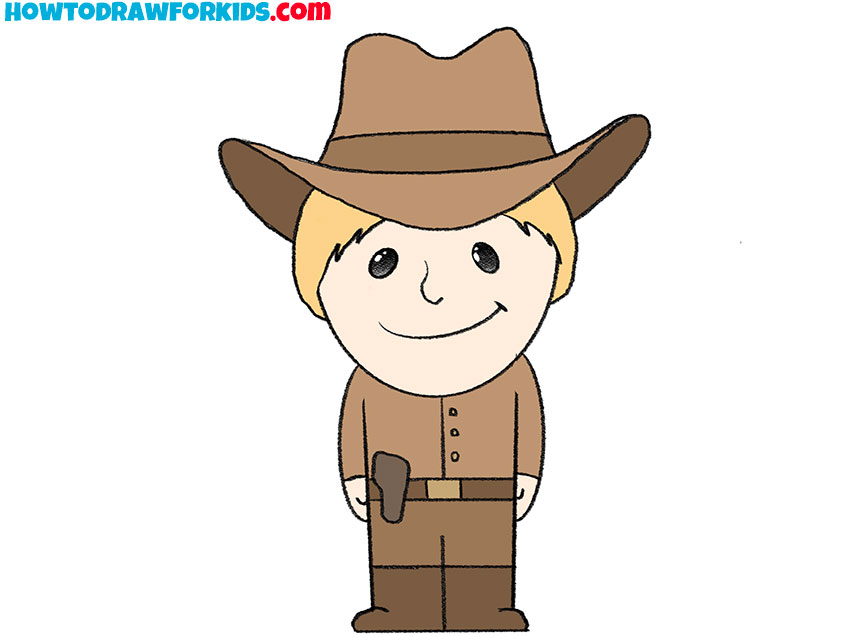
- Fill the cowboy drawing with color.
The cowboy hat and boots can be medium brown, while the shirt works well in tan or beige tones. The pants can be blue or gray. The holster and belt can be darker brown. But for a more unique result, you can add any other colors for the skin and details of the costume.

Now you have learned how to sketch a simple cowboy and you will be able to apply these skills in the future. Now you can complete your drawing and come up with an environment for the cowboy. For example, draw a horse, grass, and trees.
As usual, at the end of the lesson, I suggest you download a PDF file containing a short version of the lesson. Here you will find additional useful tools. Download the file and complete the drawing lesson at any time convenient for you.