How to Draw a Face Looking Up
Today in this lesson I will teach you how to draw a face looking up. Start this tutorial and get very simple and useful tips.
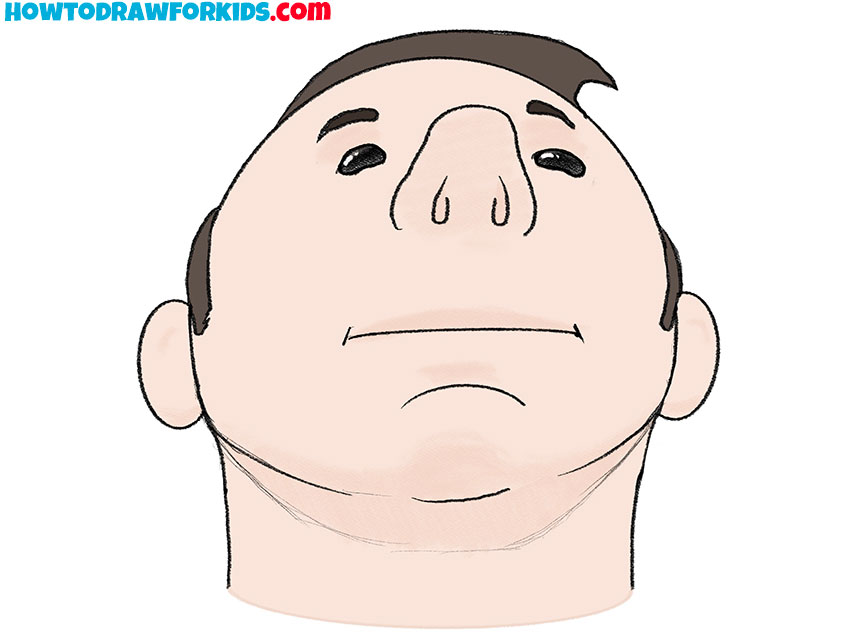
In this lesson, I will show you how to draw a face looking up. Undoubtedly, this lesson will be very useful for you, because you will learn how to draw different head positions, which will definitely come in handy in the future when you draw portraits or various compositions.
In the picture, you see the face of a man who raised his head and looked up. By the same principle, you can draw the face of a woman or the face of a child. I want to draw your attention to some features of this head position.
The eyes are set high enough, the nostrils are fully visible, the edge of the chin is also clearly visible. The ears and mouth are on the same line. Try to depict these features in your drawing and keep the proportions.
Face Looking Up Drawing Tutorial
Materials
- Pencil
- Paper
- Eraser
- Coloring supplies
Time needed: 25 minutes
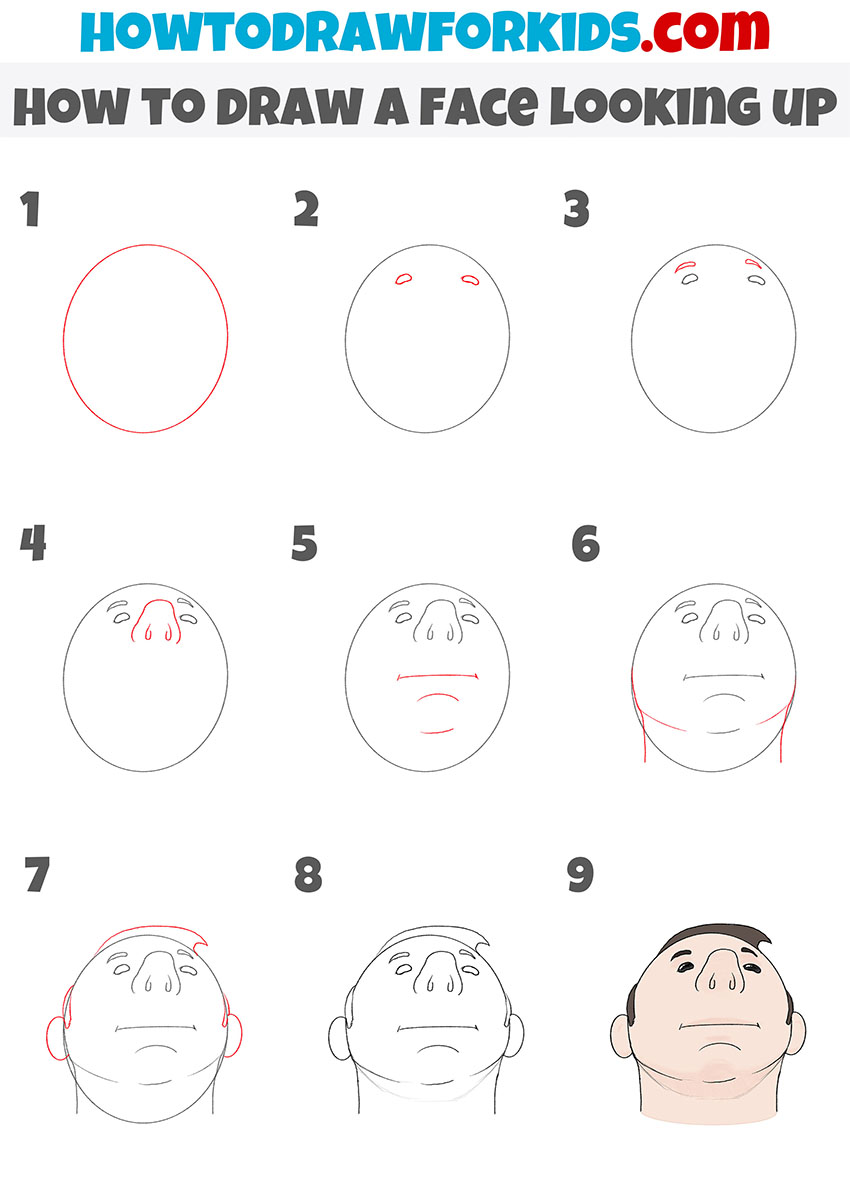
How to Draw a Face Looking Up
- Draw the outline of the head.
To do this, you need to draw an even oval.

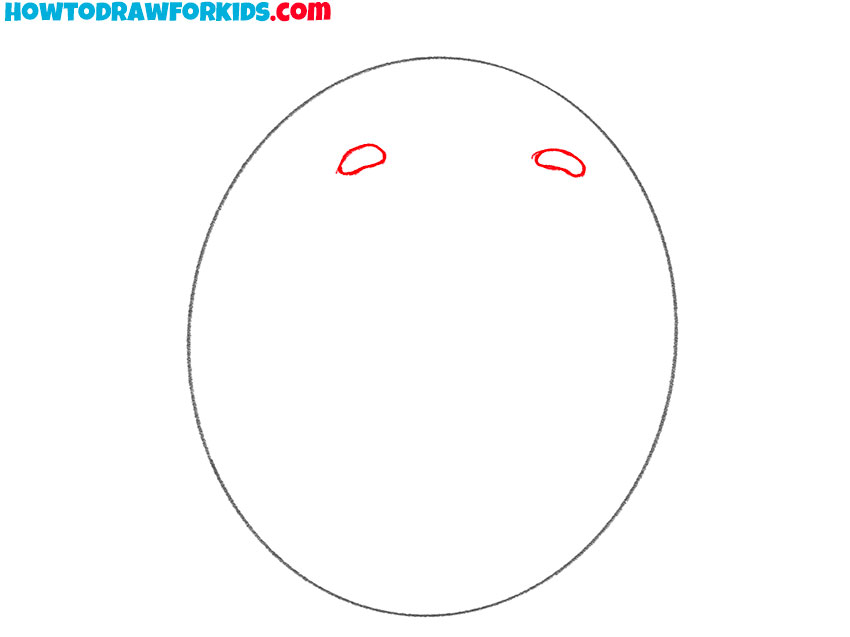
- Depict the eyes.
At the top of the oval, draw two uneven circles.
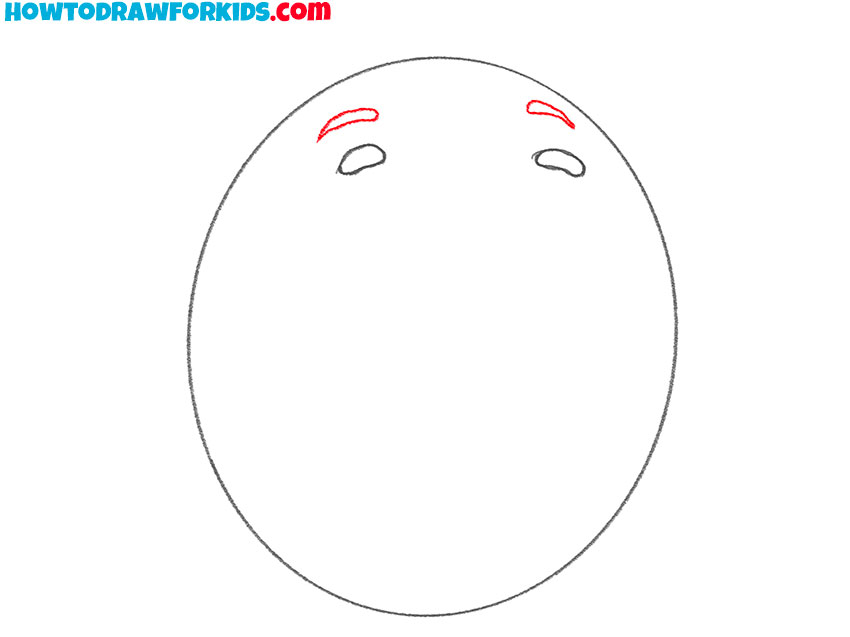
- Sketch out the eyebrows.
Draw small eyebrows above the eyes.
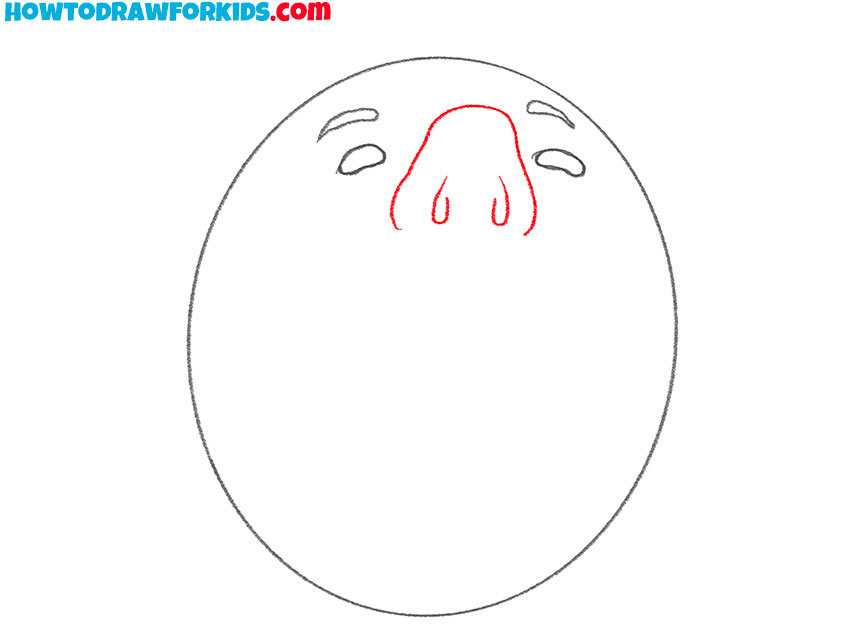
- Draw the nose.
The nose looks very large and is almost at eye level. Depict the nostrils using curved lines.
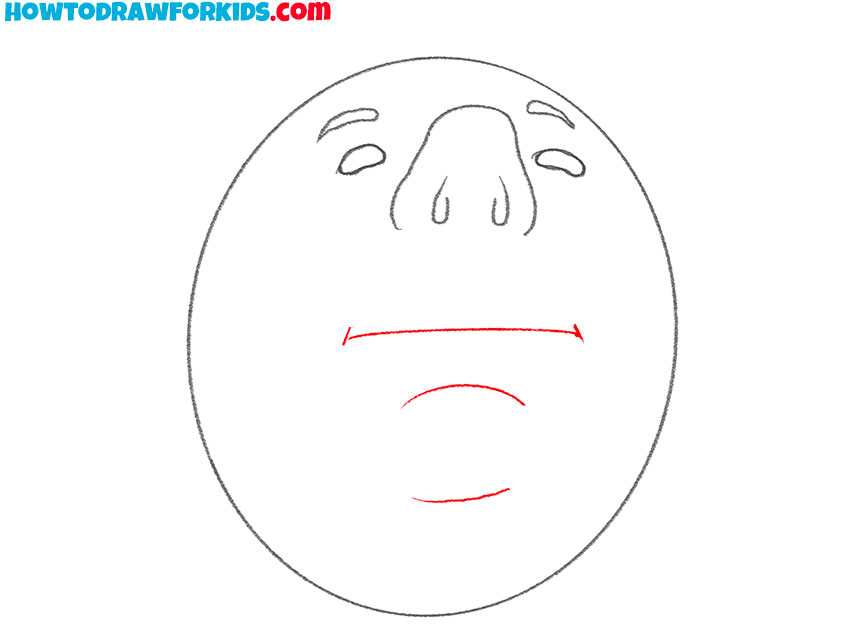
- Add the mouth and outline of the chin.
Draw a straight line and two small segments on the sides and depict the chin with smooth lines.
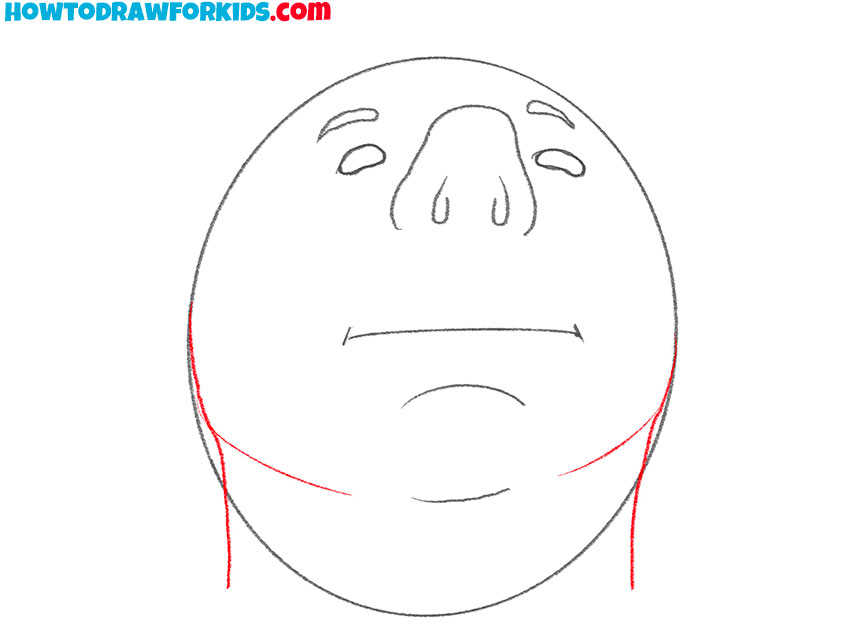
- Depict the contour of the lower jaw and neck.
Draw a few smooth lines at the bottom of the head, as shown in the example.
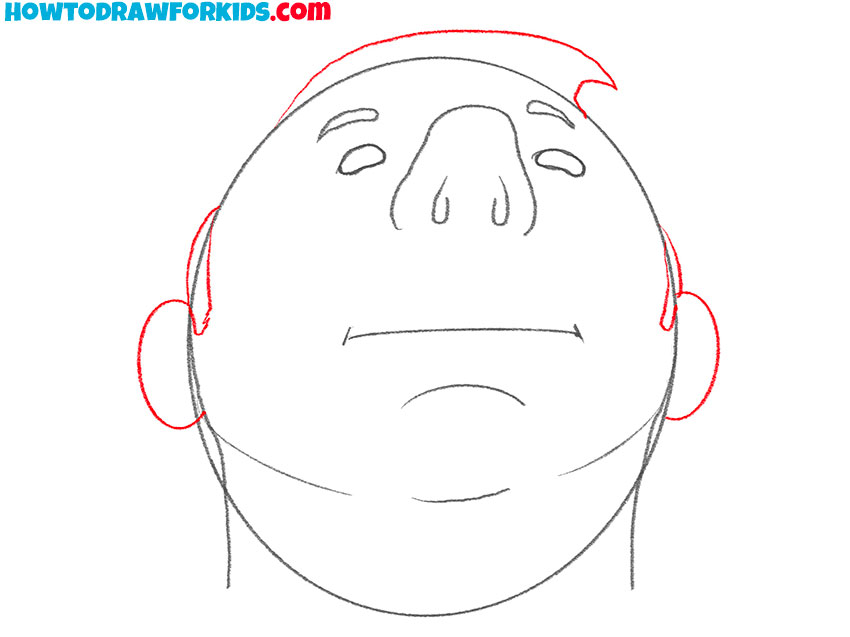
- Draw the hair and ears.
Sketch out strands of hair on the sides and on top. Draw oval-shaped ears.
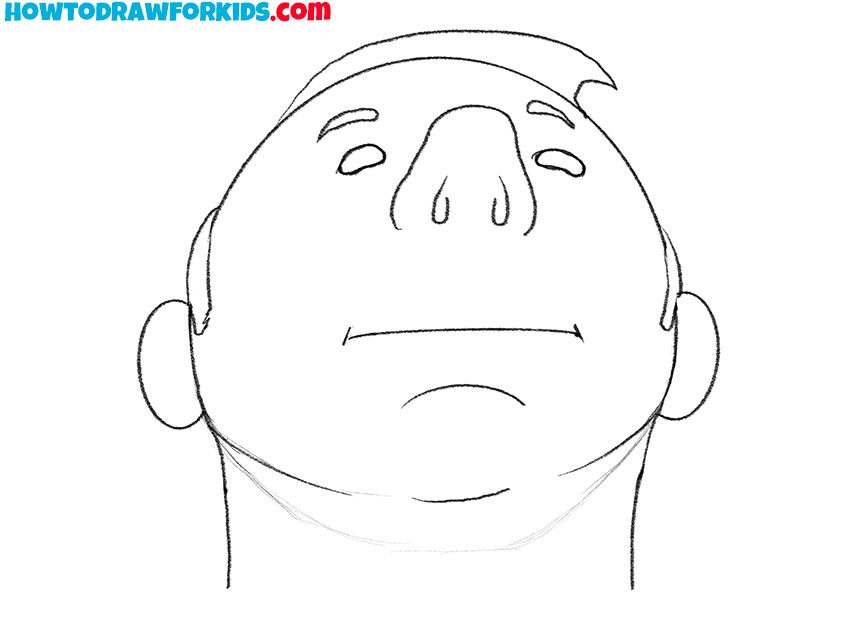
- Remove the guidelines.
Correct the drawing if necessary and remove any extra lines.
- Color the drawing.
You can choose any colors for hair and skin.
You can now download a PDF file that contains a short version of the lesson and additional useful tools. This will help you return to the lesson at any convenient time.