How to Draw Harley Quinn
Harley Quinn’s bold costume and two-color hairstyle make her an interesting comic character to sketch. In this tutorial on how to draw Harley Quinn, the original design is reduced to simple proportions that young artists can handle.

Prepare to Draw Harley Quinn
Harley Quinn is drawn here with a large head and a much smaller body. These proportions leave more room for the face and hairstyle, which carry most of the character’s appearance.
The pigtails should remain similar in size, although their outlines do not need to be identical. Pay closer attention to where they connect to the head, since placing them too low can make the face appear unusually wide.
Her costume contains several small divisions between the shirt, shorts, wristbands, and shoes. Clear spacing matters more than tiny details, so leave enough room for each part before refining the clothing.
Harley Quinn Drawing Tutorial
Materials
- Pencil
- Paper
- Eraser
- Coloring supplies (pink, blue, blonde, and skin tones)
Time needed: 30 minutes
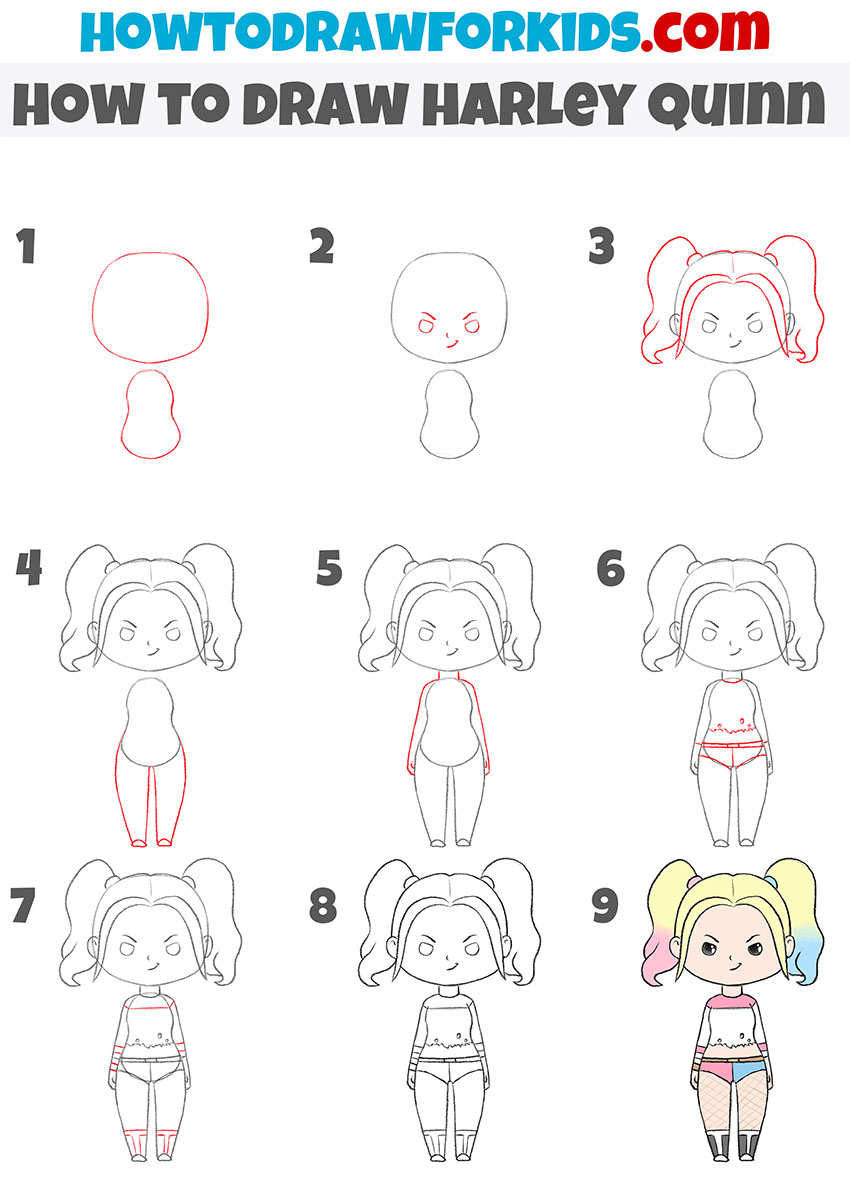
How to draw Harley Quinn step by step
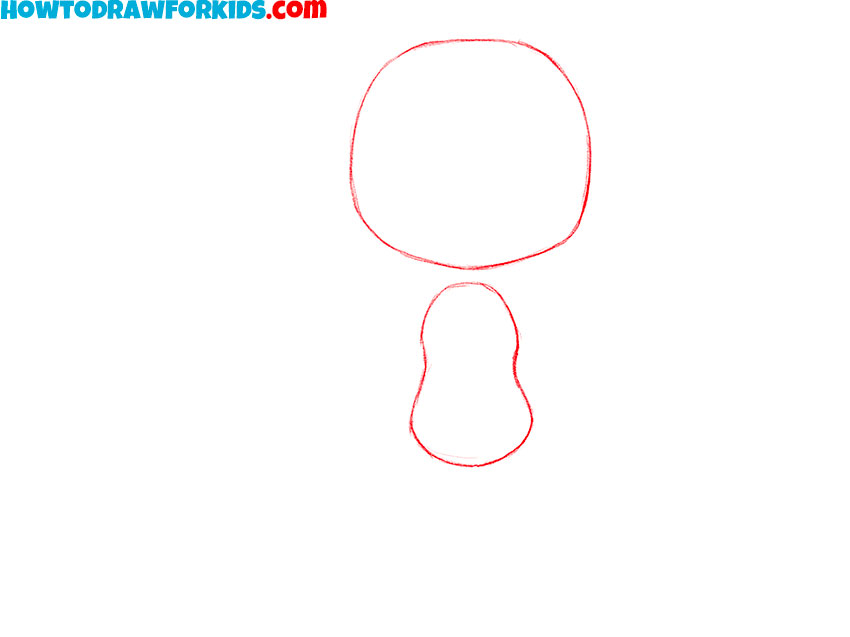
- Draw Harley Quinn’s head and torso
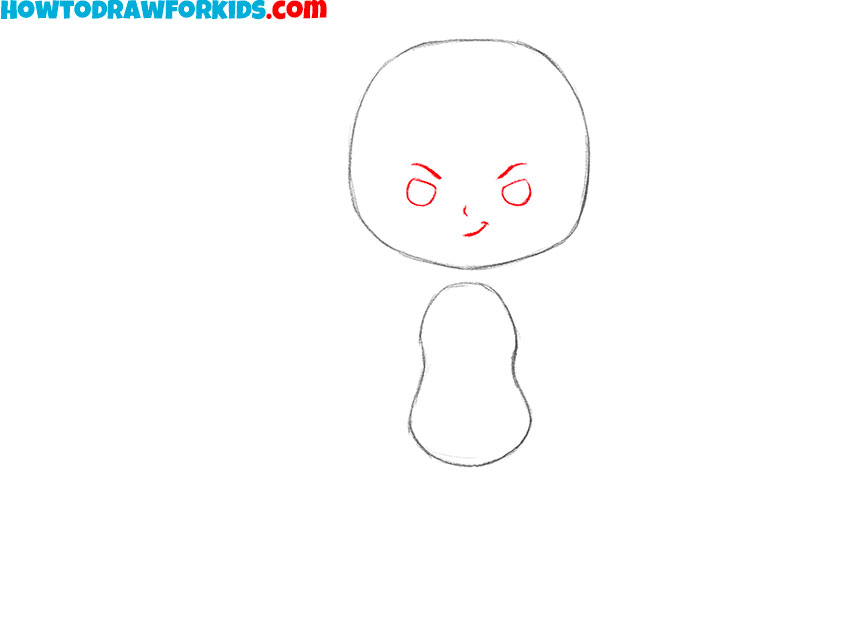
Sketch a wide oval for Harley Quinn’s head. Below it, add a short torso that is wider near the shoulders and narrows slightly toward the waist.
- Outline Harley Quinn’s facial features
Add two small oval eyes at the same height, then draw short arched eyebrows above them. Finish the face with a tiny nose and a curved smile.
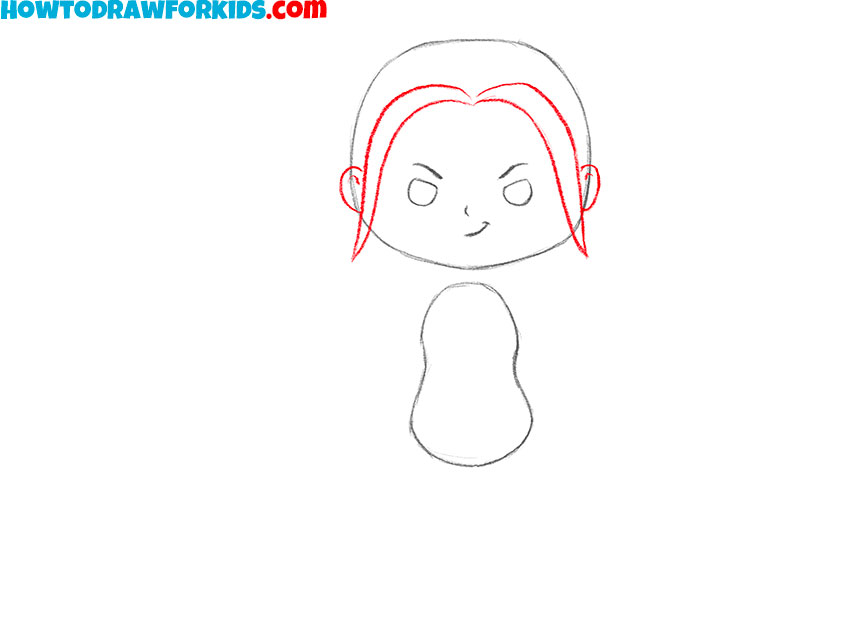
- Add the hair and ears
Draw two pointed locks that begin near the center of Harley Quinn’s forehead and slope toward the sides. Add a small curved ear on each side of the head.
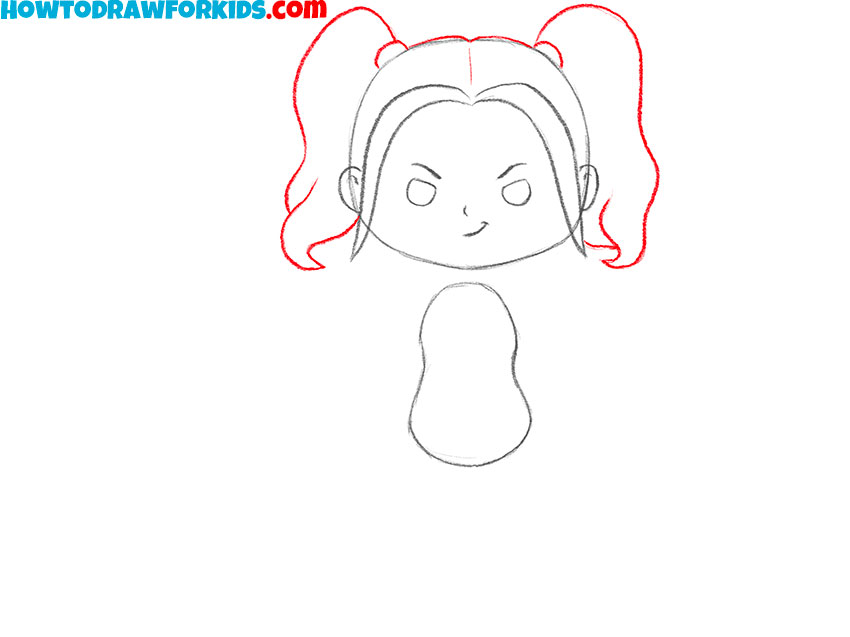
- Complete Harley Quinn’s pigtails
Add a large pigtail on each side of the head. Make the outer edges uneven and let each pigtail widen as it extends away from the hair tie.
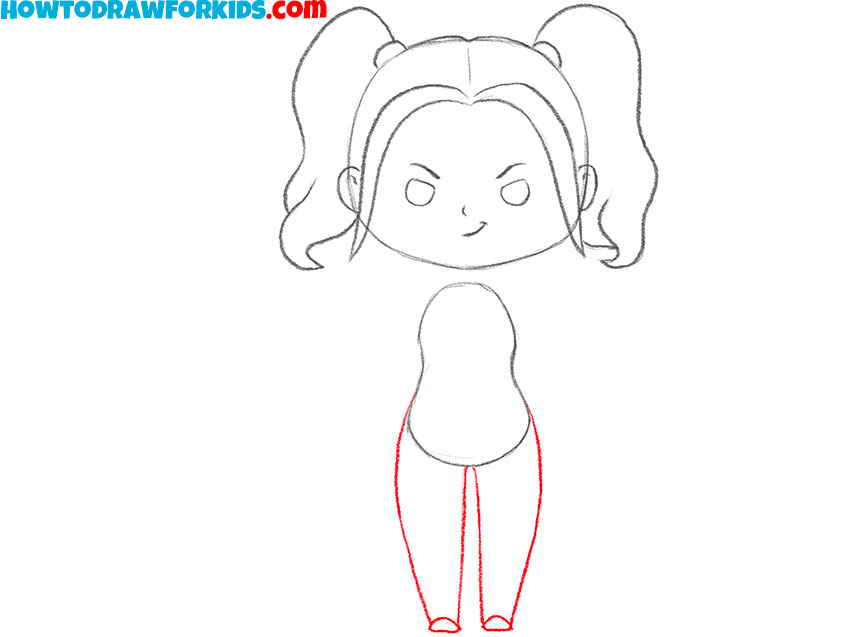
- Sketch the comic character’s legs
Extend two short legs downward from the torso. Narrow each leg near the ankle, and leave enough space below for Harley Quinn’s shoes.
- Draw Harley Quinn’s neck and arms
Add two short lines for the neck. Then outline the arms beside the torso, placing them close to the body and ending each one with a small hand.
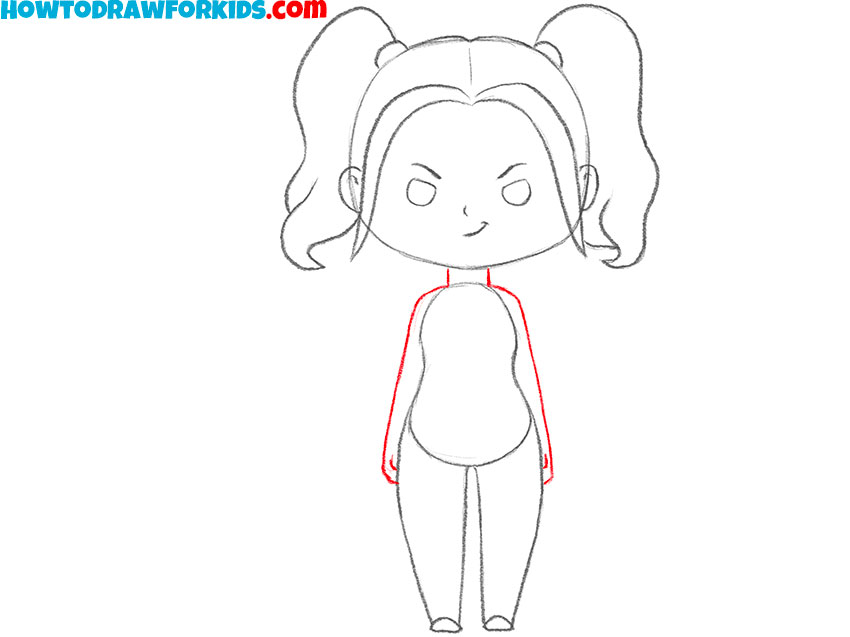
- Outline the shirt and shorts
Draw the neckline and shoulder straps of Harley Quinn’s shirt. Add an uneven lower edge, then mark the shorts with a wide band across the hips.
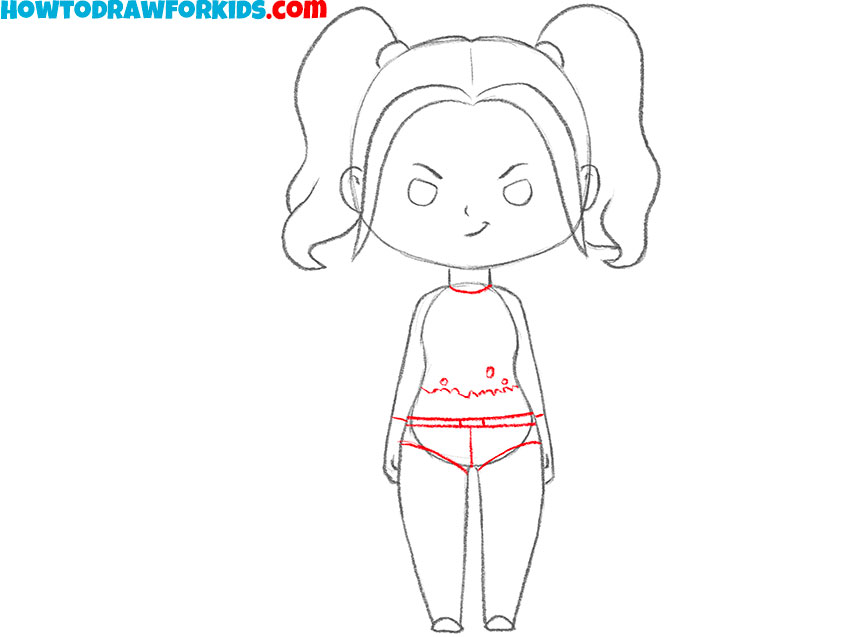
- Add Harley Quinn’s costume details
Define the shirt edges, wristbands, and shoes with short lines. Add the small marks shown on the clothing, then erase any construction lines that remain.

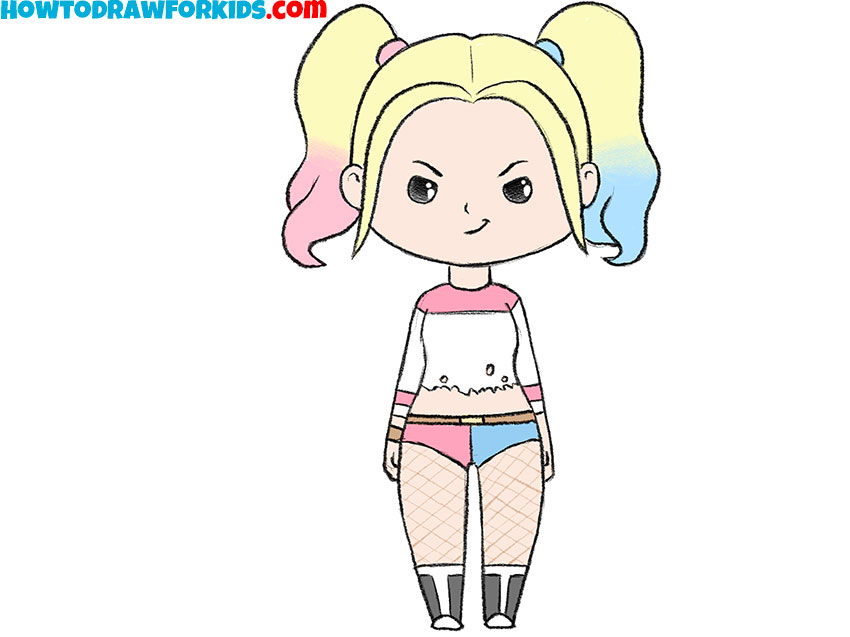
- Color the Harley Quinn drawing
Color the hair blonde, with pink on one side and blue on the other. Use the same colors for the costume, leave some areas white, and add a light skin tone.
Watch the Video Tutorial
Harley Quinn Drawing Printables
The free PDF contains the Harley Quinn drawing steps in a printable format. Save it for offline practice or use the additional pages to repeat the character’s proportions and costume details.
Tips for Drawing Harley Quinn
A few small adjustments can make the character even more complete without adding more costume details. Most of them concern the face, pigtails, and line weight.
- Line thickness: Use slightly heavier lines around the outer silhouette and thinner lines for the facial features and clothing marks.
- Facial expression: Small changes to the eyebrows and smile can make Harley appear cheerful, mischievous, or surprised.
- Head size: The head is intentionally much larger than the body, but it should still sit directly above the short neck.
- Color placement: Separate the pink and blue sections clearly so the two sides of the hairstyle and costume do not blend together.
- Highlights: Leave a few small uncolored areas in the hair and eyes if you want the coloring to appear less flat.
These details work best when they remain subtle. Heavy shadows or too many clothing marks can hide the clear shapes used in this simplified character design.
More Ideas for Your Drawing
Harley Quinn is closely connected with several other Gotham characters, so they make natural subjects for the next page in a sketchbook.
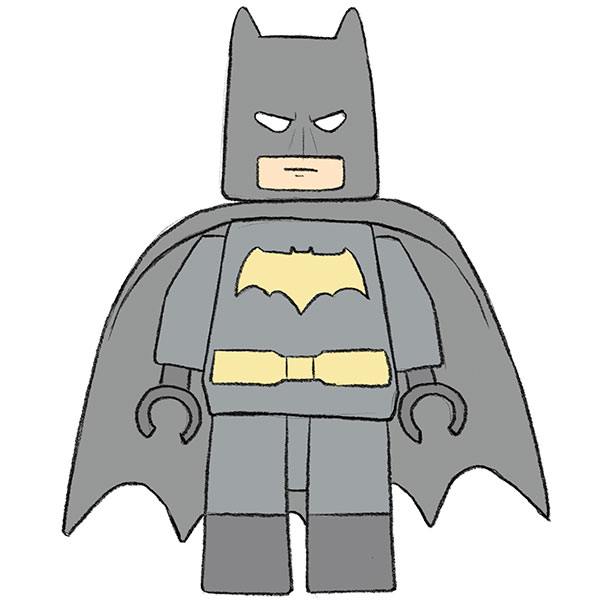
- Draw another character: Continue the Gotham theme by learning to draw Batman or by drawing the Joker.
- Build a setting: Place the character near a path, bench, or trees after you draw a park scene.
- Add an animal: Harley is sometimes associated with hyenas, so you can practice drawing a hyena beside her.
- Change the pose: Use the same character proportions in a seated or running pose, or place her beside a vehicle after you draw a motorcycle.
When changing the pose, preserve the large head and short limbs. Those proportions connect the new version with the character drawn in this tutorial.
Conclusion
The most important part of this Harley Quinn drawing is the relationship between the large head and the small figure.
Once that ratio is set, the pigtails and split color scheme make the character clear without requiring a detailed costume.
The same simplified construction can be used for other comic book characters. You can begin by drawing Batman’s face, where the mask and jawline replace the hairstyle as the main identifying shapes.
For more practice with enlarged heads and short bodies, try the separate guide on how to draw a simplified girl. It provides a neutral figure that can later be changed with different hairstyles and clothing.
You can also repeat Harley Quinn with a different expression or reverse the pink and blue sections. Small changes like these help you understand which details define the character and which ones can be adjusted freely.