How to Draw Hills
I am sure that you will easily learn how to draw hills, as the lesson is designed specifically for beginners.
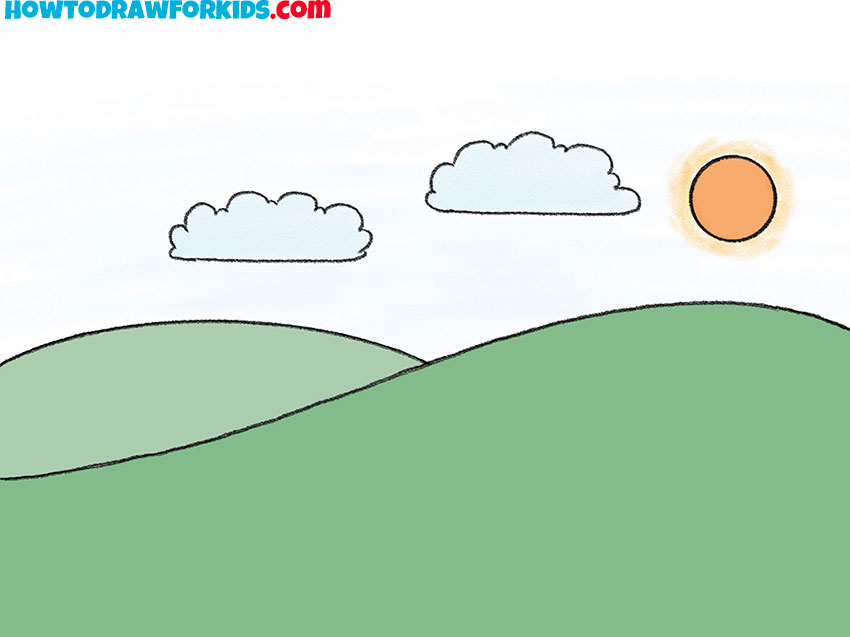
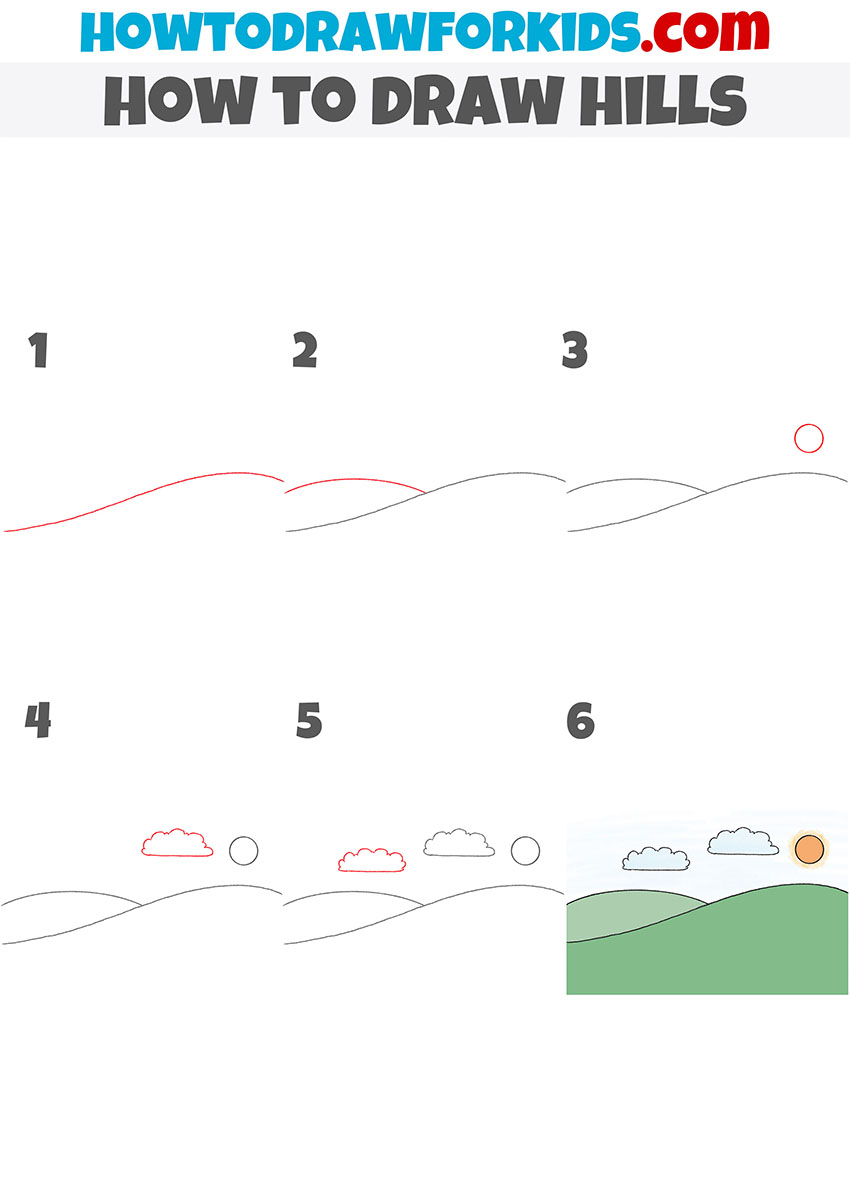
In this step-by-step guide, I want to show you how to draw hills. I am sure that the lesson will be useful for you and the acquired skills will be useful to you in the future when creating new beautiful drawings.
In this lesson, you will learn how to draw hills step by step. This skill will come in handy when you draw a landscape because hills are very common in nature.
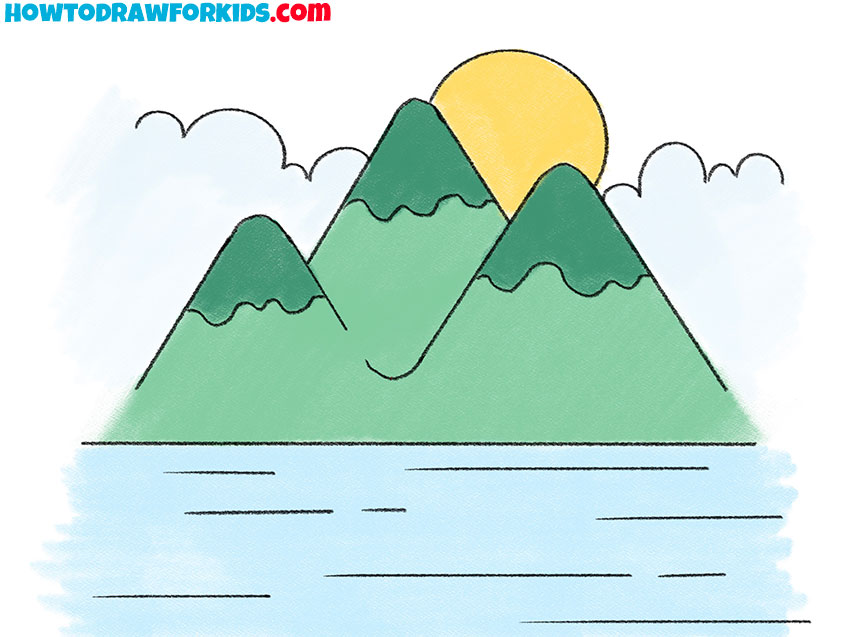
Usually, the relief of the hill has a rounded shape. Grass, shrubs, or trees may grow on the surface of the hill. In the picture, you see two hills that are located side by side. There are no large green spaces on the surface of the hills, but this can be drawn if desired.
Materials
- Pencil
- Paper
- Eraser
- Coloring supplies
Time needed: 20 minutes
How to Draw Hills
- Draw the first hill.
This is a very simple step in which you should draw one smooth long line.

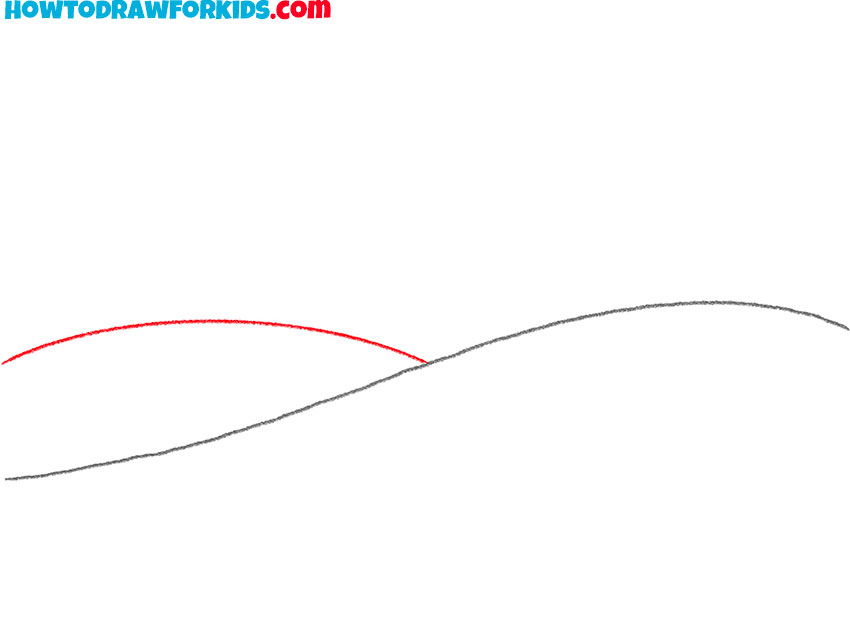
- Depict the second hill.
From about the middle of the first hill, draw another smooth line.
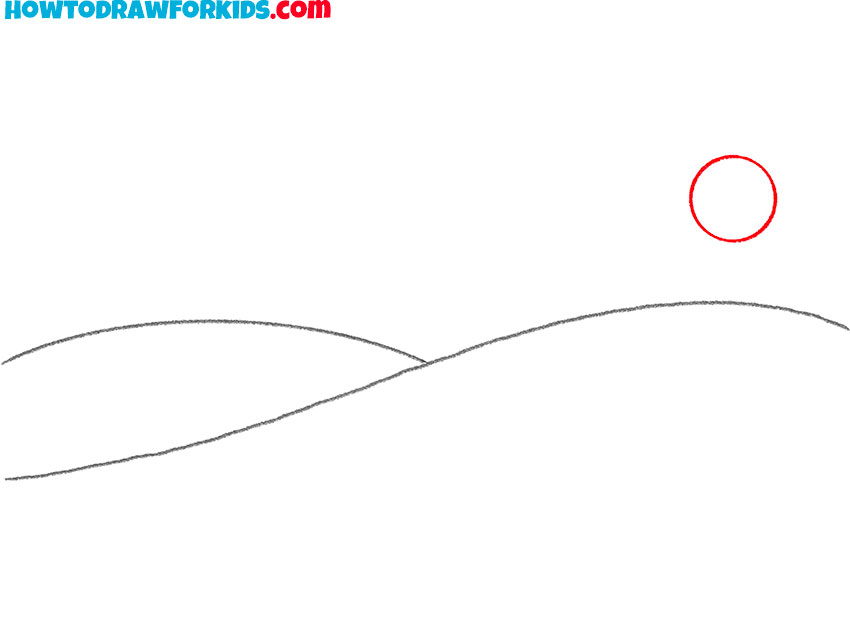
- Sketch out the sun.
Draw a small circle at the top right of the drawing.
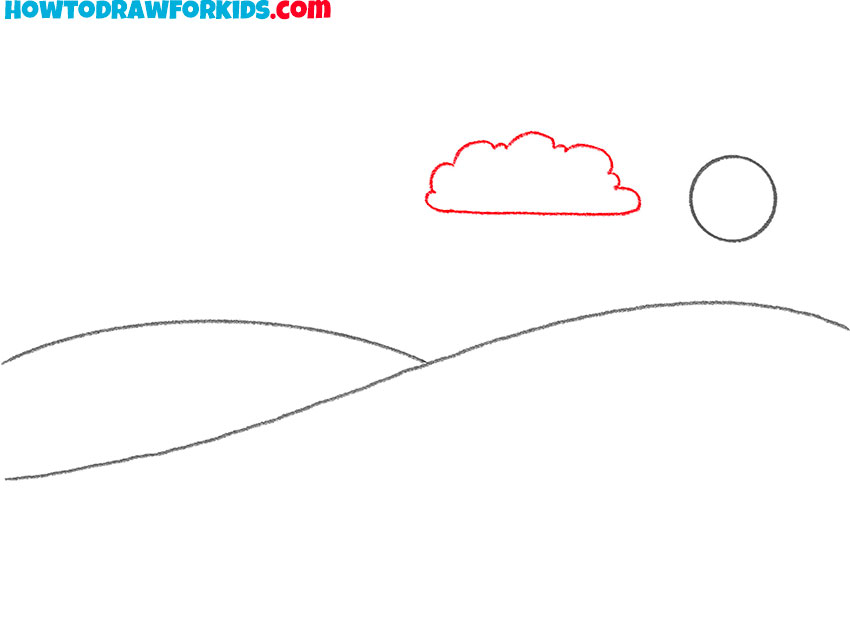
- Add the cloud.
On the side of the sun, depict one cloud using freeform lines.
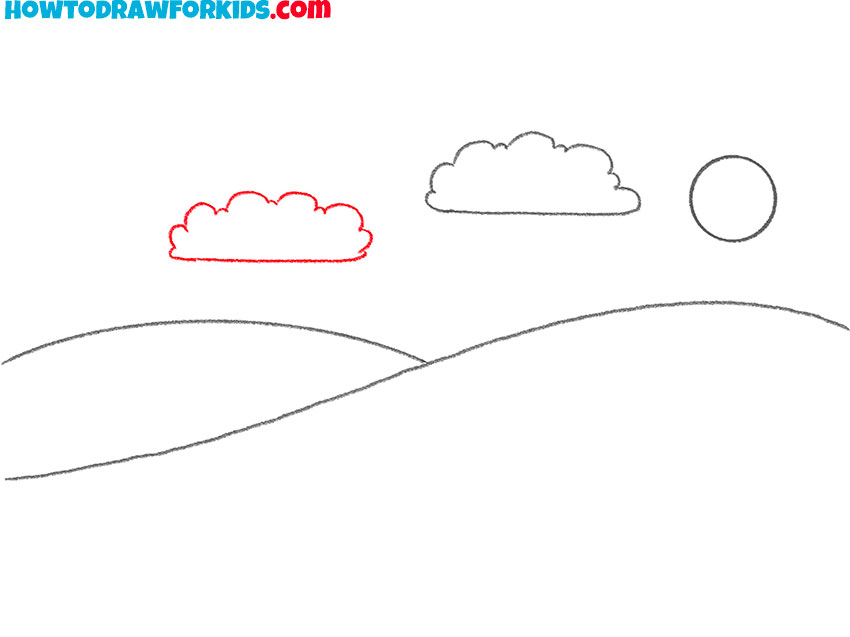
- Depict the second cloud.
Add another free-form cloud next to it.
- Color the drawing.
For the hills, use different shades of green, color the clouds blue, color the sun orange.

The lesson is over and now you are convinced that drawing hills are very simple. You can improve your drawing and add some green plants. For example, on the surface of the hill, you can draw small bushes and in the foreground, you can draw grass and flowers. The result is a beautiful landscape!
For your convenience, I have prepared a PDF file in advance, in which you will find simplified instructions and additional useful tools.

