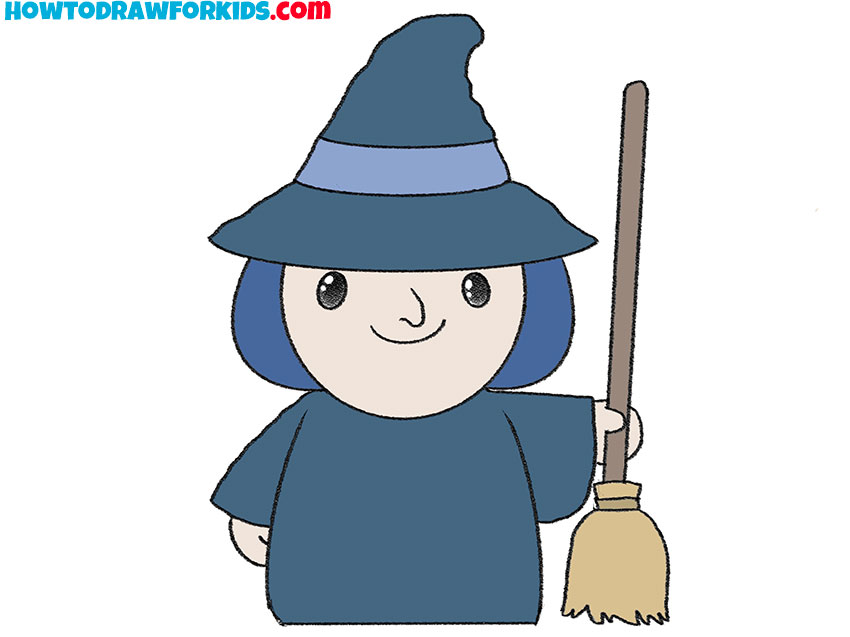
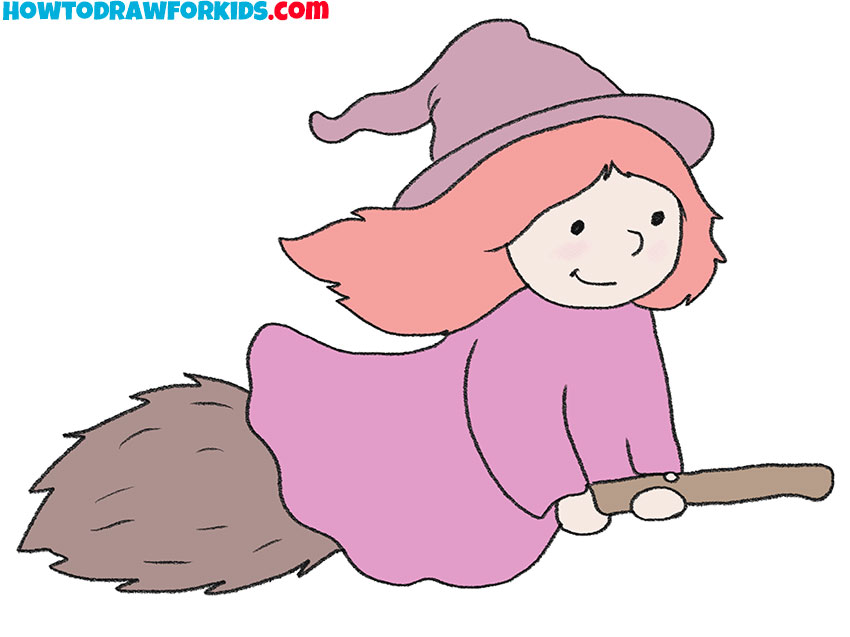
How to Draw Baba Yaga
Welcome to my step-by-step drawing tutorial on how to draw Baba Yaga, a classic character from Slavic folklore, often depicted as a witch with a penchant for flying on a broomstick. Using simple geometric shapes and elementary techniques, we will create this Slavic witch on paper.
How to Draw Baba Yaga : Basic Information
Today, we’re starting an art project to learn how to draw Baba Yaga, the legendary witch of the enchanted woods. I’ve developed an easy-to-follow method to depict her, complete with her quirky hat, mysterious robes, and infamous flying broom.
As we tackle this witch drawing step by step, you’ll witness her transition from a simple circle to a full character. I’ll guide you through each magical mark and line, helping you achieve a proud moment where you can say, “I can draw Baba Yaga!”
So, let’s get started without delay! Release the magic within your pencils as we draw Baba Yaga together. By the end of this session, you’ll have created a drawing that could be enchanting enough to display on your wall. Ready your pencils, and let’s bring Baba Yaga to life through our sketches!
Baba Yaga Drawing Tutorial
Materials:
- Pencil
- Paper
- Eraser
- Coloring supplies
Time needed: 30 minutes
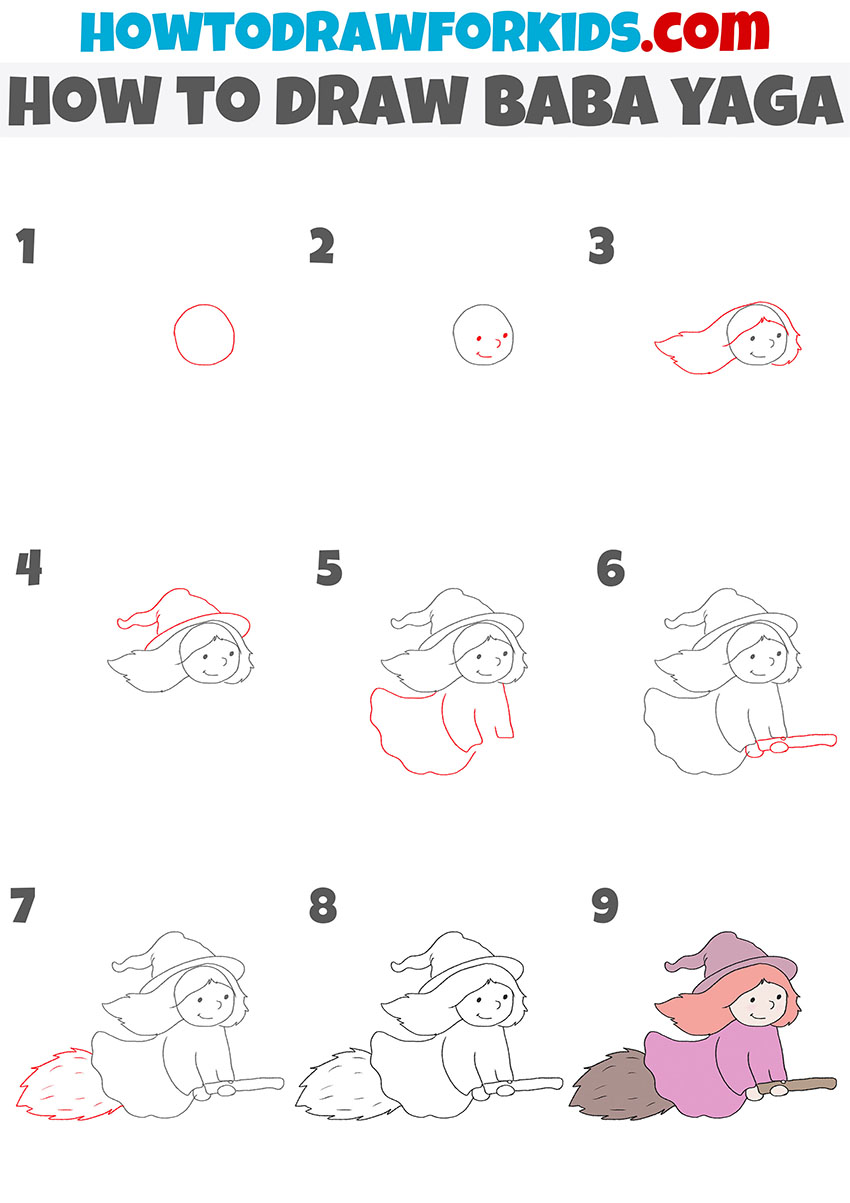
How to Draw Baba Yaga
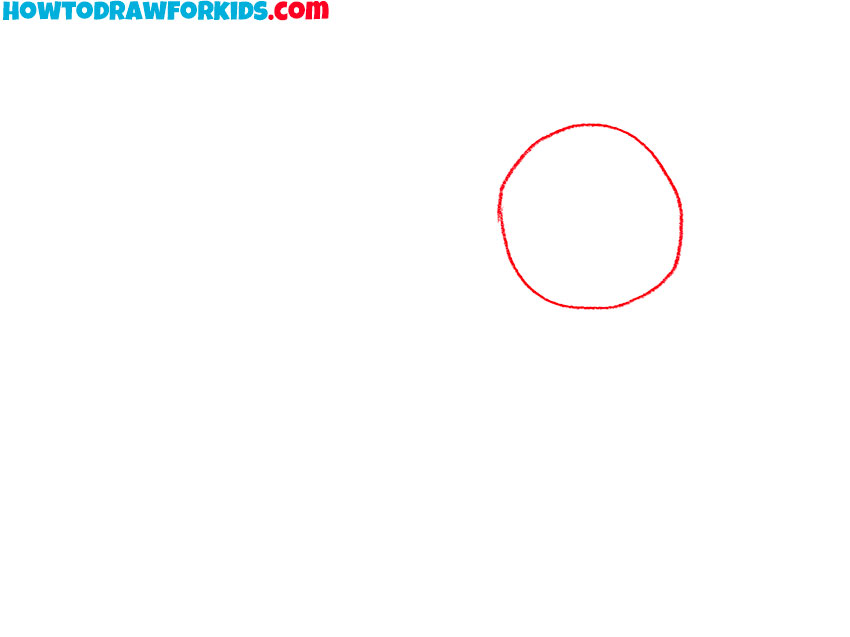
- Draw the head of Baba Yaga.
Begin by drawing a simple circle to form the head of Baba Yaga. Ensure the circle is smooth and even, as this serves as the base for your character’s face. Position it in the center of your page to leave enough room for the rest of the body and additional elements like the broomstick in later steps.
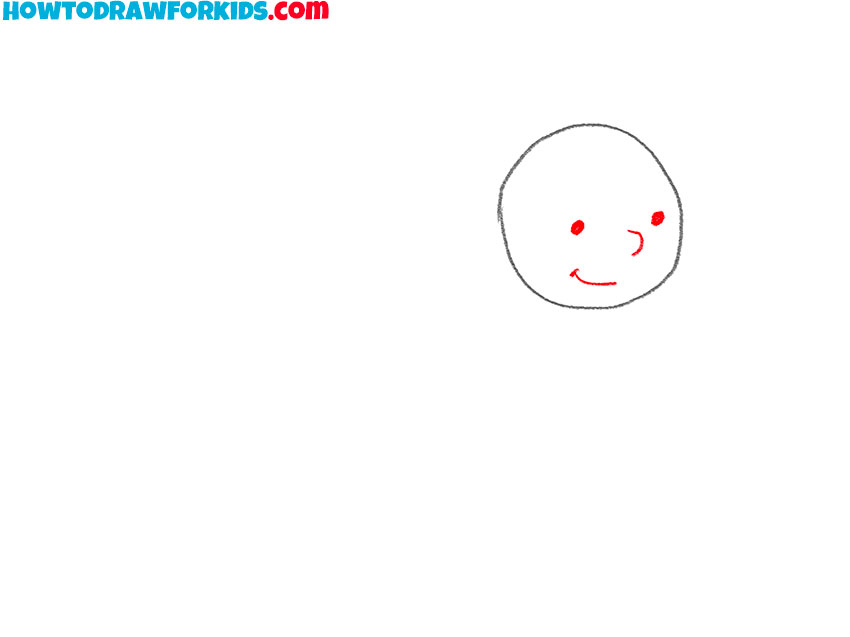
- Add facial elements.
Inside the head, add two small dots for the eyes and a curved line for a smiling mouth. Position the eyes in the middle of the circle, slightly apart, and place the mouth just below them to create a friendly expression. Then draw the nose above the mouth and below the eyes.
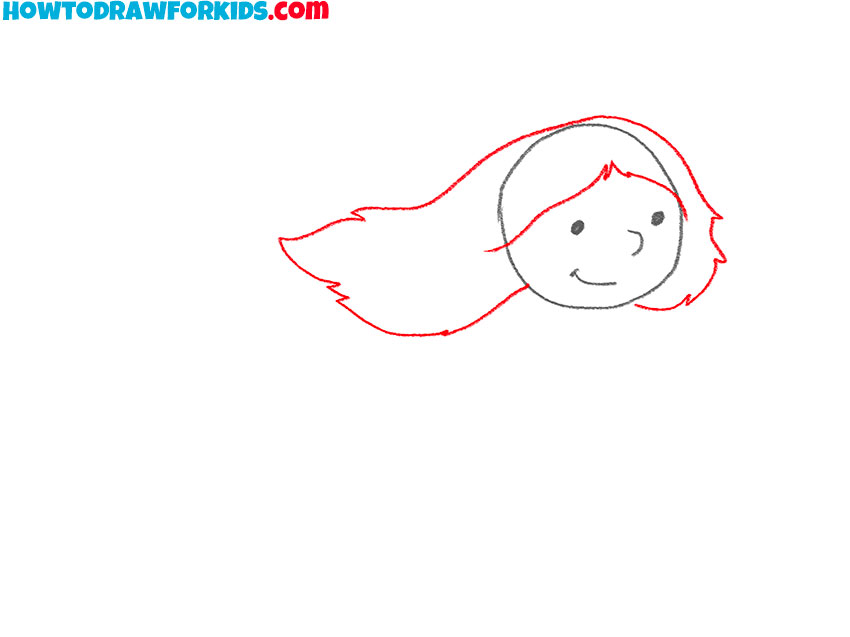
- Draw the Baba Yaga’s hair.
Illustrate the outline of Baba Yaga’s hair, flowing around the head. Start at the top of the head, bringing the lines down around the sides. The right part of the hair should reach the level of the chin and the left part should flow in the direction of the wind. Hair lines should be jagged.
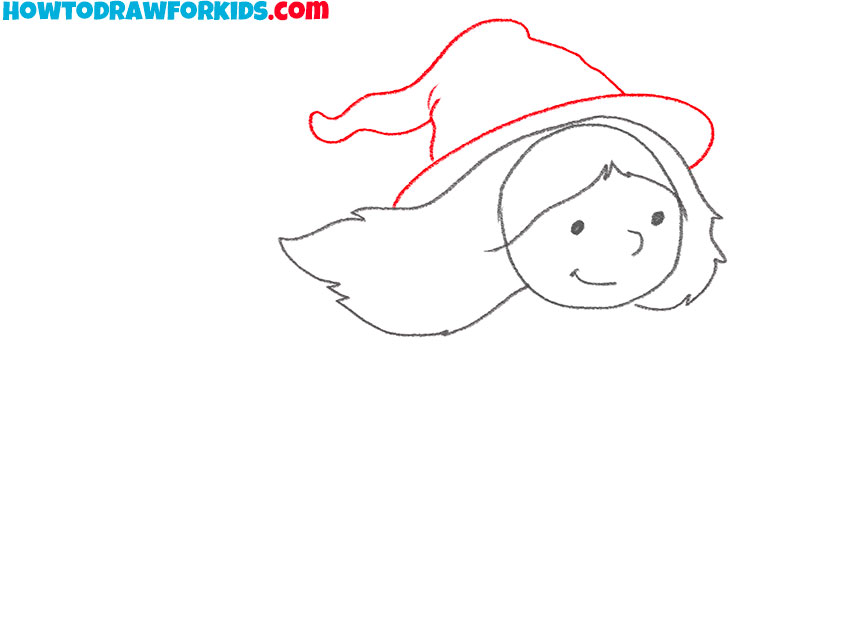
- Illustrate the witch hat.
At the top of the Baba Yaga head, draw the long, pointed hat with the floppy brim. Start the brim right above the hairline, curving it upwards and then down, and finish with the pointed tip of the hat slouching to one side. This hat should look soft and fabric-like.
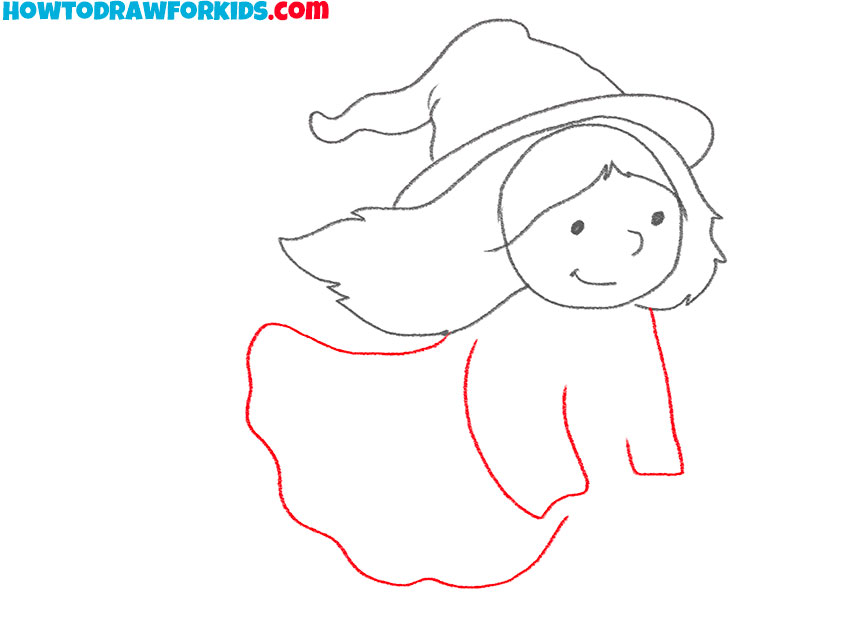
- Depict the dress.
Using smooth, flowing lines, draw the sleeves to give the impression of loose, billowing fabric. Then, with a wavy, uneven line, sketch the rest of the dress’s outline to suggest a rustic, flowing garment. You are free to add elements to Baba Yaga’s clothes, such as a cape or a belt.
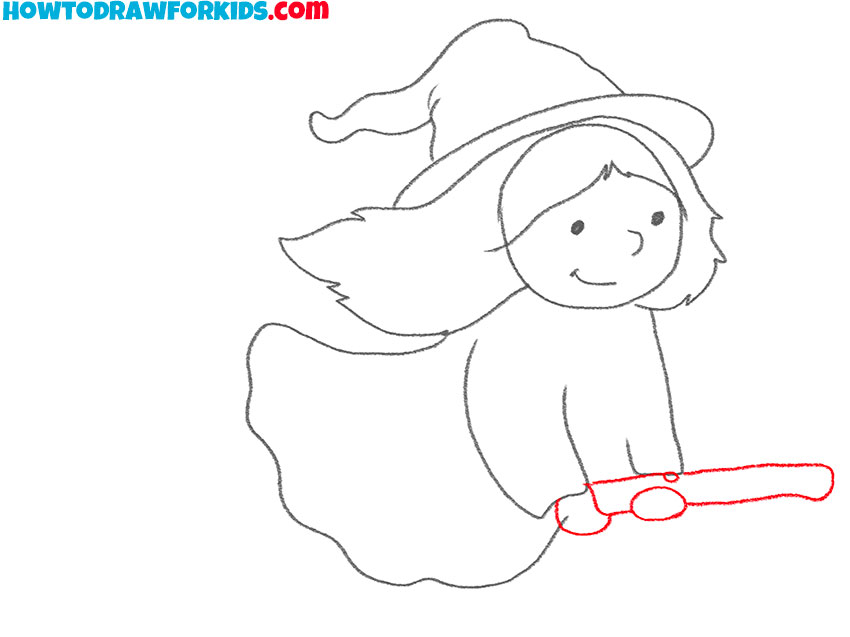
- Add the hands and handle of the broom.
Illustrate the hands with gentle curves to show the witch relaxed grip, and then illustrate the long handle of the broom she’s holding. Make sure to convey the broom’s handle with smooth, rounded lines. You can detail the broom handle by drawing a wood texture on it.
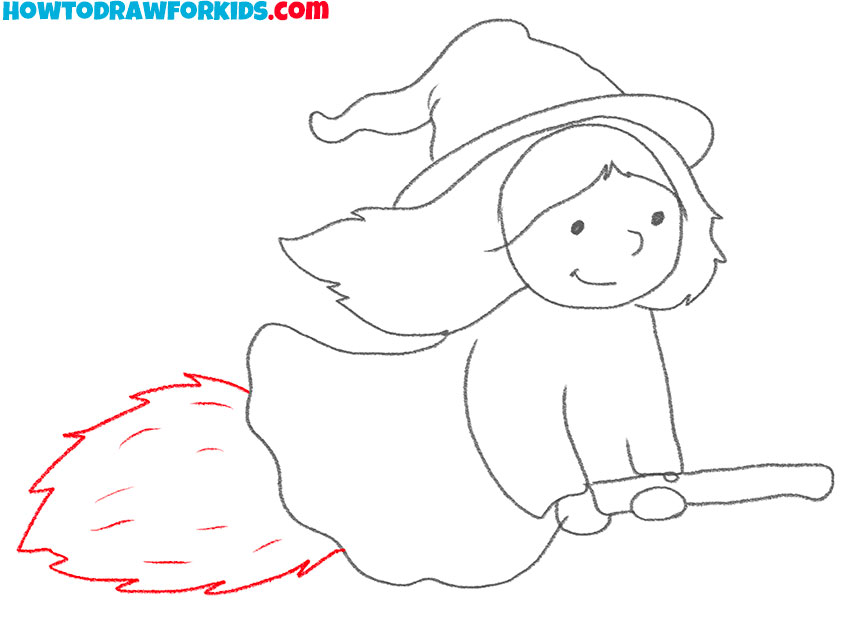
- Draw the rest of the broom.
Sketch the broom’s bushy end with uneven, spiky lines to depict the straw bristles. Scatter a few short lines within this shape to suggest the broom’s texture and fullness. The lines should be uneven to give a natural, used look to the broom.
- Prepare the Baba Yaga drawing for coloring.
Carefully use your eraser to remove any extra sketch lines or marks that aren’t part of the final drawing to clean up your artwork and reveal a tidy of the Baba Yaga drawing. This cleanup will clarify your Baba Yaga drawing, making the final lines stand out more prominently and preparing the image for coloring.
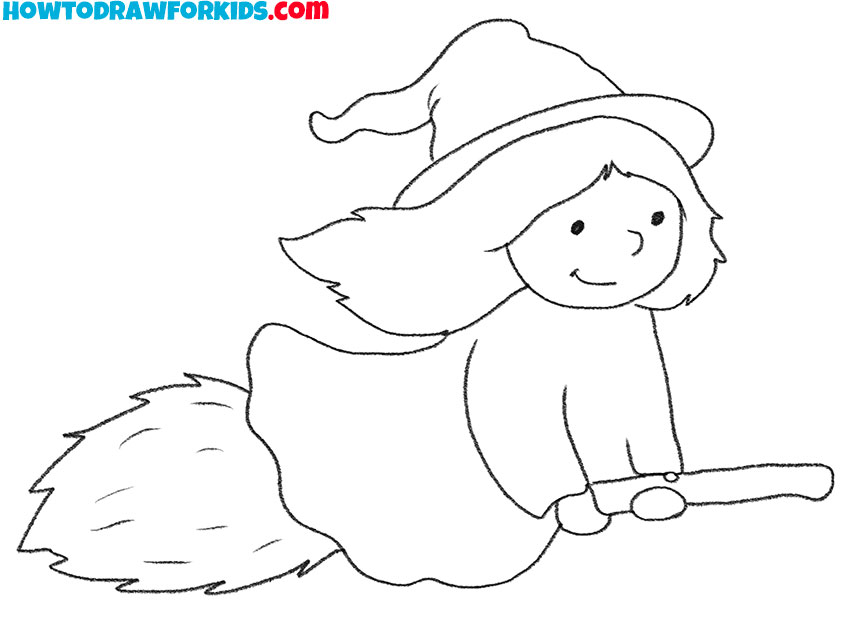
- Color the Baba Yaga drawing.
Color the skin with a soft beige to bring warmth to face. Choose earthy tones for the broom and vibrant but dark tones for Baba Yaga’s clothing and hat to reflect her mystical and forest-dwelling nature. Adding shading under the hat and around the folds of the clothes can give more depth to the sketch.

Additional Content
I’ve got some fantastic news for you: I’ve crafted a special PDF file that’s like a mini-guide to drawing Baba Yaga. It’s absolutely free to download! Once you’ve got it, this little treasure will be yours to keep and use anytime, anywhere no internet needed.
Crafting the Perfect Ambiance for Baba Yaga
Your Baba Yaga drawing is looking fabulously witchy, but every witch needs a setting as enchanting as she is. Let’s weave some background magic into your masterpiece with these bewitching ideas.
You can illustrate a prominently large, luminous moon positioned directly behind the witch, serving as a backdrop that shows the nocturnal theme. Complement this with a smattering of subtly glowing stars, strategically placed to accentuate the ethereal quality of the scene and reinforce the nighttime sorcery ambiance.
Draw contorted, gnarled trees enveloped in a light, ethereal mist to create the impression of a magical forest, a quintessential locale for spellcasting and supernatural events. This setting should evoke a sense of mystery and ancient magic, suggesting a place where the laws of nature are bent and reshaped by enchantments.
Introduce a distorted, eerie cabin in the background, potentially drawing inspiration from Slavic folklore. Consider whether this structure could represent Baba Yaga’s legendary chicken-legged house, adding a layer of folklore authenticity.
Add elements of wildlife, such as an owl perched silently on a branch or a fox peeking curiously from behind the underbrush. These animals should be depicted as observers of the witch’s activities, adding life and interaction to the forest setting.
Represent the wind with expressive, curvilinear lines that dynamically swirl around the witch, lifting leaves and small twigs into a little tornado.
Depict a serpentine, winding trail that leads off into the obscured distances of the enchanted forest, symbolizing a road into the unknown.
Conclusion
Congratulations to all participants who have successfully navigated through the stages of this Baba Yaga drawing tutorial. This achievement signifies your dedication to developing your artistic skills and reflects an enriched understanding of Slavic folklore, an essential cultural context for this character.
Please share your thoughts and suggestions on what new tutorials you would like to see featured on my website. This input will directly influence the upcoming tutorials, ensuring they meet your learning needs and interests.